![]() PC-BSD 8 is the latest edition of PC-BSD, a desktop distribution based on FreeBSD, with KDE as its default desktop environment. It features a graphical installation program that should be easy enough for anybody to use. However, some sections of the installer could pose some difficulty to those new to the this distribution (and to the BSDs). If you belong to that user group, this installation guide is for you.
PC-BSD 8 is the latest edition of PC-BSD, a desktop distribution based on FreeBSD, with KDE as its default desktop environment. It features a graphical installation program that should be easy enough for anybody to use. However, some sections of the installer could pose some difficulty to those new to the this distribution (and to the BSDs). If you belong to that user group, this installation guide is for you.
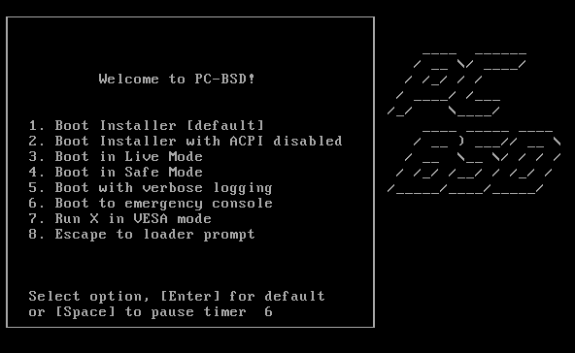
The screen shot shows all the options available for installation. You may choose to boot into the live environment, or just install straight to your PC’s hard drive. If you take no action, the default is to install to hard drive. For this tutorial, we want to install to hard drive.
This is the first page of the graphical installer. Nothing to do on this page but choose your language. Next.
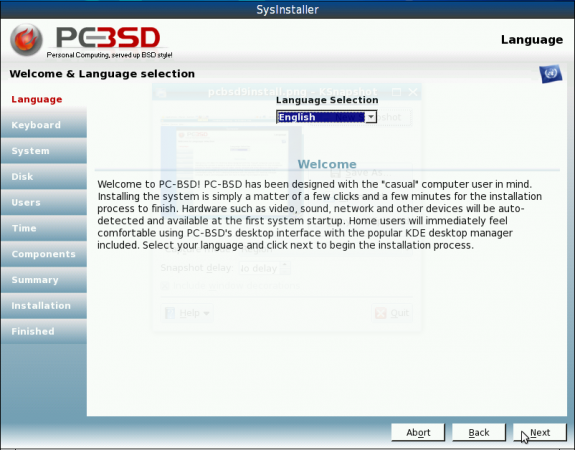
Language selection windown
This page is just as simple as the last one. Make sure that your keyboards layout is the one selected. Next.
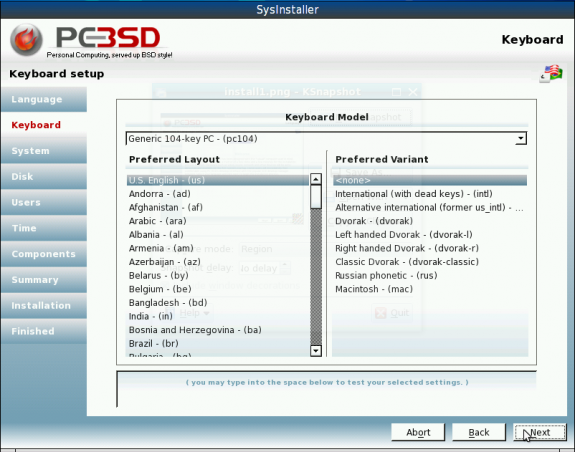
Keyboard layout selection
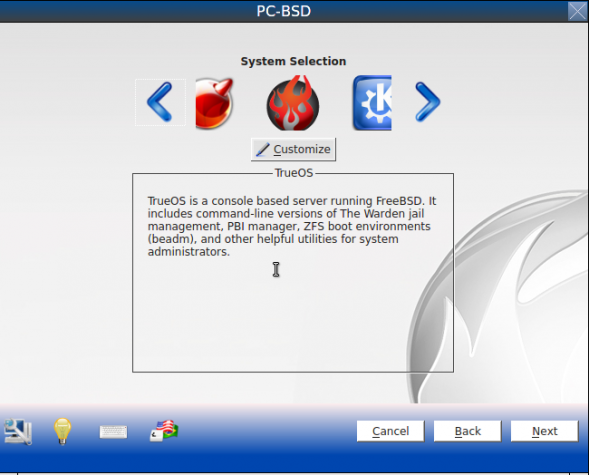
Here the installer presents several options. You may choose to perform a fresh installation, an upgrade, or a system restoration. You may also choose to install a FreeBSD server. The last set of options is the source of installation. For this tutorial, the full DVD iso image for 64-bit platforms was used. Next.
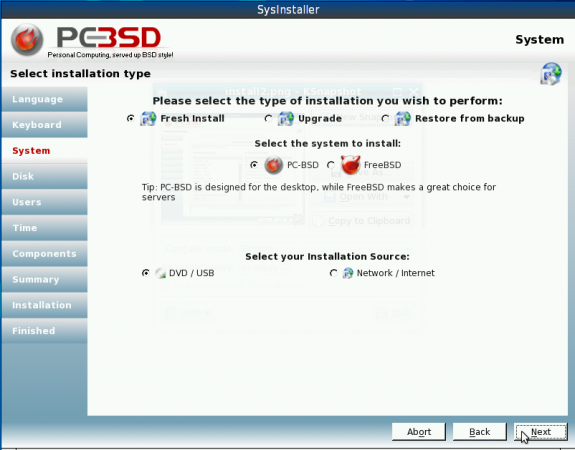
Installation options
This is the disk partitioning aspect. The installer makes it real easy for new users by having an “Auto Partition” option. If you choose to auto-partition, the installer will create the following four partitions: a main partition for the root filesystem of about 2 GB; one for swap of about 10 GB; a third partition of about 1 GB for /var; the last partition for /usr is assigned the rest of the free disk space. The default file system type is UFS+S. Other file system types are available If you choose the “Custom Partition” option are UFS, UFS+J and ZFS. If you are performing a standalone installation or if PC-BSD is the second OS in a dual boot configuration, make sure to install the PC-BSD bootloader by clicking on the check box next to “Install PC-BSD bootloader.” Next.
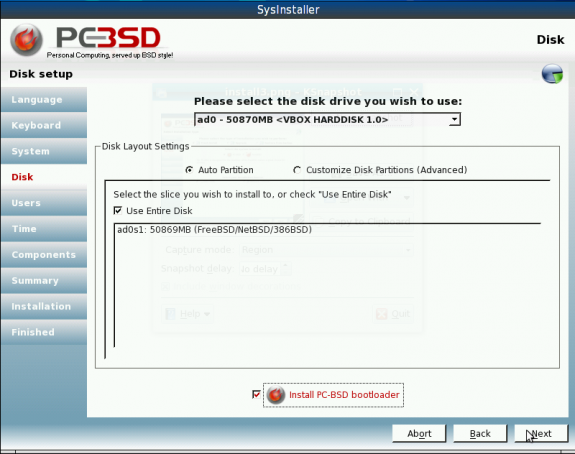
Disk partition options
Like all BSD and many Linux operating systems/distributions, PC-BSD sticks with the traditional UNIX root user account system, with one super user account and one or more regular user accounts. On this screen, you set the root account password, and create one or more users. You only need to create one user account. More accounts may be added after installation. Type in the user account information, choose a shell and click on the ‘Add” button to create it. Note that the default shell is the C shell (/bin/csh). If you are coming from a Linux background, you likely are more familiar with Bash, the Bourne Again SHell. If that’s the case, you should choose /usr/local/bin/bash. Uncheck the check box next to “Auto-login User …” Enabling automatic user login is a bad security practice. It will lower your computer’s physical security rating. Next.
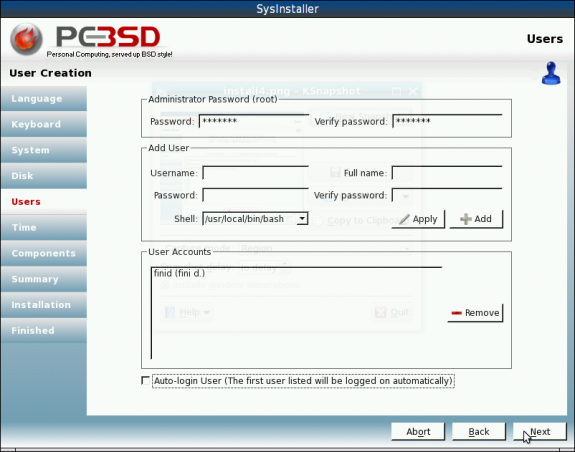
User accounts creation
Here you have the option to choose your time zone and enable the Network Time Protocol. By default, NTP is enabled. Note that the NTP configuration utility is buggy and will not even successfully configure NTP. So whether you enable NTP on this page or not, you will need to run the NTP utility from the a shell terminal to get NTP configured successfully. Next.
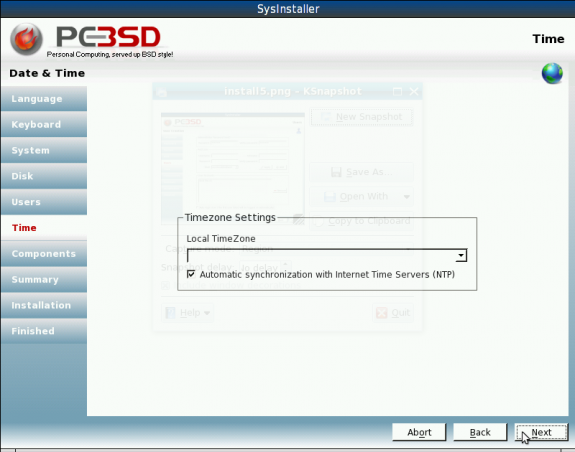
Timezone and NTP setting
On this page you get to choose to install some applications that PC-BSD considers optional. In my opinion, some of these applications are essential rather than optional. In any case, select a component from the list on the left and click on the upper arrow to move it to the “Selected components” section. Choose as many components as you need. Next.
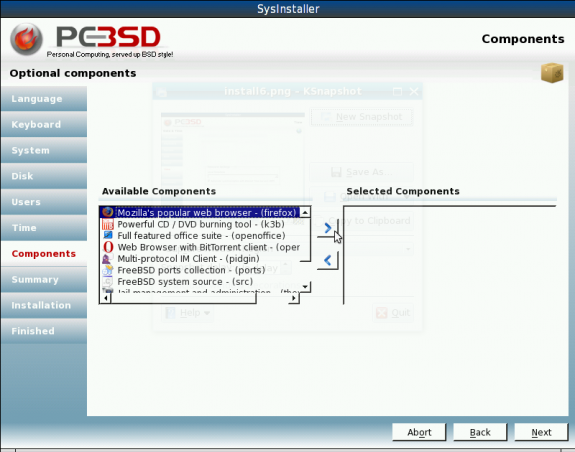





I am *very* impressed with PC-BSD 8. It detected almost everything out of the box, and after a quick kernel update and compile, I had my wifi up (Dell Studio 1745). Not only is it easy to install and use, but it looks like many of the bugs in the last version have been smoothed out. I still haven’t done much with the PBI system (had lots of issues with 7.1) but so far the ports that I had some issues with in 7.1 are compiling nicely now. We’ll see if it stands the test of time – if it has major issues, I will probably still copy the X.org conf (excellent out of the box, whereas FreeBSD always requires some work – I like learning to configurations, but that doesn’t mean I want to have to go through them by hand every time I install the OS) and a few other autoconfigured options that were surprisingly very much the way I wanted them. Last time around I had to do a lot more tweaking to start to feel comfortable, but this time, I think there have been major strides made to make the install and basic configuration smooth. And the live DVD is really cool. Easily the best FreeBSD derived OS, IMO – and since it will also install FreeBSD instead of PC-BSD at your discretion, there’s no real downside to getting a copy of this. everyone should try it!