One more partition to go. Select the free space and click on Add.
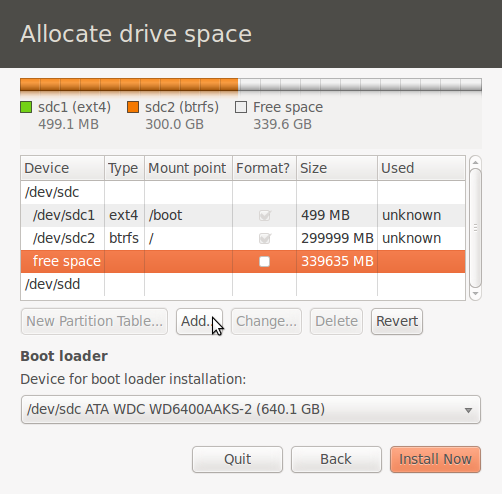
Select free space
Since this partition will be for swap, select swap for Use as. The size is up to you. For this installation, I chose 2000 MB (2 GB). OK.
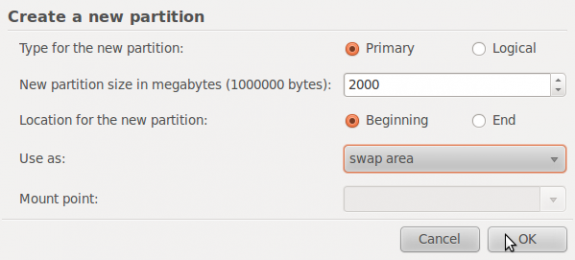
Create swap space
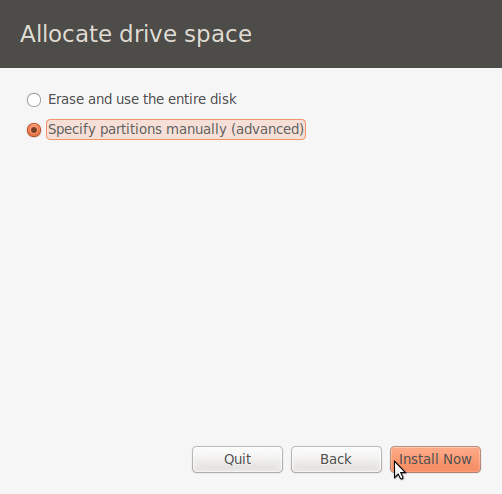
With all the partitions created, click on the Install Now to continue with the installation.
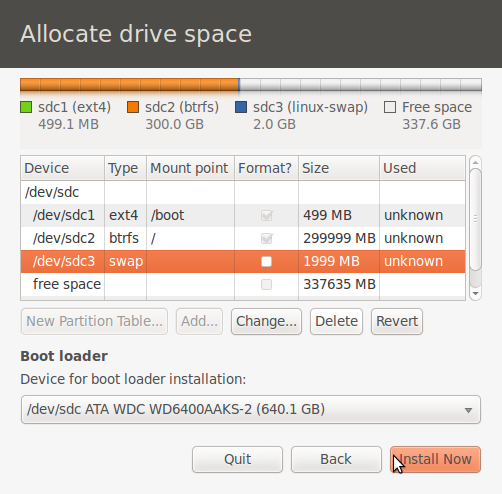
All partitions created
A very cool feature of the installation program on Ubuntu 10.10 beta is that while copying files, it allows you to configure other installation steps. At the installation step shown in the image below, for example, you can click on the Forward button to move to the next task, while files are still being copied.
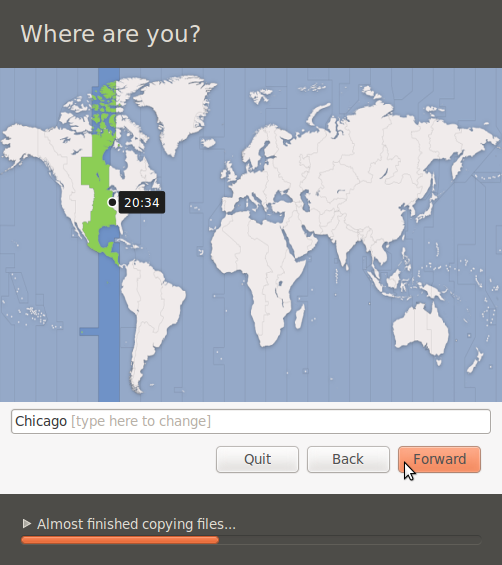
Choose timezone
And if the installer has finished copying files before you complete the other tasks, it will patiently wait for you. Like the PC-BSD installer, the Ubuntu 10.10 installer has “Log in automatically” enabled by default. Not for me. I always like to “Require my password to log in.”
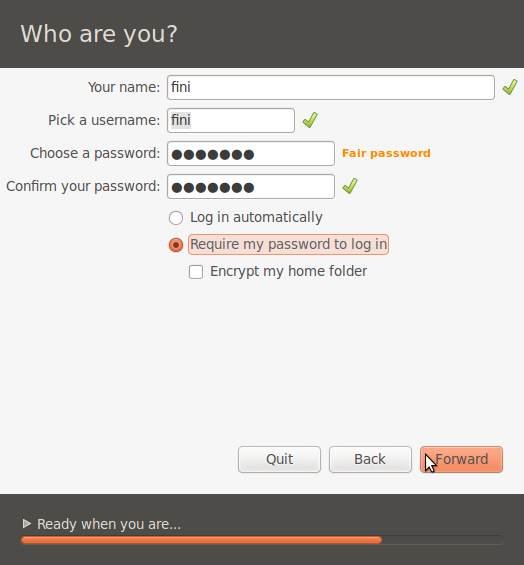
User account
An aspect of choosing the manual installation option of Ubuntu 10.10 beta is that the boot loader configuration is completely automated and never presented to you. That is something I am sure will be fixed in the stable release. Another thing that will need fixing, if you look closely at the image below, is the width of the window at this installation step. Notice that parts of the text in the second list item are not visible. That is exactly how it is. Do not worry, I am sure it will be fixed before October 10, 2010.
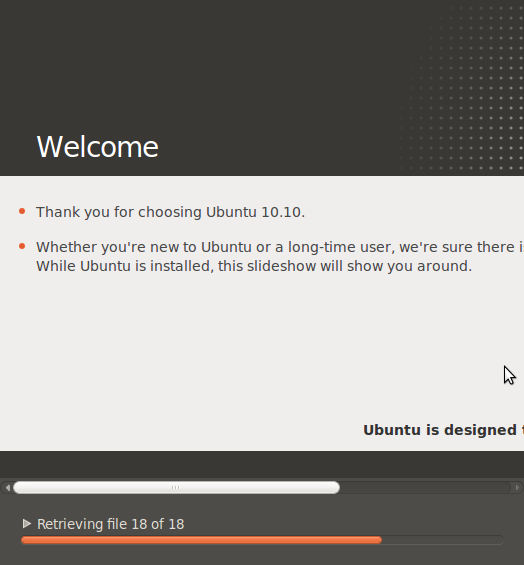
Installer bug
When the installation is completed, reboot and test out your new Ubuntu installation on btrfs. Managing btrfs is primarily with the btrfsctl command line tool. The btrfs command is another command line tool to use. There is no graphical management interface yet.



OMG! The one feature which makes using BTRFS sensible now (on netbooks) would be its inherent compression support. Judging from the screenshots, the Ubuntu developers disapprove of that. Again.
OpenSUSE 11.3 also supports BTRFS ‘out of the box.’ I’m using it right now with my home partition, and though I’ve had not the least trouble with it, I haven’t really seen many benefits either.
Regrading real benefits of using it, I agree with you. Btrfs is not there yet. ZFS is miles ahead. See ZFS on PC-BSD 8.1