 Disk encryption is one of five methods you can use to enhance the physical security posture of your computer (laptop, netbook, desktop or server). It enables you to protect your data in the event that your computer is ever lost or stolen. Sabayon’s installer has had the disk encryption feature for some time, but it is not as simple and as elegant to configure as it is on Fedora. However, it works.
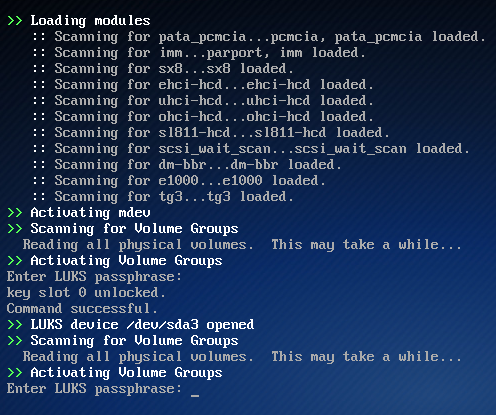
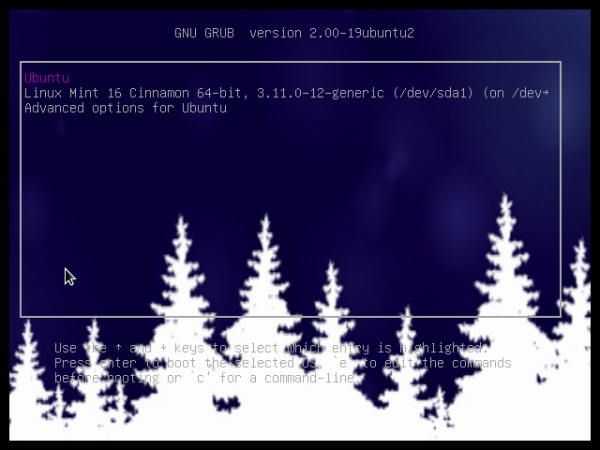
The image below lets you see what happens any time you reboot a computer with disk encryption configured. Without inputting the correct passphrase at the prompt, you can not get to the login screen. And if the computer is ever lost or stolen, be rest assured that the thieves will also be denied access to the login screen, and to your data.

Sabayon uses LVM (Linux Logical Volume Manager) as its default disk partitioning scheme. The tutorial, however, provides a step by step guide for disk encryption (on Sabayon 5.2) without LVM. While I am of the opinion that LVM is better than the traditional method of disk partitioning, some people feel they do not need it, or that it is needed on the desktop. This tutorial is for them. The focus (for this tutorial) is on the disk partitioning aspect of the installation process and, therefore, begins at the step where disk partitioning starts. The steps prior to this have to do with language and keyboard layout selection, and have been skipped to reduce the number of images used here.
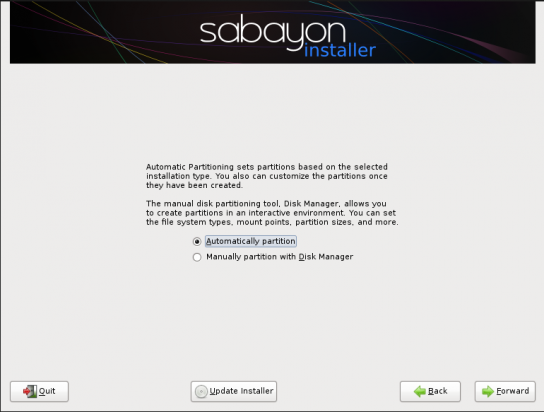
The default is to have the installer automatically partition the disk, but because LVM is Sabayon’s default disk partitioning scheme and we want to create a non-LVM-based system, select “Manually partition with Disk Manager.” Click on the “Forward” to go on to the next step.
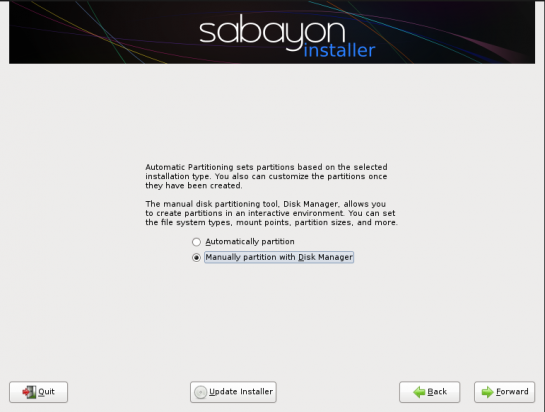
This image just shows the installer with “Manually partition with Disk Manager” selected. Forward.
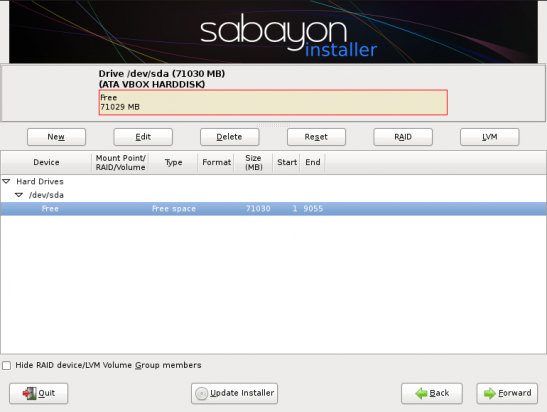
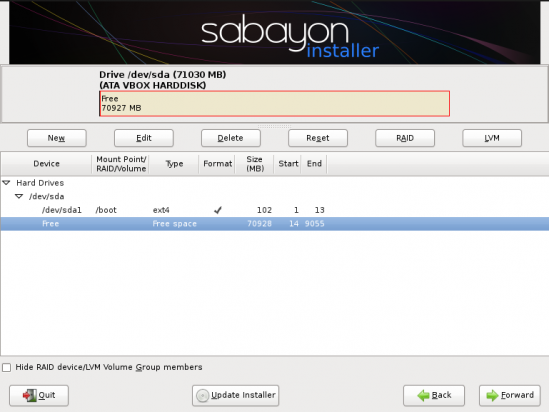
To begin creating partitions, select the free space as shown and click on the “New” button. The goal is to create the same number of partitions – 3, that Sabayon’s installer would have created if you had selected the automatic disk partitioning method. These partitions are for /boot, swap, and / mount points.
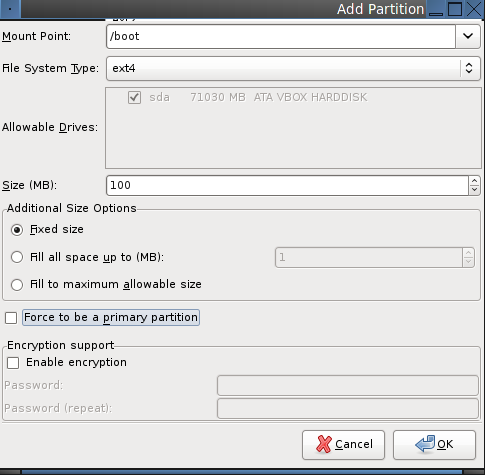
The first partition you’ll have to create will be for /boot. So select the mount point – /boot, the file system – ext4, and leave the pre-selected size unchanged. Click on the “OK” button.
With the /boot partition created, select the free space and click on the “New” button to create the next partition.
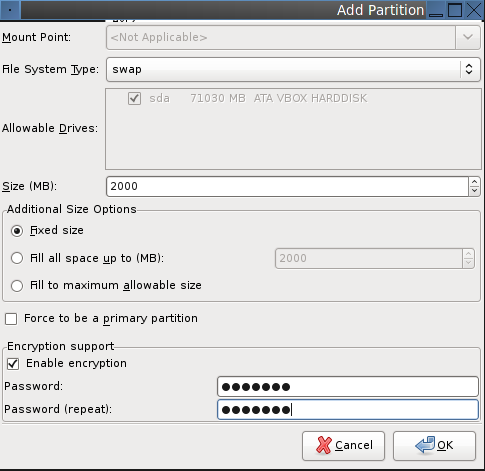
To create this partition, select the file system – swap, set the size (2000 MB should be good enough). Click on the checkbox next to “Enable encryption,” then type in and confirm the passphrase. OK.swap

