
When dual-booting Windows 11 and any Linux distro, it’s likely that you will at some point want to access your Windows files when the distro is the active OS. With Linux, that should normally be an easy task, but the default configuration of Windows 11 has made that a not-so-easy task.
That’s because a new computer shipped with Windows 11 has an encryption feature called BitLocker enabled by default. It can be a good feature to have, but some of the features you need to disable, like Secure Boot, in order to use Linux on the computer can make BitLocker unavailable. So if you want to dual-boot Windows and a Linux distro, one of the first things you’ll have to do is disable Secure Boot. Next thing to do is disable BitLocker.
Now, one approach to sharing files between Windows 11 and Linux distro in a dual-boot setup is to just share the C drive. In that case, there’s nothing extra to do. You can access the contents of your C drive from the distro. The second approach is to shrink the C drive , format the freed up space, and put the contents you wish to share in there. The third approach is to use a dedicated drive and format it just as with the second approach.
For this article, you’ll see how to share content by formatting a portion of the C drive in Windows 11. It also works if you want to use a dedicated hard drive. So assuming you’ve already freed up some space by shrinking the C drive in Windows 11, launch the partitioning tool by typing in partition manager in the menu’s search field.
The window that opens should show all the drives active on the system. Locate the freed up space or the dedicated drive, then right-click on it and select New Simple Volume.
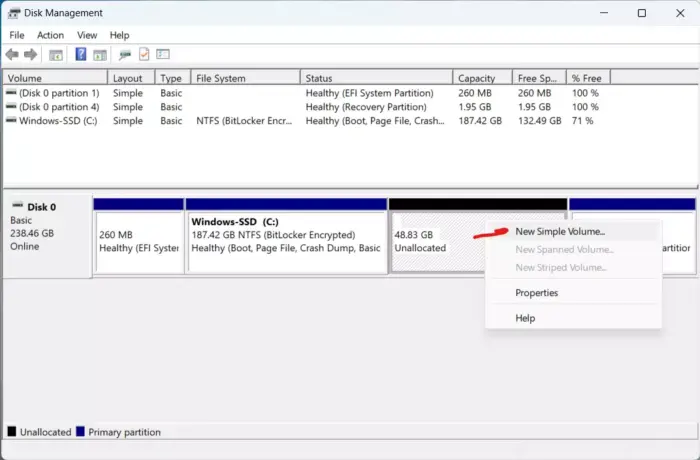
Figure 1: Step 1 to creating a formatted partition in Windows 11.
In the next window, click Next.
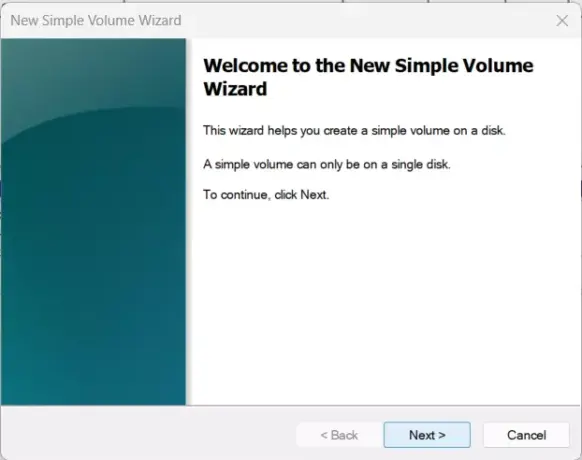
Figure 2: Next step to creating a formatted partition in Windows 11.
You of course want to format the entire partition. If not, specify a different amount in the Simple volume size in MB box. Next.

Figure 3: Step 3 to creating a formatted partition in Windows 11.
In the window shown in Figure 4, best to keep the File system at NTFS, and change the Volume label to your preferred name. Next.
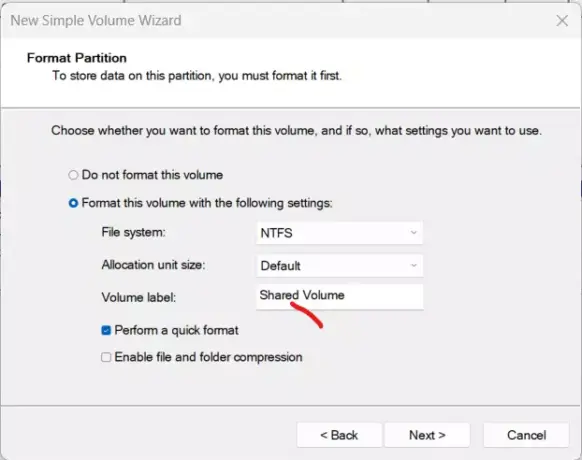
Figure 4: Another step to creating a formatted partition in Windows 11.
Then assign a drive letter to new volume. Next.
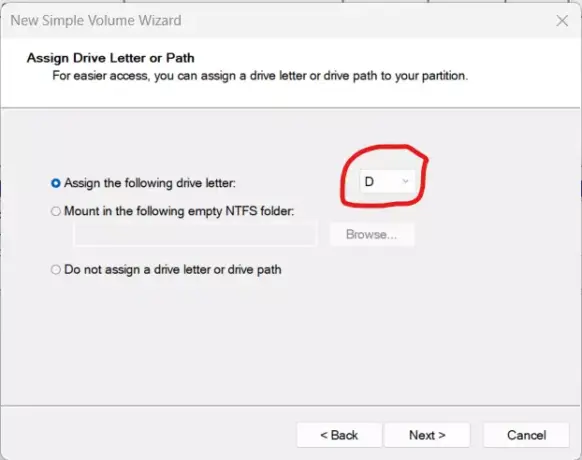
Figure 5: Assigning a drive letter to a volume in Windows 11.
This just shows a summary of your options from the previous steps, so click Finish.
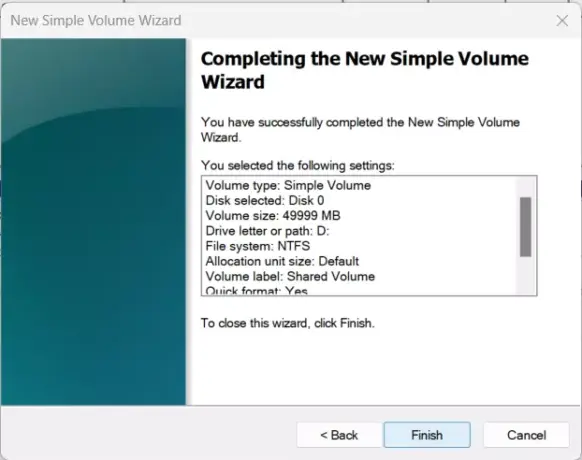
Figure 6: Summary of options when formatting a partition in Windows 11.
Back to the main window of the partition manager, you’ll see the new volume after the C drive. Now you can add content into it from File Explorer.
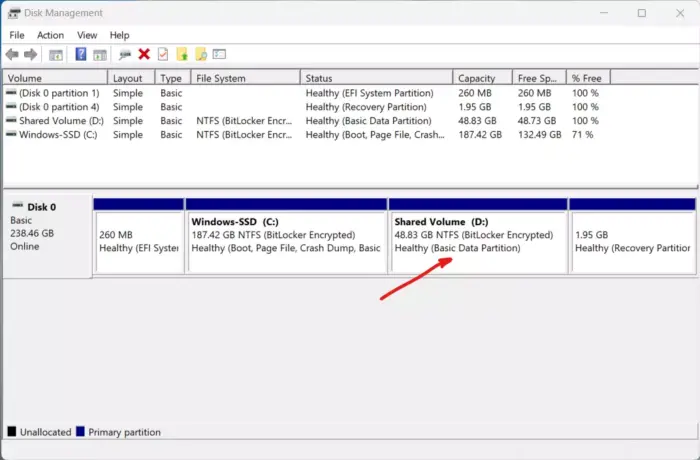
Figure 7: New volume in partition manager.
When you finally set up your dual-boot system, like my test Linux Mint 22 and Windows 11 dual-boot setup, you can view and modify the contents of the volume from the Linux file manager.
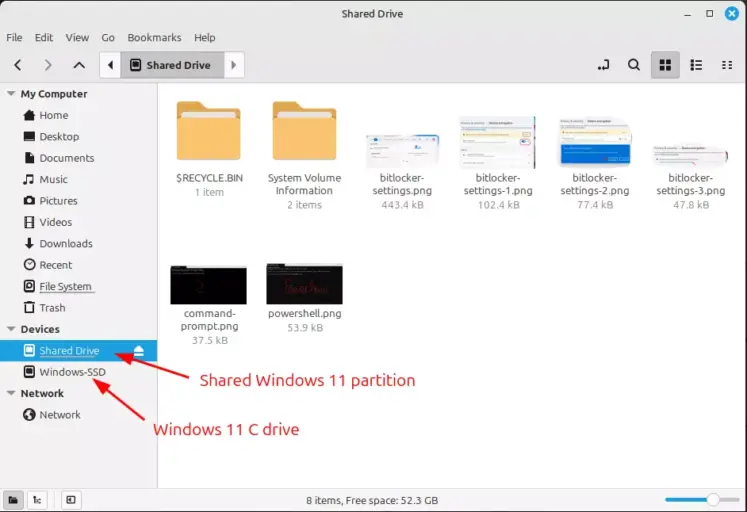
Figure 8: Accessing Windows 11 partitions from a Linux distro in a dual-boot setup.
That, of course, means that you can also launch a terminal application and do the same to the contents of the Windows 11 volume. Note that to avoid file corruption, you need to disable Fast Startup in Windows 11.


