If you’re using a computer with Ubuntu 16.10 Desktop installed, chances are that you’ve already been prompted to upgrade to the latest version, which is Ubuntu 17.04 Desktop. It’s a simple and painless process that takes just a few hours.
This post shows what happens before, during, and after such an upgrade. Your personal content will be left untouched, and the swap partition will be retained. More on that further down.
There are two means though which you’ll receive an upgrade notification. The first, shown in Figure 1, happens automatically, depending on your update settings in the System Settings.
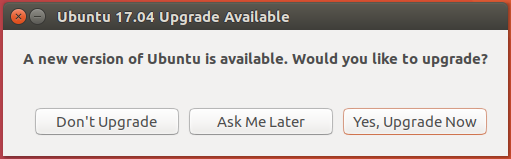
Figure 1: Prompt to upgrade to Ubuntu 17.04
The second is when you manually update the system. That notification prompt is shown here in Figure 2. Opting to upgrade by clicking on the appropriate button on either prompt will start the upgrade process.
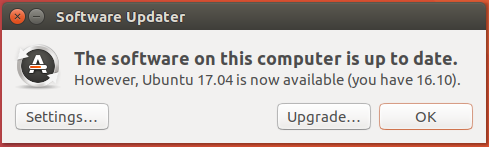
Figure 2: Prompt to upgrade to Ubuntu 17.04 after updating Ubuntu 16.10
You’ll next be presented with the Release Notes. Ubuntu 17.04 ships with lots of good stuff, including this one.
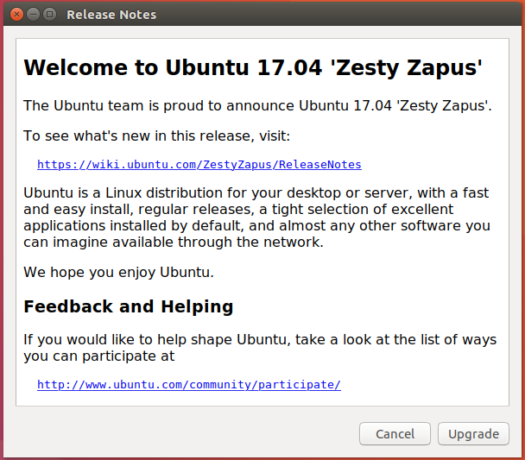
Figure 3: Release Notes of Ubuntu 17.04, code-named Zesty Zapus
Do you really want to upgrade to Ubuntu 17.04? Of course, you do… The process will take several hours. When it completes, you’ll be prompted to restart the computer.
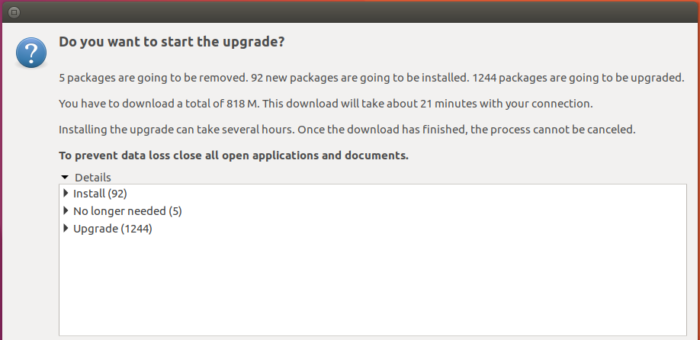
Figure 4: Ubuntu 17.04 upgrade progress
Part of rebooting means passing through the login screen. So you get to see what the Ubuntu 17.04 login screen looks like. Same like the old one, except for the reference to Ubuntu 17.04.
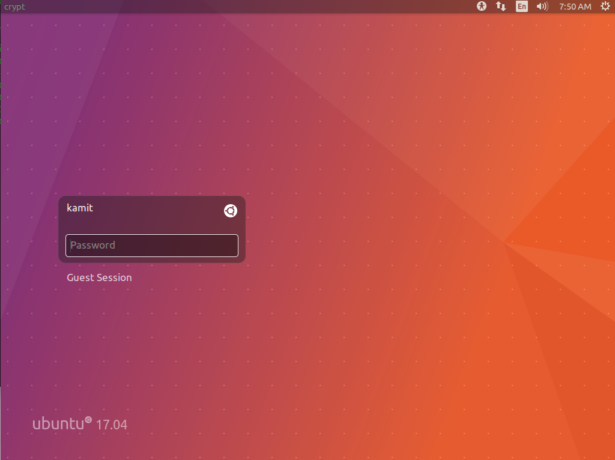
Figure 5: Login screen of Ubuntu 17.04
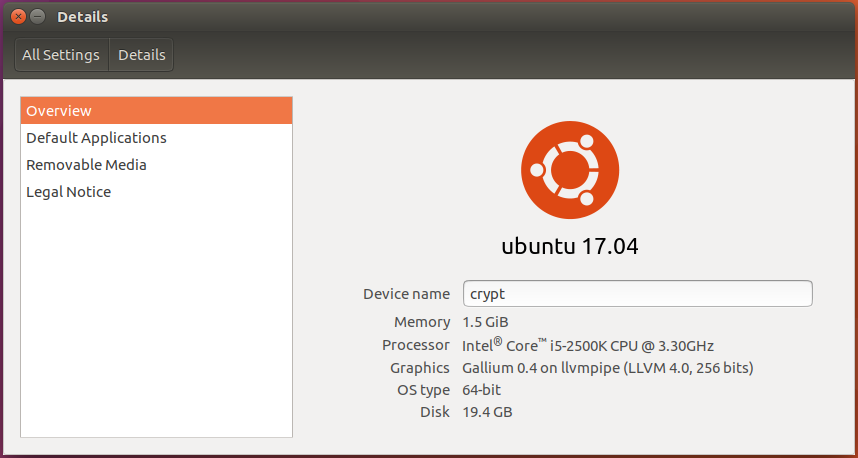
And if you had any doubts that the upgrade really was successful, information in Details > Overview of System Settings will put your doubts to rest.

Figure 6: Yes, it really is Ubuntu 17.04
With the upgrade from Ubuntu 16.10 to Ubuntu 17.04, the version of the kernel gets bumped up too – from v4.8 to v4.10:
>> Indicates output
# Before upgrading Ubuntu 16.10 to Ubuntu 17.04

uname -r
>> 4.8.0-46-generic

# After upgrading to Ubuntu 17.04

uname -r
>> 4.10.0-19-generic
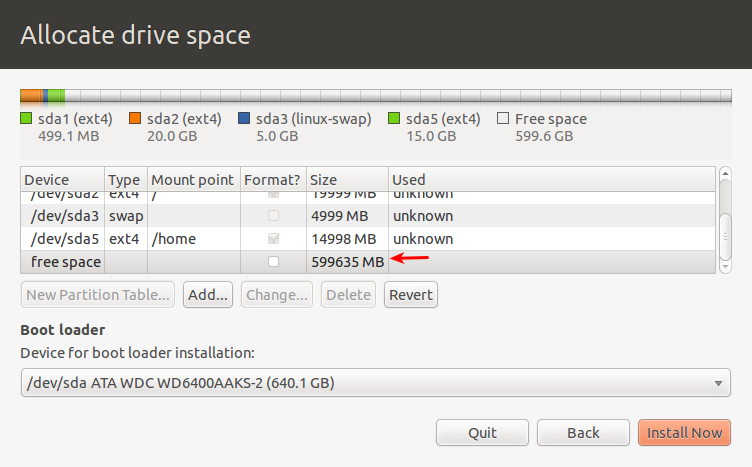
And about that swap partition that I hinted about. One of the new features that comes with an installation of Ubuntu 17.04 is support for a swap file, instead of a swap partition. You’ll get a swap file with a new installation. However, if you upgrade from an older edition to Ubuntu 17.04, your existing swap partition will be retained – no swap file for you, whether you installed your system using an LVM scheme or standard partitions. LVM, by the way, is (Linux) Logical Volume Manager. If you do insist on using a swap file, deleting the existing swap partition and creating a swap file is not that difficult. We’ll take up that task in the next article.


So I created a new swap file, got it activated and removed the swap partition from fstab. You said you would explain in your next blog how to move from a partition to a swapfile. Could you include;
– encrypting the swapfile
– hibernation with/without encryption in the swapfile
– systemctl still shows that it tries to start the swap partition (in my case dev-nvme0n1p6). How to fix that?
OK, I have a laptop with Ubuntu installed. I’ll try that today and post the result – success or failure.
Edit: Sorry, the Ubuntu on that notebook has been replaced with Fedora 25 installation, so I’ll use another system to test.