Step 6 – Create the Swap Partition:
And that last partition will be used as swap space. You know the drill by now. Continue.
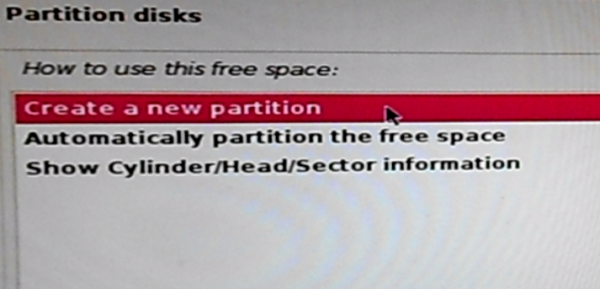
Figure 16: Creating new disk partition on Kali Linux 2
For the size of the swap partition, 4 GB is now standard on 64-bit-capable computers, which is what I assigned to it on the test system. Continue.
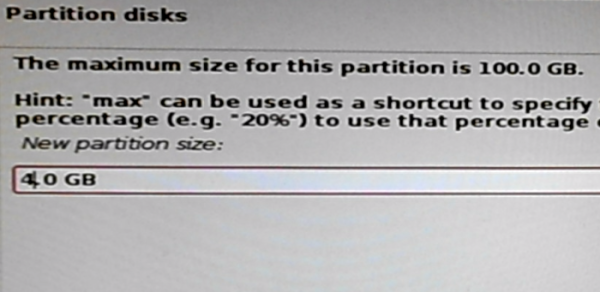
Figure 17: Specify swap partition size on Kali Linux 2
Stick with the default. Continue.
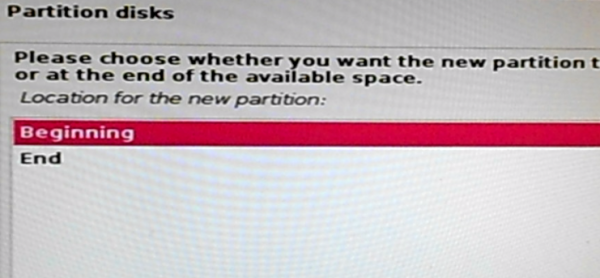
Figure 18: Specify location of the swap partition of Kali Linux 2
The default settings for this partition need to be modified. To make the change, double-click on the Use as setting, or select it and click the Continue button.

Figure 19: Swap partition details on Kali Linux 2
Then select swap area. Continue.
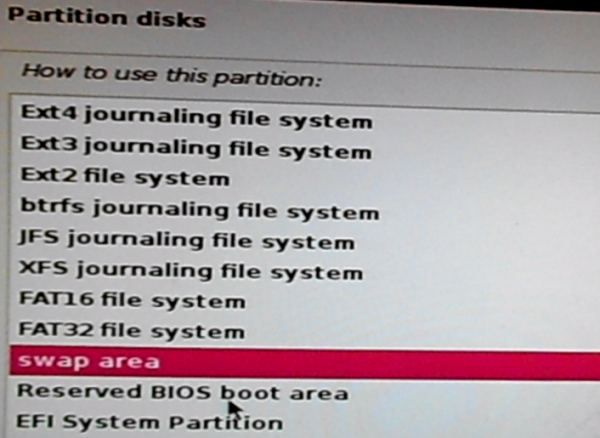
Figure 20: How to use a partition as swap space on Kali Linux 2
Select Done setting up the partition. Continue.
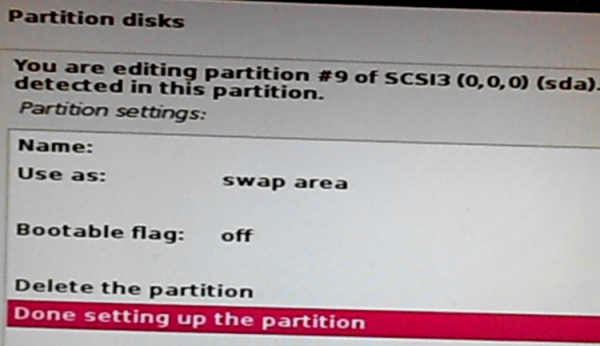
Figure 21: Finished creating swap space on Kali Linux 2
Step 7 – Complete Related and Important Installation Tasks:
Back for the last time at the main disk partitioning window, you need to check that the EFI Boot Partition, which is partition #2 on the system used for this tutorial, was detected as the device for boot loader installation by the installer. That’s necessary because in previous editions of Kali Linux, the EFI Boot Partition was never detected, which led to installation failures.
To check the partition, select it, then click Continue.
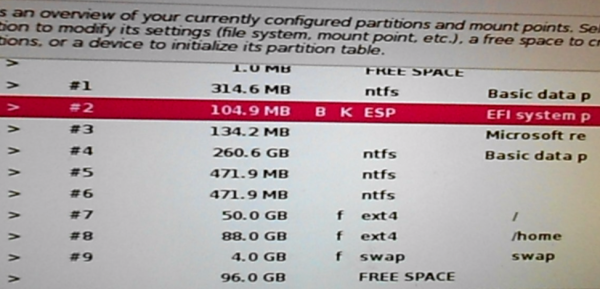
Figure 22: Boot EFI partition on Kali Linux 2
Cool! The installer correctly detected it as the device for boot loader installation, so you don’t have to make any changes. Select Done setting up the partition. Continue.
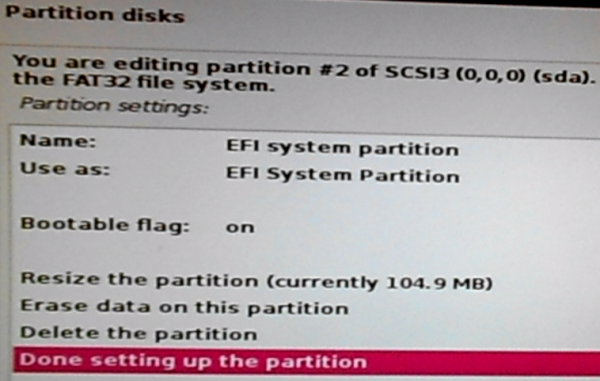
Figure 23: Verifying the Boot EFI partition on Kali Linux 2
Select Finish partitioning and write changes to disk. Continue.
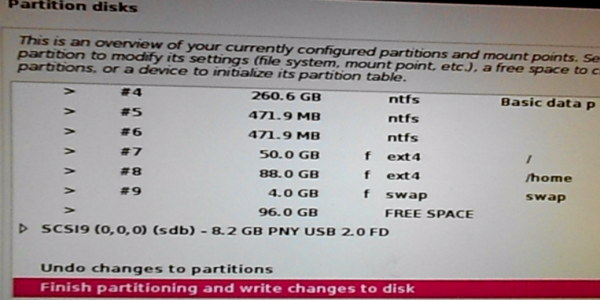
Figure 24: Finished creating partitions for installing Kali Linux 2
Yes, Continue.
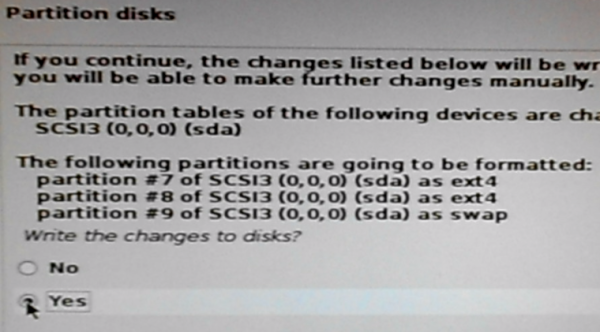
Figure 25: Confirming disk partition formatting for Kali Linux 2
You can complete the installation without using a network mirror, but if you have a working Internet access, it’s best to select Yes here, then click Continue.
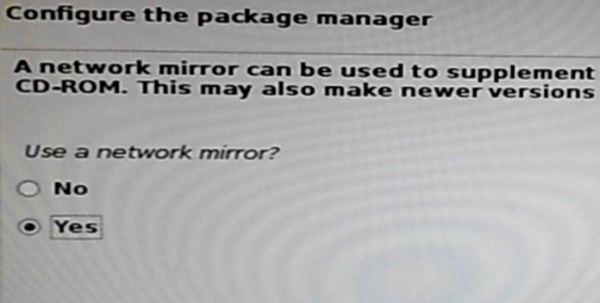
Figure 26: Configure network mirror for Kali Linux 2
After a successful installation, the computer, by default, should reboot into Kali Linux 2. And at the GRUB menu, you can select the Windows Boot Manager entry to boot into Windows 10.

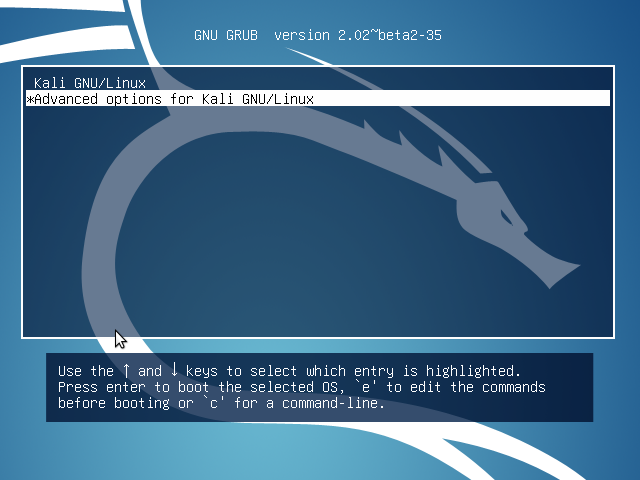
Figure 27: Kali Linux 2 GRUB boot menu
And if you access the computer’s boot menu, you should see an entry for Kali Linux 2.
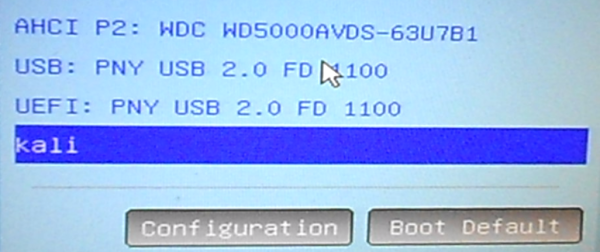
Figure 28: Kali Linux 2 GRUB boot manager on computer boot menu
That’s the end. Hope you completed it without errors.


Hello,
first thanks for the cool tutorial
I have a problem after login and put the password kali just freez and ctr+alt+F1(F1-F6)dont start the tty just start a loadup very slow and not like on vmare version direkt to tty… so whats the problem?
Can you help?