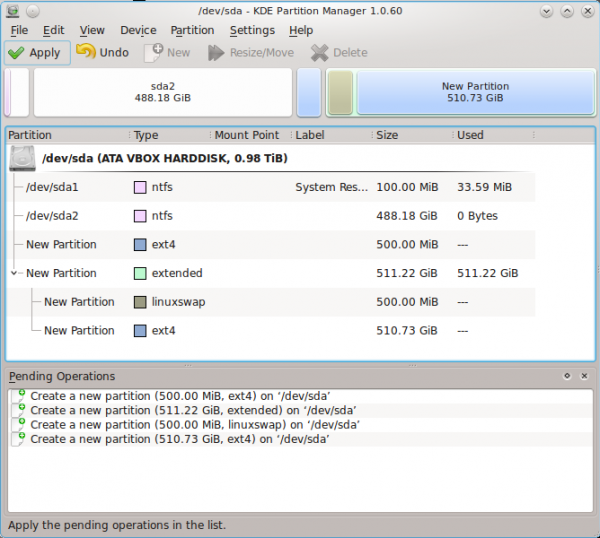
The final disk partitioning tasks takes place here. They entail selecting a mount point for the partitions, and formatting them. Though three partitions were created, only two will need to be formatted. Swap does not have to be formatted.

The partitions that we can format, are the ones we intend to use for /boot and /. for this tutorial, I start with the one for /boot. Select it by clicking anywhere along the line it is listed on, then choose the mount point from the dropdown menu to the far right. Once that is completed, click on the Format button. Select ext4 or any file system you prefer from the new menu that opens, then click on Ok. Repeat for the other partitions that need formatting.

Here is the same step showing the / partition. Note the mount point.

With the disk partitioning aspect completed, click on Next to continue with the installation.

Here, Tribe is just telling you want it is going to do. Make sure that what is wants to do is exactly what you wanted it to. Next.

The final task involves the boot loader. Unlike most Linux distributions, Chakra uses BURG, instead of GRUB. BURG is derived from GRUB, the GRand Unified Bootloader, and Chakra is the first distribution to use it by default. The only problem here, and it is a big problem, is that Tribe does not offer the option to choose a location for BURG other than the MBR (Master Boot Record) of the target hard drive. This means that installing BURG will wipe Windows 7’s boot program from the MBR. If that is ok by you, then the tutorial ends here. Enjoy you new system. If not, part 2 of this tutorial (to be published soon) will show you how to install BURG in the boot partition, and restore Windows 7’s boot manager in the MBR.




Hola amigos, soy nuevo en linux, tengo un conocimiento limitado pero logré instalar el win7 y el chakra, todo iva muy bien, hasta que actualice el chakra linux, y ahora ya no aparece la opción de windows 7 en el menú de arranque, que puede ser, por favor necesito su ayuda y de antemano gracias
Following up on my post: Will it require BURG Manager and EasyBCD?
Chakra will not be using BURG any more, starting from the mext release, which will be out tomorrow. So, it is likely that that tutorial will be redone a bit.
On a single disk, EasyBCD is likely to be involved.
Hi finid,
Looking forward to part 2.
(Previously, had issues with GRUB in MBR and the system was rendered unbootable after a Windows update. I want to have Windows bootmanager in MBR – as you had shown in LMDE (and LM 11) dualboot with Win 7 tutorials.)
Also, just upgraded to Chakra 2012.2 – very smooth. Looking forward to that review too.
Sorry, “Part 2” has been shelved. However, a more detailed, comprehensive and updated version has been published. You may read it here.