User (account) management is one area that received slight modifications in Ubuntu Desktop 11.10, the latest stable release of the popular Linux distribution. This short tutorial presents some information about the guest sessions, what you can do about it -if you can do anything at all without messing up your system, and how to set up a standard user account.
Guest Sessions are non-standard accounts that anyone may use when the data they will generate in the course of using the system does not have to be persistent. Unlike in Ubuntu 11.04, where, by default, a guest session can only be started from an active user session, Ubuntu 11.10 offers access to a guest session from the login screen and also from an active user session.
This is the login screen for Ubuntu 11.10. As you can see, it has a Guest Session that you can log in with. No password is required to use it. The problem with the Guest Session from the login screen is that it is so tightly coupled with the display manager that I do not think it can be disabled without affecting the functioning of the display manager. I have not been able to figure out how to disable it.

What about the Guest Session from an active user session? You can (remove) disable that by un-installing the indicator-session package, but doing that will remove the Session Indicator from the panel, which means you lose access to all the features integrated with that indicator. So you can disable this Guest Session, but at a significant usability cost.

Creating New User Account: – Where previous versions of Ubuntu Desktop came with three types of user accounts (Desktop User, Custom and Administrator), in Ubuntu 11.10, that number has been trimmed to two. So you just have a Standard and Administrator account. By default, the user created during installation is assigned an administrator role. Subsequent accounts created are assigned the Standard role by default.
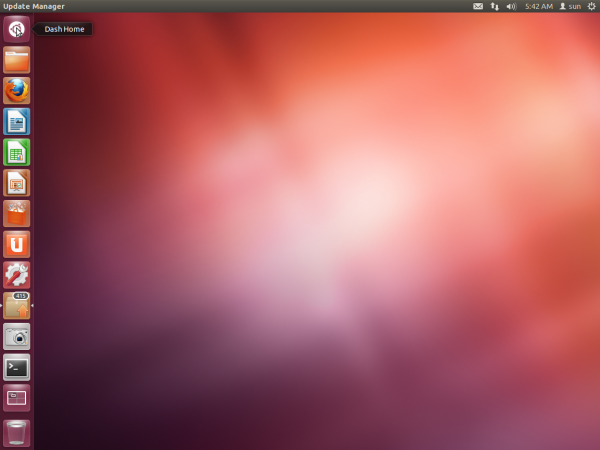
To create a new account, select User Accounts from the session indicator at the far right end of the panel. When the window opens, you should see existing user accounts listed. On a new system, the account created during installation will be the only one shown. Click on the “Unlock” icon in the top-right end of the window to unlock the full functionality of the tool, then click on the “+” icon to start the process of creating a new account.

By default, the new account is assigned a Standard, that is, a non-administrator role. Fill in the user information, then click Create.

The new account will be disabled because its password has not been set. To set a password for it, click on the password line.

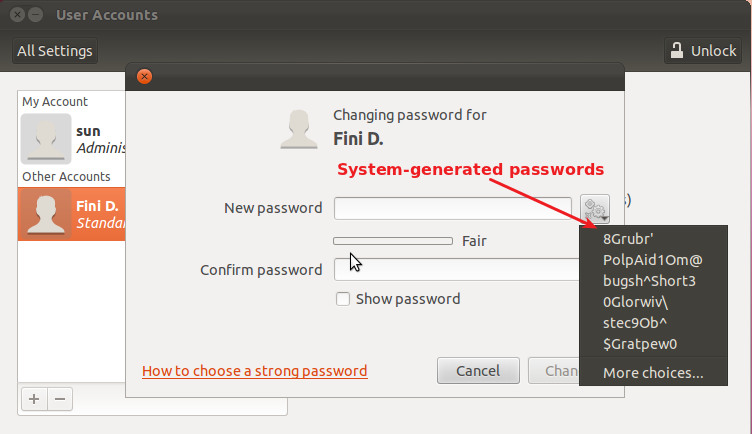
You have the option to choose from a list of auto-generated passwords, or specify one yourself.

If you rather specify a password, do so, and click Change.

That brings you back to the main user management window. Now, there are two user accounts in the system. The administrator can always change a Standard account to an Administrator account at any time. Note that by default, auto-login, or automatic login, is off, but that can also can be changed for any account. Deleting or removing a user account that you just created is a very simple process. Just visit the main window shown here, select the account, and click the “-” button.


Hi you can disable it without messing anything.
If you’re using gdm (if you upgraded from Ubuntu 11.04 for example)
just remove the package gdm-guest-session (in a terminal type: sudo apt-get remove gdm-guest-session ).
If you’re using the defult lightdm you have to modify the file
/etc/lightdm/lightdm.conf
so that it contains a section like (notice the allow-guest parameter)
[SeatDefaults]
greeter-session=unity-greeter
user-session=ubuntu
allow-guest=false
Hope this helps!
Cheers, -Luca
yes…i have done!!
thank you very very much!!!
“The problem with the Guest Session from the login screen is that it is so tightly coupled with the display manager that I do not think it can be disabled without affecting the functioning of the display manager. I have not been able to figure out how to disable it.”
BleedingEdge has you covered.
sourceforge.net/projects/bleedingedge
The code in question is located on lines 869-885 of version 11_10_4.
Enjoy,
Paul B. Fedele
http://askubuntu.com/questions/62564/how-do-i-disable-the-guest-session