Triple-booting windows 7 and two Linux distributions is a little bit more involved than dual-booting it with a distribution. You have to decide in what order to install the Linux distributions, and sometimes, the order you choose might not work. Such was the case with this attempt to triple boot it with Fedora 15 and Ubuntu 11.04.
Initially, I chose to install Fedora last, but discovered a major weakness in Anaconda, the Fedora system installer: It does not have a flexible means of configuring logical or primary partitions. And when you are using the MBR partitioning scheme, which limits the primary partitions that you can create to four, configuring partitions for a triple-boot operation becomes almost impossible.
So, the order of installation that made this attempt at triple-booting successful was: Windows 7, then Fedora 15, and finally Ubuntu 11.04. A few points to note here: The Desktop installer edition of Ubuntu 11.04 was used, not the Alternate Installer edition. Using the Alternate Installer edition would have resulted in many more steps and way too many screenshots. The Alternate Installer edition has its advantages: support for LVM, the Linux Logical Volume Manager, which is also the default on Fedora 15, and support for disk encryption. If you want the installation of Ubuntu 11.04 for this setup to be based on LVM, this guide should be of help.
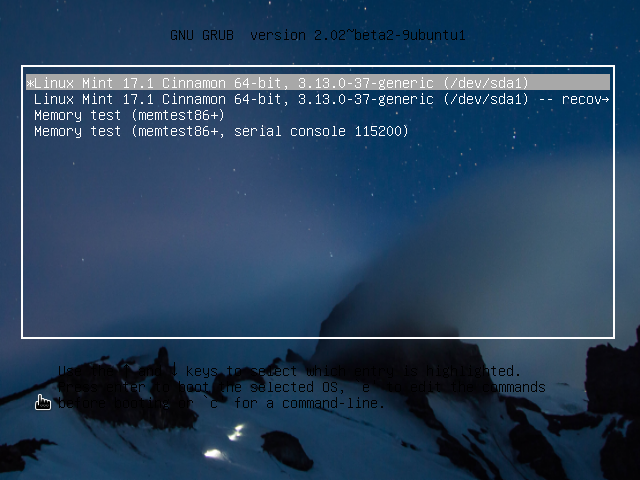
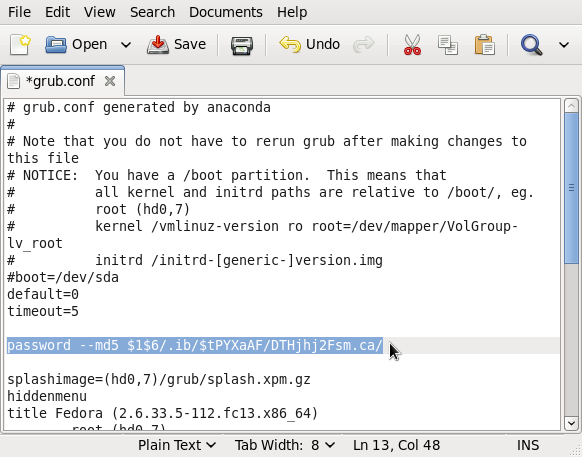
When installing Windows and a Linux distribution, or two Linux distributions, on the same computer, you have a choice of making the Linux boot loader or the Windows boot manager be responsible for dual-booting. Each has its pros and cons. If you opt for the Windows 7 boot manager, you give up access to the security features provided by GRUB, the default boot loader on virtually all Linux distributions. If you opt for GRUB, however, Windows could overwrite aspects of the boot program, even during installation of a Service Pack, or during an upgrade or re-installation. That is a major headache.
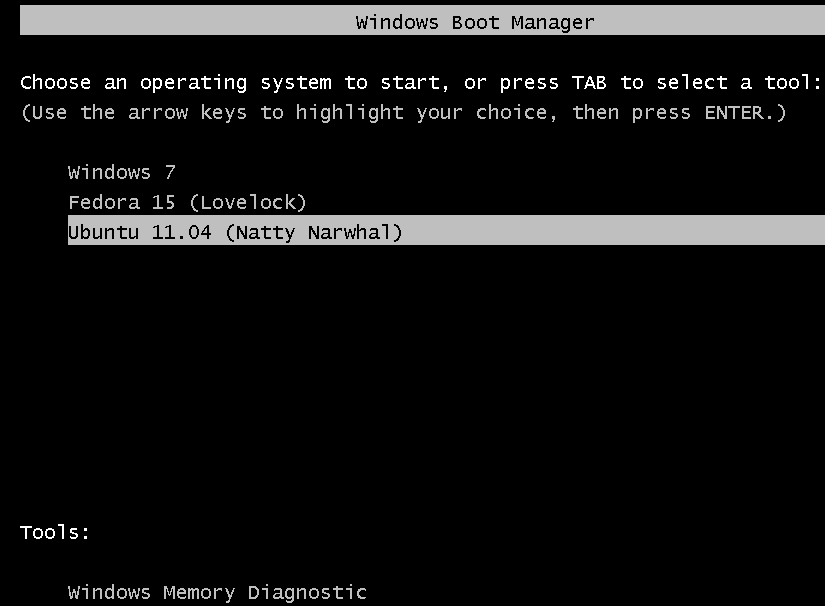
I consider the option I chose for this tutorial the path of least headache. And that option is to make the Windows 7 boot manager be responsible for handling the dual-boot operation. So that anytime the computer is booted, you will be presented with these options. Keep in mind that if you change your mind about Windows 7 boot manager, you can always log into Ubuntu and install GRUB in the MBR, transfering control of the dual-boot process to it.

The next major decision you will have to make is whether you want to install Windows anew or use an existing installation of Windows. If the latter, which is the method used for this tutorial, boot into Windows 7 and launch the Disk Management tool. One way to access it is to type partitions in the menu’s search field. The objective here is to use this tool to shrink the main Windows 7 partition, the C drive, freeing up space that will be used to install Fedora 15 and Ubuntu 11.04. To start the operation, …

Right-click on the C drive, then select “Shrink Volume.”

Windows will suggest how much to shrink the partition by. If the shrinkable space is less than what you think you need for installing Fedora and Ubuntu, you may consider reinstalling Windows, and assign it a disk space manually. Otherwise, click Shrink.

This is the result of the surgical operation you just performed. The Unallocated space shown here will be used for installing Fedora 15 and Ubuntu 11.04. Exit the Disk Management tool, then boot the computer from the Fedora 15 installation CD or DVD.

When the installer starts, click until you get to the step shown in the image below. Before proceeding with the installation of Fedora, you should be aware, if you did not already, that the installation takes place in two phases. Most of the installation tasks take place in the first phase, while in the second phase, the user account and a few other minor tasks are taken care of. Also, because of the approach used here, the second phase will be possible only after you have added an entry for Fedora 15 in the Windows 7 boot menu.
The Fedora installer is a very advanced system installer. For this installation, you do not need the very advanced features, just the regular advanced ones. That means selecting Basic Storage Devices. Next.

These are the partitions as detected by Anaconda, the Fedora system installer. You can see the two windows 7 partitions. The available disk space will be split between Fedora 15 and Ubuntu 11.04. For Fedora 15, which will be the distribution to be installed first, I chose to use LVM. the Linux Logical Volume Manager, which is the default disk partitioning scheme. That entails creating a non-LVM partition to be mounted at /boot, then a Physical Volume, under which you configure three Logical Volumes. First the boot partition. Select the free space, then click Create.
If LVM is a new concept to you, please read one or two introductory articles about it here.

The boot partition is a Standard partition, so stick with the default, then click Create.

The properties you need to specify for the boot partition are the mount point (/boot), the file system type and the size. Ext4 is the default file system for all Fedora 15 partitions, and the default size is 500 MB. OK.

After the non-LVM boot partition has been configured, the next step is to initialize the disk space to be used for installing Fedora 15 for use by LVM. Initializing a disk or disk partition for use by LVM transforms it into a Physical Volume. To begin this phase, select the free space, then click Create.

Select “LVM Physical Volume,” then click Create.

For the Physical Volume I assigned half of the available disk space to it. The other half will be used for the installation of Ubuntu 11.04. Disk encryption is not configured for this tutorial, but if you want to encrypt the Fedora 15 installation, this is the step to enable it. Encrypting the Physical Volume effectively encrypts the Logical Volumes that will be configured under it. OK.

With the Physical Volume configured, the next phase involves creating a Volume Group and Logical Volumes. In LVM parlance, Logical Volumes are the equivalent of partitions. Select the Physical Volume, then click Create.

Make the right choice. Create.


hi hi
please make toturial
for install centos beside(side) win7&ubuntu installed 🙁
i want help:(
Start with Windows 7 installed. Install Ubuntu, then Install CentOS. At each step, be sure to leave a spare partition for the next OS.
If you tell me how many Windows partitions are on the target HDD, I’ll be able to give you a more detailed suggestion on how to proceed.
Thankx for this. Well explained. Very helpful for me.
In your tutorial you had only 2 primary partition earlier at the start point. But I have 3 primary partitions consumed by windows:
1st: System Reserved
2nd: Windows Installation
3rd: Application Software (I install windows software here)
Unallocated space 120 GB
I want to install 3 Linux OS in this Free space. Is is possible? How to do it?
Unless you are using GPT-based partitioning, you have just 1 free primary partition left. That 120 GB of unallocated space will be created as an extended partition. From there, you then create the logical partitions to install the Linux distro(s).
So the answer to the first part of your question, is yes, it is possible. The second answer will depend on what distros you intend to install. If you are new to disk partitioning in Linux, start with guide to disks and disk partitions in Linux.
What are the 3 distros you intend to install?
Thanks for quick reply.
I want to install these three distros:
1. Fedora 17 (I’ll use this mainly) within 70 GB
2. Debian or Debian based distro (Just for testing)within 30 GB
3. Any other distro (other than above two, just for testing ) within rest of the space
Some more question:
I will install Fedora 17 from Live USB. Do I need another third party tool to make that unallocated space as extended partition or Anaconda installer of Fedora will take care of that? I mean how to make an extended partition ?
If Fedora 17 will be the main distro, and you only want to use the other 2 for testing, one option (the easiest) is to install Fed. 17 on all 120 GB of free space, then install the other two in a virtual environment inside Fed. 17.
Virtualbox is the easiest app that will enable you to install any other OS in a virtual environment.
Anaconda or Debian’s installer will create the partitions you need.
Note that if you opt to install all 3 on real hardware, it will be easier to install a distro, like Fed. 17, last, as an installer that does not support LVM will not “see” an LVM partition. (Fed 17 uses LVM by default.)
I don’t think you need a 3rd-party tool to make a bootable Fed. 17 USB.
Thanks for the walkthrough.
How can I tripple boot windows vista, ubuntu, and Red Hat enterprise Linux?
In the order that you listed them. It might be best to put in a second HDD for Ubuntu and RH. A small HDD for Vista, and a lager one for the Linux distros.
i tried it & work very well
thanx for well explained post..
I have Windows XP, Linux Mint 9 and Linux Mint 11. On the top of it, I installed Ubuntu (by selecting ‘install alongside other OS’ option). Ubuntu is installed and after update-grub, it is even listed in the grub (It was not, before). But when I choose Ubuntu 12.04 from grub, some CLI type commands are listed in the screen and Ubuntu doesn’t load.
What do you think is the issue? It was an automatic install and hence I am not sure if it created a / folder. Do you think I should reinstall Ubuntu? The customized installer in ubuntu is very complex. Do you have a tutorial for the same?