I’ve been playing with the Cinnamon edition of Linux Mint 17.1 since it was released, and I’ve just gotta say that it’s the best desktop distribution released this year.
Cinnamon is slowly but surely carving out a place at the top of the list of free software desktop environments.
As good as Linux Mint 17.1 Cinnamon looks, however, it still ships with a GRUB boot screen that doesn’t match the desktop.
In this short tutorial, you’ll read how to replace the default GRUB background with a more colorful one by using an application called GRUB-Customiser. The defautl GRUB boot menu is shown in Figure 1.
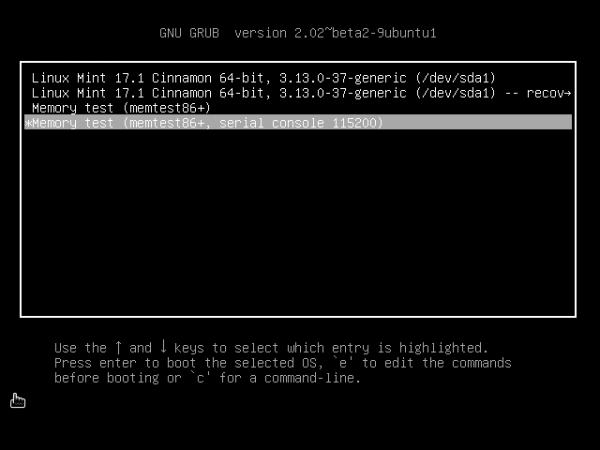
Figure 1: Default GRUB boot screen on Linux Mint 17.1.
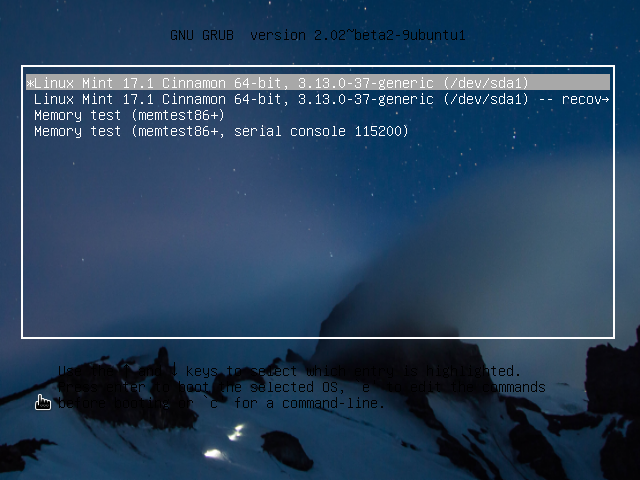
This figure shows what it could look like. This doesn’t show the most accessible GRUB menu background, but it does show that you can make it look any way you like. With the right image, you can even give it an Xmas theme.
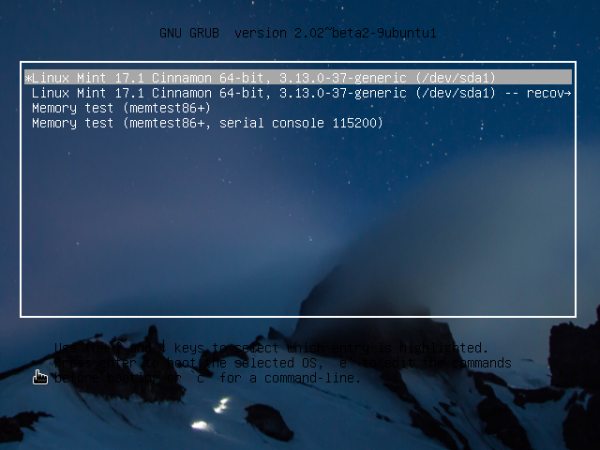
Figure 2: New GRUB boot screen on Linux Mint 17.1 Cinnamon.
The application that will make the process point-and-click easy is called GRUB Customizer. It is not installed by default on Linux Mint 17.1, so in the rest of this tutorial, you’ll read how to install it from a Personal Package Archives (PPA) and use it to customize the GRUB boot screen’s background.
You can install the PPA from the command line or from the Software Sources module of Linux Mint Cinnamon’s System Settings. The PPA is by Daniel Richter. If you choose the command line route, install it by typing the commands given in this code block.
# This adds the PPA
sudo add-apt-repository ppa:danielrichter2007/grub-customizer

# Update the package database
sudo apt-get update

# Install GRUB Customizer
sudo apt-get install grub-customizer

# Alternatively, you may type the commands like this

sudo add-apt-repository ppa:danielrichter2007/grub-customizer && sudo apt-get update && sudo apt-get install grub-customizer
If you prefer a point-and-click interface, open System Settings and click on the Software Sources module in the Administration section. When it opens, click on the PPA tab and then click on the Add a new PPA button.
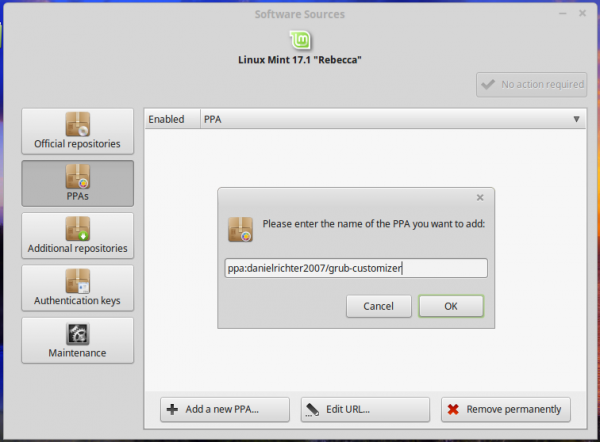
Figure 3: Adding GRUB-Customizer PPA on Linux Mint 17.1.
This just shows the system informing you what it’s about to do. Click OK.
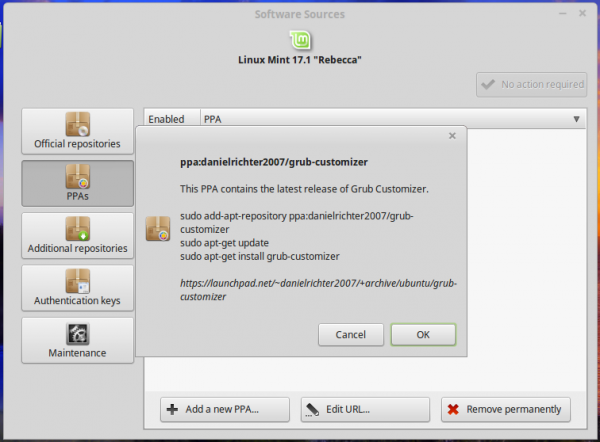
Figure 4: System prompt to add GRUB-Customizer PPA on Linux Mint 17.1.
After installation has completed, you should see the PPA and its source listed on the main panel of the PPA tab. Click Update the cache button to update the package database. This is the equivalent of typing sudo apt-get update. Close Software Sources manager.
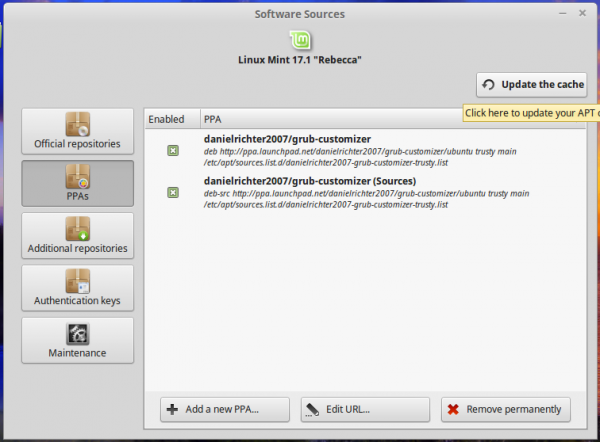
Figure 5: GRUB-Customizer PPA on Software Sources Manager of Linux Mint 17.1.
You may now install the application by typing sudo apt-get install grub-customizer. After it’s installed, launch it from the menu.
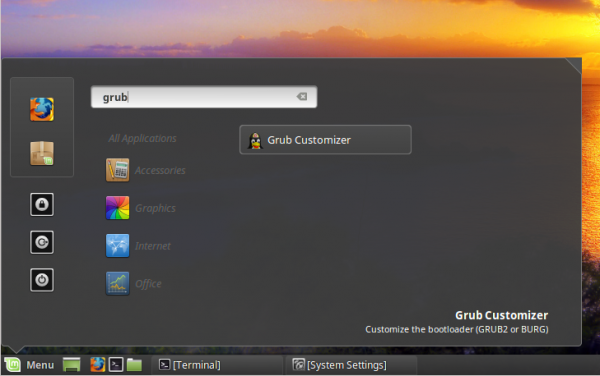
Figure 6: Launching GRUB-Customizer from the menu of Linux Mint 17.1 Cinnamon.
And after it has started, click on the application’s Appearance tab. By default, the GRUB screen in Linux Mint 17.1 does not have a background image. To add one, click on the background image button in the lower-left of Appearance tab. Select an image that you like from your collection.
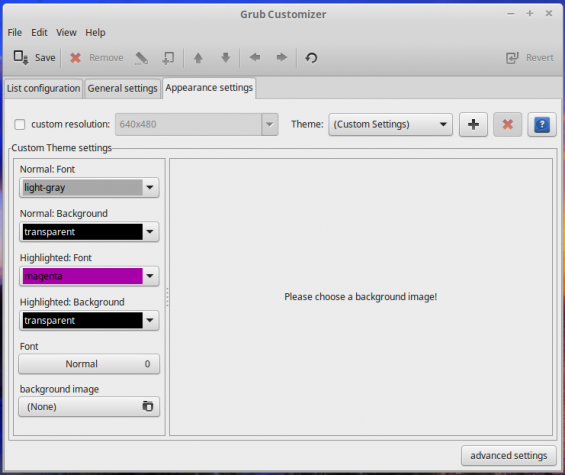
Figure 7: Appearance tab of GRUB-Customizer in Linux Mint 17.1 Cinnamon.
The selected image should appear in the preview panel. If it looks good and you can read the GRUB menu entries, click the Save button. After that, reboot and see how your choice of background looks. Hope it’s better than the one shown in Figure 2 of this tutorial.
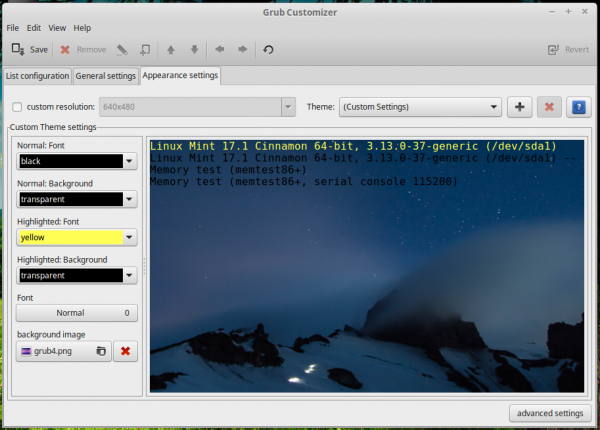
Figure 8: Preview of GRUB background in the Appearance tab of GRUB-Customizer in Linux Mint 17.1 Cinnamon.




I put a picture and made other changes, but practically non seen anything as it was in the Preview. Basically changed the font, spacing between words and the frame of the menu, but quite different from how it was in pre-visualization.