OpenIndiana (OI) is a distribution of illumos, which is a community fork of OpenSolaris. And OpenSolaris itself was the open source version of Solaris, before it (OpenSolaris) was discontinued by Oracle, after Oracle acquired Sun Microsystems, Inc., in January 2010. Before OI’s base was switched to Illumos, it was based on OpenSolaris. I know this all sounds convoluted, but that, in summary, is the history of OI.
Compared to popular Linux distributions, OI is a relatively young distribution, with a very small development community whose members are mostly based in Europe. OI Build 151a is the latest development release, and the third so far. A stable edition is slated for release before the end of this year.
OI Build 151a has a desktop edition and a server edition. This review is based on the desktop edition, and marks the first time any distribution that can be traced back to Solaris, has been reviewed on this website.
The boot menu is shown below. The fuzzy text is original; it is not an artifact of the screen grabbing software.

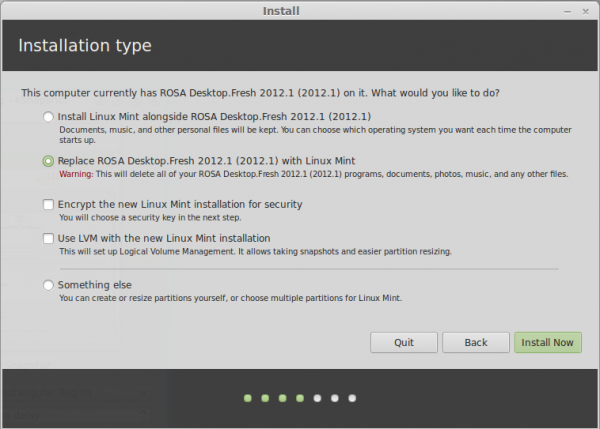
Installer and Installation Process: But there is nothing fuzzy about the installer, which sports a simple, easy-to-navigate interface. The disk partitioning step is shown in the image below. It shows that the installer has an automated (disk) partitioning tool, which should make installation a lot easier for those not familiar with the Solaris disk partitioning scheme. The default file system is ZFS.

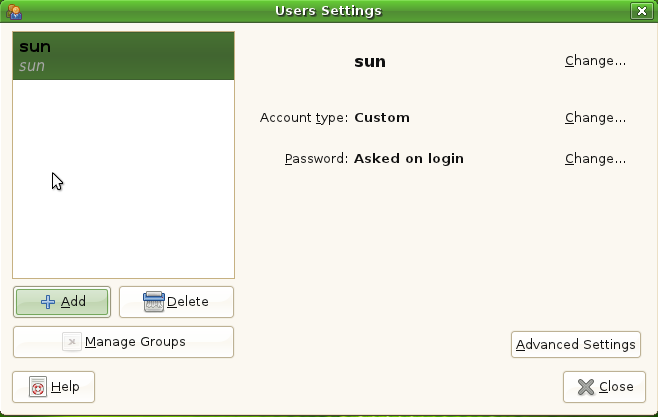
The user account setup step, shown below, is like that of any Linux distribution’s. Though GRUB Legacy (GRUB 0.97) is the boot loader, the installer does not give the opportunity to choose where it is installed. Something to keep in mind when attempting to setup up a dual-boot system.

This video shows all the steps involved in the installation process.
[youtube width=”600″ height=”400″]http://www.youtube.com/watch?v=uaD3NZJQDzc[/youtube]
Desktop: The default desktop environment on OI is GNOME 2 (GNOME 2.30), and that is the only usable (by new users, anyway) desktop environment available for OI out of the box. GNOME 3 is not in the picture yet, and while Xfce is installable, on my test installations, Xfce was barely usable. KDE packages are also available, but the first time I installed KDE, a bug made it very annoying to use. That bug manifested in the startup sound looping for ever.
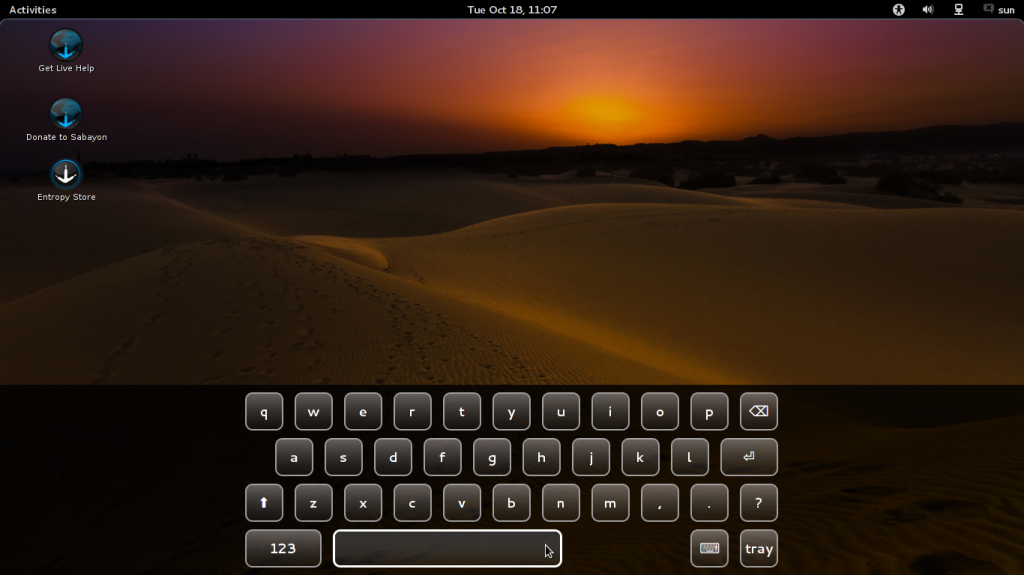
A screenshot of the default desktop is shown below. Looks just like any other GNOME 2 desktop. Underneath, however, lies a very powerful system, one that you will not find in a default installation of any Linux distribution. It also comes with its share of bugs. Keep in mind that this release, like all previous OI releases, is a development release, so bugs should be expected.

One of those bugs, is one that you can “fix” easily, and it involves the root password that you specified during installation. It is not something that is apparent until you attempt to use an application that requires authentication as root. The application will not start. Only when you try to su to root, from the command line, of course, that the system informs you that root’s password has expired. This image shows how I stumbled on it, and the “fix.” Note that this is a known bug. It just was not fixed for this release.

Once the password was changed (renewed), a graphical application that I was able to use is the Time Slider, designed for managing system snapshots. This shows the application in its default state.

A snapshot, by definition, is a read-only, time-defined version of a file system or volume. If snapshotting is enabled, the system will, by default, take snapshots of the system, or whatever file system you specified, at regular time intervals. When enabled, Time Slider’s interface looks like this:

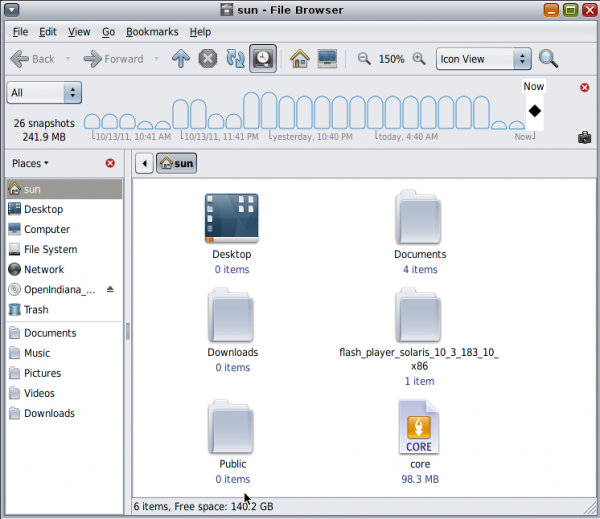
With Time Slider enabled, it is then possible to manage system snapshots from Nautilus, the file browser. Once Nautilus is started, clicking on the clock icon reveals the snapshots that the system has taken.

This is what it looks like. At the time this screenshot was taken, Time Slider had been enabled on the test installation for two days. Clicking on a snapshot makes it possible to view the data on the system at the time the snapshot was taken.

While viewing a snapshot, it can be deleted just as easily as as new one can be created. This is powerful stuff, made easy to use. The last screenshot in this review, on the last page, shows snapshots from a system with Time Slider enabled for three days.




This is a distribution going through a growth curve.The current hipster project needs a stable release for users which was expected June 2016 by users. The desktop needs development expertise and would invite interested graphics developers to look at the draft desktop designs for the forthcoming release.
Yes I have tried it in the past. I liked it very much, very beautiful desktop. I found nothing wrong at the beginning, but the only reason for me to uninstall it was that my network card supports only Windows, Linux and MAC. I thought it would have detect my network automatically, but it didn’t. So there was no other way. But to be frank, the desktop appearance was very attractive. I could not get into much of the functionality since network was not possible, and so in fact, didn’t try much….Anyway, I wish the enthusiastic community all wishes to create miracles in the open source software arena……
We need this open source OS.Waiting for stable release.
Many thanks for development for OI.
The more you use this system the more you realise how powerful it is.It is still relatively young giving a fertile development platform for development.This is a great tool for professionals but those looking for a exclusively desktop experience should look else where.
Conclusion very good distribution in a growth curve.Down load a live DVD and try it?
OI boot loader configures dual boot silently for windowx xp, 7 and windows 8 preview as well. I have tried suceessfully. It even recognizes linux and accordingly provide dual boot facility for all other operating system. However, the filesystem being ZFS, no OS recognises OI and unable to show the files on ZFS where as you can view the files of windows and linux as well.
It is the most validated system in the world today apart from windows variants.
Nice to know. Still waiting patiently for stable release.
I think we really need this distro, because I never saw a distro like this one, forget about GNOME or any Graphical User Interface or even CUI, the underlying technology is something very good and unique.
…And it’s a very useful review, Thanks.
Yeah, the underlying technology rocks! I’m still waiting for the final release.
Lots of options for installing as a VM client; will this install on bare metal? What bootloader? What security features are worthy of note? Firewall like iptables/pf? file integrity subsystem ala aide/samhain/tripwire? Other?
can this OI be dual-booted with Linux? dual-boot with *BSD? from a single HDD?
Will this run headless? Can I unplug the monitor without a halt occuring?
To your first question, yes. Boot loader? GRUB 2. The firewall is IP Filter or IPF. Not sure about aide/samhain/tripwire. Will have to boot my system and look those up.
For you other question, yes, it can be dual-booted with any other distribution. And it can run headless.
great review!
Uh my only question is this, WHY? There is a tiny group persistently
slogging along with this effort. The review here is okay, but honestly, OI will never ever become mainstream or anywhere near popular enough to become anything significant. So why.? Aren’t these developers working at regular jobs. Solaris was a dog, and everything that came from it is a dog.. So?
There was a time in history when people said the same thing about linux.. about bsd.. about macosx.
There are 1000’s of opensource projects in the world. All of them interesting for one reason or another. This group has passion and tenacity, both necessary for a good group project.
+1
And my answer to that is: WHY NOT?
OI is a splendid initiative allowing us in effect to continue using OpenSolaris/Solaris without the hassles & exorbitant costs of Oracle licensing, etc. Using ZFS, I am able to create huge and very reliable data stores at really low cost and on the desktop, OI has the rock-solid dependability we have come to expect from Solaris.
There is something in solaris and OI still unavailable on Linux, specifically, ZFS and zones. I’m using mostly Linux in our data center. However, for a filer, I’m using solaris 10 because of the above.
I’ve had a very good experience with solaris in the past, but because of excessive charges for subscription from Oracle, I’m trying to move away from it. Hope OI will become a good replacement for solaris 10.
Thats a good write up of Open indiana I’ve been tempted to try it for a while now but it being solaris based has kept me away for now.
Is the time slider function specific to Open indiana?
Afaik, Time slider is from Solaris, so it is not just for OI.