The first task to perform when you’re trying to set up a dual-boot system between Windows 11 and a Linux distro, like Fedora, Linux Mint, or Ubuntu, is to download the distro’s ISO installation image and flash, or write, it to a USB stick. This article gives you the 2 applications that I’ve found to be the simplest and easiest to use in Windows 11.
They are . . .
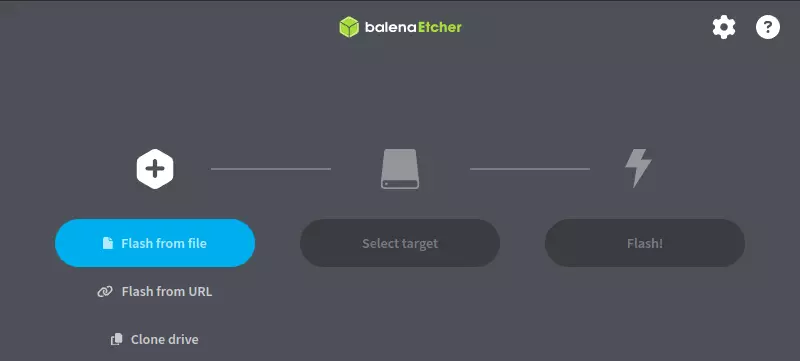
balenaEtcher
balenaEtcher or just Etcher, is cross-platform, so it can be installed not just on Windows, but also on Linux, and macOS. It’s open source, gives notification when a flash operation has finished, and hides your system drive(s), so you don’t accidentally overwrite them. Aside from being able to flash a downloaded ISO image to a USB stick, you can also flash directly from a URL.
A bonus with Etcher is that it can also be used to clone your system drive. You may grab an installation image for Windows 11 from the project’s download page. After installation, launch the application and start flashing. The interface is very intuitive to navigate, so you don’t really need any documentation on how to use it. If you need something simple to use just for flashing a Linux ISO image to a USB stick, I strongly recommend balenaEtcher.
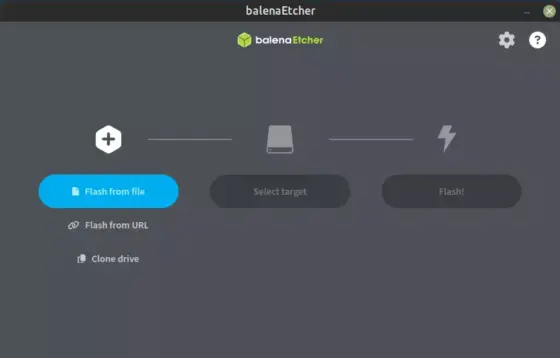
Figure 1: Using balenaEtcher to flash a Linux ISO image.
Ventoy
Ventoy is another cross-platform application for flashing Linux ISO installation images to USB sticks, being usable not just on Windows, but also on Linux distros. However, it has a lot more features than balenaEtcher, though most of those you may never need, like being able to flash more than one Linux ISO image to the same USB stick. You may download a zip file of Ventoy from the project’s download page, then learn how to run it.

Figure 2: Ventoy for flashing Linux ISO to USB stick
I’m pretty sure there are similar software like balenaEtcher and Ventoy, but they are the simplest and easiest to use when you need to flash a Linux ISO file to a USB stick in Windows 11.

