UFW, the Uncomplicated FireWall, is the default firewall application on Ubuntu 14.10. It’s a nice application with a simple command line syntax and an even simpler to use graphical interface, but it lacks support for IP or network zones, a key feature of FirewallD, another firewall application from the Fedora project.
This tutorial shows how to remove (uninstall) UFW and install FirewallD in its place on Ubuntu 14.10 desktop, the latest edition of the Ubuntu Desktop.
FirewallD comes with three components – a command line interface called firewall-cmd, a graphical interface called firewall-config, and a panel applet appropriately named firewall-applet. To install all three at the same time, open Ubuntu Software Center and search for “firewall-applet.” then install it. Alternatively, you could open a shell terminal and type <strong>sudo apt-get install firewall-applet</strong>.

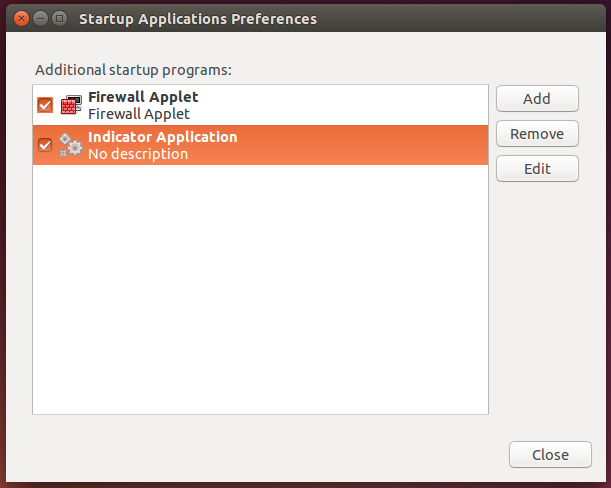
Since UFW is still installed, now’s the time to uninstall it. To do that, type <strong>sudo apt-get remove ufw</strong>. Though the applet is installed, it will not start even if ou restart the computer, and even though it’s listed as a startup application in the Startup Applications Preferences. And attempting to start it from the command line fails. In any case, the main firewall application still works. The drawback of not having a visible applet on the panel is, of course, not being able to control aspects of FirewallD’s features with no more than two mouse clicks.

An advantage of replacing FirewallD with UFW is that it makes it possible to use network or IP zones on the system. So if you open the Network Manager settings and click on the General tab, you should see FirewallD’s preconfigured network zones in the Firewall zone combo box.

If you’re not happy with FirewallD after installing it using this tutorial, you can always remove it and restore UFW by typing <strong>sudo apt-get autoremove firewall-applet</strong> to uninstall it, then followed by <strong>sudo apt-get install ufw</strong> to reinstall UFW.


