Summary: How to customize Linux Deepin 12.12 offers a few steps you can take to make a default installation of Linux Deepin 12.12 a little bit more user-friendly and more secure.
Linux Deepin 12.12 (see Linux Deepin 12.12 review) is the latest edition of Linux Deepin, a desktop distribution based on Ubuntu Desktop. It features a brand new desktop environment called the Depth Desktop Environment (DDE), which is built atop GNOME 3 technologies. It’s a beautiful job, but the default installation can use some tweaking.
Unfortunately, some of those tweakings have to be carried out at the command-line. But they are all easy to accomplish, so don’t panic, if you are not very comfortable at the Linux command-line. In this article, the few steps you can take to make a default installation of Linux Deepin 12.12 more secure and user-friendly are presented.
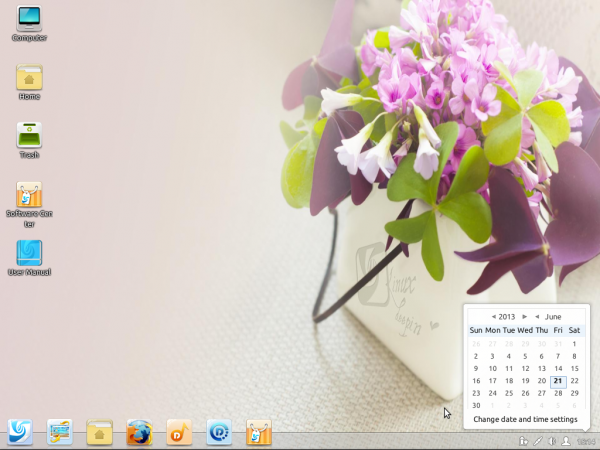
1. Hide the Dock: If you are not using Linux Deepin 12.12, here’s what the default desktop looks like. By default, the Dock, which is located at the bottom-edge of the desktop, is fixed, and the application icons take up too much desktop space.

Luckily, the Dock can be configured to become invisible or auto-hide. To do that, simple open DDE’s System Settings, click on the Desktop module and select “invisible” or “auto-hide”‘ from the Display Style dropdown menu of the Dock section.

2. Activate mini-Dock: Setting the Dock to auto-hide or become invisible looks cool, but it can be annoying, given that it can pop out inadvertently. That’s why I don’t like that setting. My preferred way of dealing with the Dock is to activate the mini version, which comes with application icons that take up less desktop space. To do that, open a shell terminal and type:
gsettings set com.deepin.dde.dock active-mini-mode true
.

This is what the mini version of the Dock looks like. Much better. Note that even with the mini version, you can still configure the Dock to auto-hide. So, you can have your cake and eat it too.

3. Install Firewalld: Like all Ubuntu-based distributions, Linux Deepin ships with a firewall application called ufw, the Uncomplicated FireWall. It also has firewalld in its repository. Firewalld is the default firewall application in Fedora. It is my preferred firewall application partly because its graphical interface has more features than that of ufw. As a bonus, it also has an applet. To install it, you can either do so from the command-line or from the Deepin Software Center, the distribution’s graphical package manager. Just search for “firewall-applet” and install it. From the command-line, type sudo apt-get install firewall-applet. That will install firewalld, the graphical interface, and the applet. Once installed, start firewall-applet from the application launcher. Its icon should appear in the Systray.

This is the graphical interface of Firewalld. By the way, firewalld is also the name of the daemon. You can confirm that it’s running by typing sudo service firewalld status. It comes with several zones pre-configured, and the default zone is Public. Might be better to change it to Home, as its settings are designed for use in a more trusted environment.

To change the default zone, select Change Default Zone from the Options menu.

4. Configure Firewall-applet to auto-start: By now, it should be obvious that if you log out or reboot the computer, you will have to restart firewall-applet. To make it auto-start on login, open System Settings and click on the Default Applications module. Then click on the Autostart tab. On a fresh installation of Linux Deepin 12.12, the tab is empty. To add firewall-applet so it auto-starts on each login, click on the New button.

Fill in the fields as shown in this image. You can modify the comments field, but the Exec filed must be firewall-applet, because that is the command that starts the applet. Click OK.

Now you are ready to go. You may test it by logging out, then back in. Firewall-applet should start automatically.


