Out of the box, Linux Mint 12, the latest edition of Linux Mint, a desktop Linux distribution based on Ubuntu Desktop, comes with a choice of two desktop environments – GNOME 3 with Mint GNOME Shell Extension (MGSE), and MATE, a fork of GNOME 2.
While the combination of GNOME 3 and MGSE is an attempted to improve on the user-experience of a stock GNOME 3 installation, it still leaves the user fighting the desktop just to get things done, and MATE is not yet ready for prime time.
While I am not exactly a fan of Ubuntu’s Unity Desktop, I think it presents a better user-experience than GNOME 3 with MGSE. So, this tutorial shows the steps necessary to install and run Unity Desktop on Linux Mint 12.
Before we get into it, here is the default login screen on Linux Mint 12. If you are not logged it yet, please do.

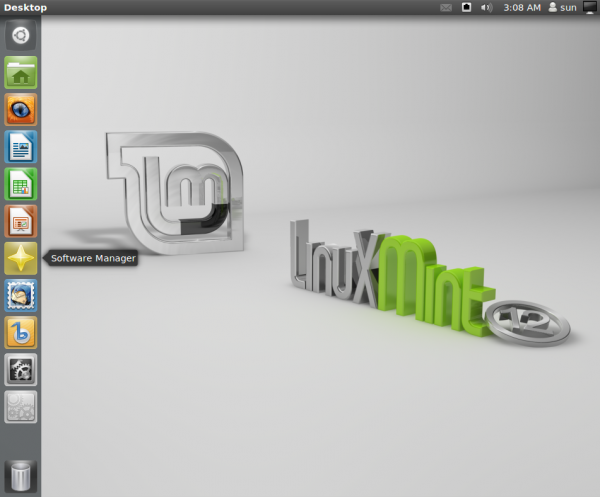
Then start the Software Manager, and search for “unity.” Install it. It will pull in other necessary packages. After installation, logout.

And here is the new login screen. Login again. Be sure to select “Ubuntu” from the login menu.

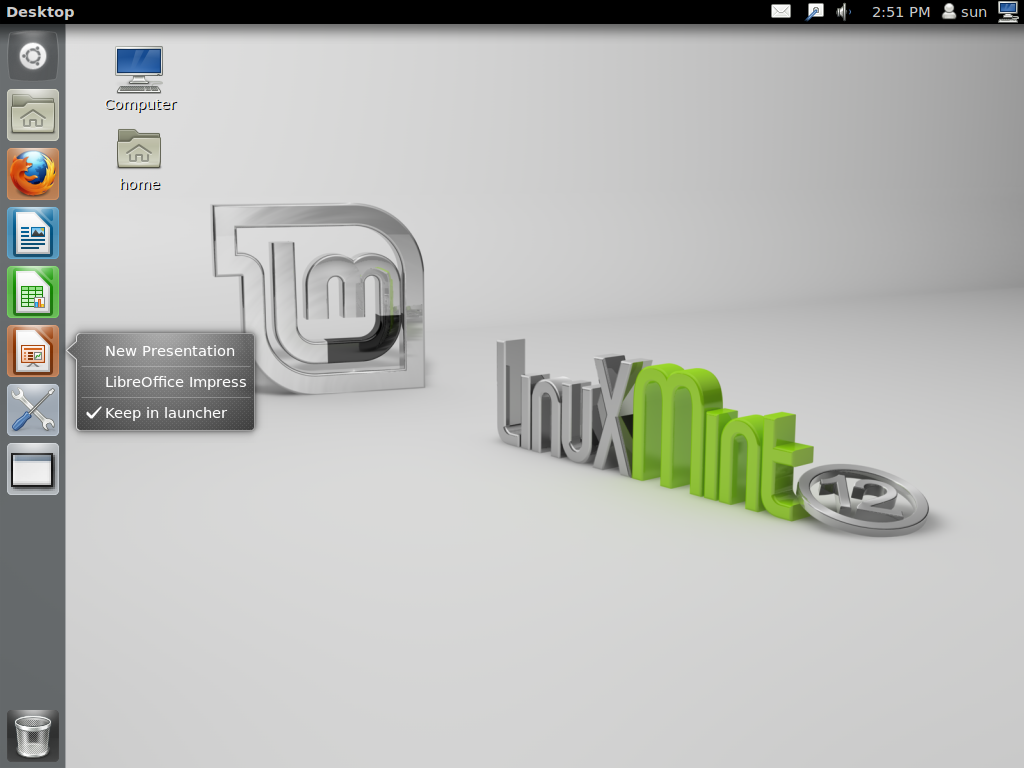
What the default Launcher looks like on Linux Mint 12. Not exactly like it is on Ubuntu,

But you can always populate it with your favorite applications.

Hey, and the Dash looks just the same. So now, enjoy your Unity Desktop experience on Linux Mint 12.


Thanks for the tutorial. Personally I have respect for canonical for doing their own things and hope their continue developing unity. Installed the 11.10 version and didn’t like as i had some bugs and difficulties, but after the automatic-upgrading to 12.04 things are much better and i’m enjoying a lot the interface and how everything works out of the box (Mine is a common, non-wide desktop). Nobody mentions how unity is fast to boot and shutdown, which is important for me. In the same machine i have fed16-gnome3 and mint12-kde. Hated this fedora distro and the gnome-shell. The extensions i got to change things are buggy and don’t match very well with gshell. Have had many bugs with mint-kde also, so the best for me now is ubuntu-unity. At least until i put mint13-mate in fed16’s place…
The Unity desktop is something different for Linux Mint users, but I prefer the MATE desktop on Linux Mint 12, it just makes more sense to me using a Gnome 2.32.2 styled desktop on a modern distribution is awesome.
MATE is ok, but Cinnamon is much better and it is being actively developed by Linux Mint developers. See What does Cinnamon bring to the desktop?.
I tried this just now out of curiousity. It was quite interesting at first but soon I find it a bit awkward to use on my machine which has a big screen, especially when I started using multiple applications. I can see how this can be useful on a netbook or small laptop whose small screensize is just enough for one application at a time but on a machine with bigger screen I’d stick with the default desktop. I might try Bodhi Linux when I have time.
I don’t understand why anyone would want to di this either. Unity is the problem that you try to get away from.
Well, my first thought was how could there possibly be enough people want to do this to make publishing the article worthwhile. Then I realized the article will draw a lot of people wanting to ask why anyone would ever consider doing this-so will probably draw a fair bit of traffic-and I’m an example of someone silly enough to read it.
Freedom of choice is the answer. Doing so in Mint gives you another choice of desktop. Ubuntu (Canonical) is going too much commercial for me, I really hate the ad-centric like ubuntu software center: I prefer apt-get in CLI or Synaptic, both are way faster and much professionnal for me.
Unity and Gnome 3 are not completly bad, what is bad is the lost of customability and the KISS attitude (Keep it Simple Stupid). I now have to tweak harder to get my desktop more usable, pffff…
By the way, try Bodhi Linux, it flies! I installed it on a netbook, replacing Ubuntu 11.10, now it’s fast, pretty and cool (composite effects despite a poor small video card). Too bad Bodhi Linux is only 32 bits, I would use it on my main 64 bits machine…
Egad….. why would anyone want to do this? Both Unity and Gnome 3 have serious usability issues. MGSE seems like a pretty reasonable bridge between old and new, until new becomes more usable.
I’ll stick with XFCE. It provides a much better user experience that isn’t whacked out by some developer on a tablet/phone UI trip for a desktop system.
Am I reading this right? your fighting the Desktop in Mint?
I can’t get nothing done quick in Unity, I don’t care how puff cake looking it is. You are fighting the Desktop when using Unity.
I need this about as much as I need to install Internet Explorer on Linux.
Have to agree with Jonquil, sort of … but at least this shows how easily interchangeable Mint and Ubuntu are in the end. So I’m looking forward to the next post on “how to run Gnome 3 on Unity- enabled Mint 12” 😉
Why would someone want to run Unity? Linux Mint is great because there is no Unity and Gnome 3 is kind of usable.
I guess the next article would be: “How to replace Unity by MGSE in Ubuntu 10.10”
Actually, that has already been published on another website. And I’m not kidding. Try googling it.
This has got to be a joke of some sort! You can run Unity on Linux Mint but why on earth would you instead of just running Ubuntu?
It’s called freedom! You can also choose to run GNOME 3/MGSE on Ubuntu. But, why? Why not just run Mint instead? Again, freedom to mess with your system in any way, shape or form.
quote::While I am not exactly a fan of Ubuntu’s Unity Desktop, I think it presents a better user-experience than GNOME 3 with MGSE.
Clear you are being humorous. Frying pan/fire would be a good comparison of better.