This is what the new partition creation window looks like. Notice that by default, GParted will want to create this partition as a primary partition. Because the system allows us to create a maximum of four primary partitions and because we intend to create four partitions just for LMDE, it becomes necessary to create this as an extended partition. An extended partition makes it possible to create many more partitions under it than the traditional maximum of four. The thing to remember is that the partitions created under the extended partition are known as logical partitions.
Numbering of logical partitions starts at 5, and as we will see further down, the first logical partition will always be /dev/sda5, even when the extended partition it is created under is /dev/sda3.

To create the extended partition, the only change you need to make here is to select “Extended Partition” from the “Create as” dropdown menu. Add.

Select the unallocated space under the newly created extended partition, and click on the new partition button to start creating logical partitions.

Our first partition, which will be /dev/sda5, will be mounted as /boot, and is where boot-related programs will be installed. On a new installation of LMDE, only about 15 MB of the space allocated to this partition is used. Note that as the kernel is upgraded, the space used here will grow. So if you intend to use this installation for a long time, try to allocate as much as you can afford to. 500 MB is now the norm. For file system, you may select ext2 or a journaling file system except btrfs. Add.

The second partition will be used for swap, which is the space that will be used as virtual memory. Most distributions, depending on available disk space, tend to allocate about 2 GB to it, which is the size allocated in this example. Add.

The third partition will be mounted at /, the root file system. This is where almost everything will be installed. How much space should you then allocate to it? For guidance, a new installation of LMDE takes up less than 3 GB of disk space. Therefore, anything more than 3 GB should be enough. If you have disk space to spare, be generous and allocate 6 GB to 10 GB. Add.

The last partition, which should be allocated all the available disk space, will be mounted at /home. Add.

After all the partitions have been created, click on the arrow as shown to apply the changes.

Then exit from GParted.

Back on the main installation window, click on the Refresh button to see the new partitions. For each LMDE partition, double click on it or right click and select Edit from the context menu. The task is to set the mount point and file system.




What about multi boot with Mint on secondary disk?
That’s even simpler. Install Windows on disk 1, then install Mint on disk 2. Expect a tutorial on that soon. I’m assuming your PC has Windows 10 or 11, right?
Thank you for an excellent guide!
There are so many ‘tips’ on this topic and incomplete guides out there on this topic.
Your setup is the best and your steps very well explained. I couldn’t have done it without you.
For those looking for a video… This same method is shown by Matthew Moore on You Tube, where he explains exactly why this is superior to other methods:
Mint Debian here we go!
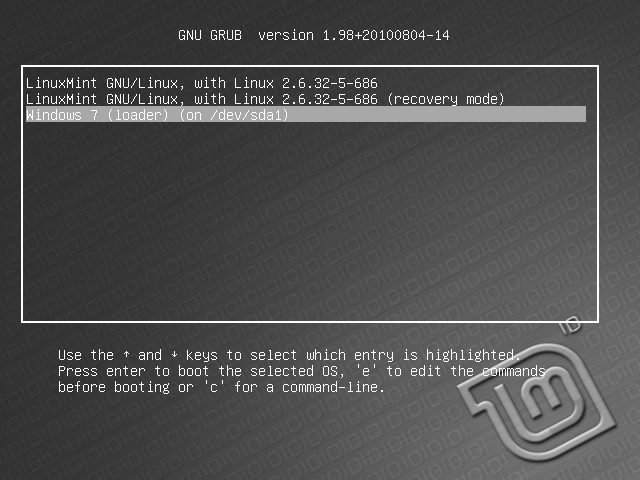
Thanks a million for a good and easy to understand guide to set up LMDE along side with Windows 7. I especially appreciate your idea of keeping the two completely separated and keeping grub on /boot 😀
It doesn’t work. I’m not able to choose /dev/sda5 (my /boot partition) for GRUB installation. In dropdown list I have only /dev/sda or /dev/sda1 (windows boot partition).
Strange! Do you see the partitions you created in the list above the dropdown menu?
No. I see only sda (whole) and sda1 partition.
In disk manger I see everything. In Gparted I see all the partitions. But not in dropdown menu. I use live image on USB.
It shouldn’t matter whether you are using a live image from USB or from a CD/DVD. There should be a list of created partitions in that menu.
Note that this tutorial is from 2011, so if you are using a recent edition of LMDE, it is possible that there is a bug in the installer. I’ll have to attempt an installation using it to see what’s going on.
What edition of LMDE are you trying to install?
The latest – 201303. I’m trying to make something with it. So I will report it.
I get a grub> command line instead of GUI?
What’s the size of your disk, the size of the Windows partitions, etc
Thanks a Tonnnnnnnnneeeeeeeeee.
It was just Great.
Thanks for the tutorial. It worked perfectly! 😉 I wish I would have left some space in my HDD to try Linux Mint 13 when its released… Would I be able to partition more space from the Linux partition we created here?
If you have unallocated space or unused space left, yes.