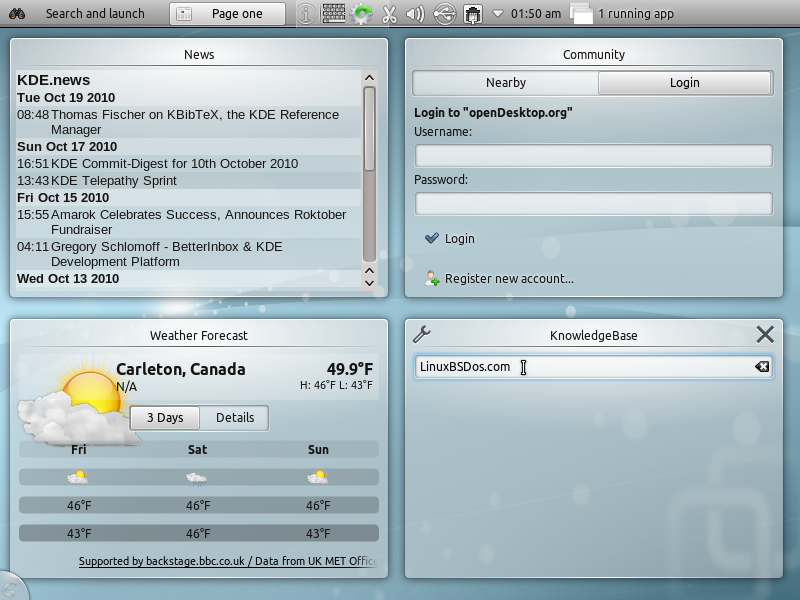
 The latest K Desktop Environment, KDE, features two modes of interacting with the desktop – the classic Desktop interface and the Netbook interface. On recent KDE-based distributions that I have reviewed for this website, the default is the classic Desktop, but switching to the Netbook interface is an easy, few seconds process. I posted a few screenshots of the Netbook interface in a review of Kubuntu 10.10. In this article, I will present a detailed look at the features of this new interface type.
To switch to the Netbook interface, launch System Settings and click on the Workspace icon (under Workspace Appearance and Behavior). The default Netbook interface is shown below.
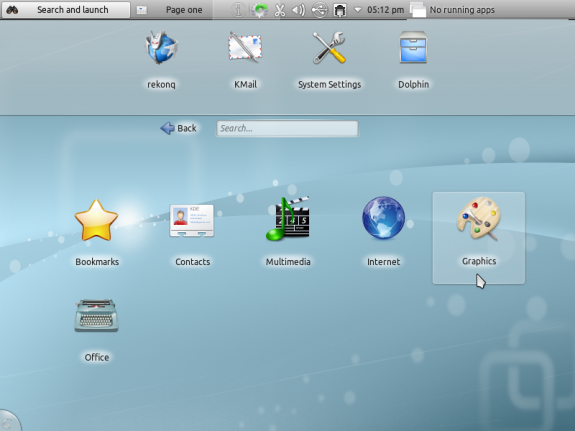
Default KDE Plasma Netbook interface
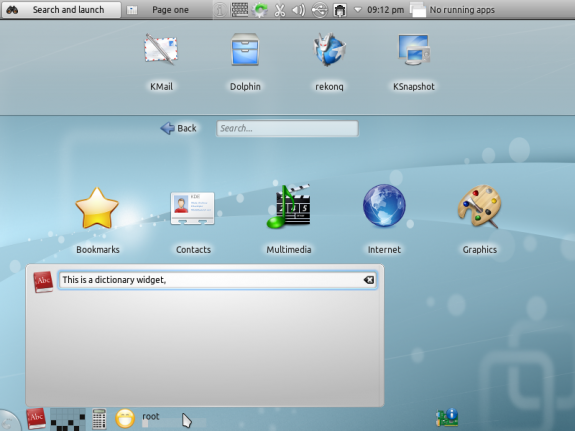
The interface is made of three sections – the Panel, the Bookmarks widgets area, and the Main (Menu) widgets area. Right-clicking on any part of the Netbook interface brings up a context menu, and one available option allows you to add more widgets.
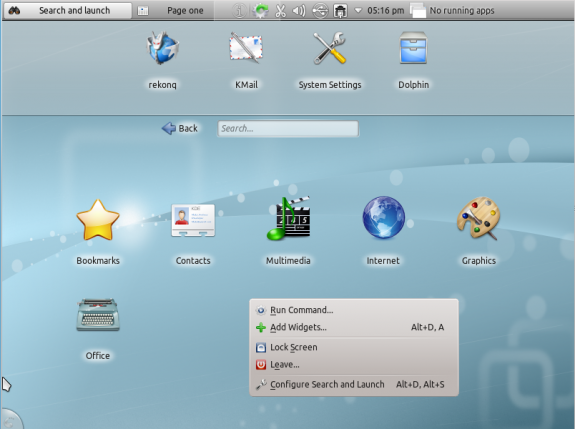
Netbook context options
A list of available widgets appears in a slider above the Bookmarks widgets area and you add widgets by drag and drop, or by double-clicking on a widget.
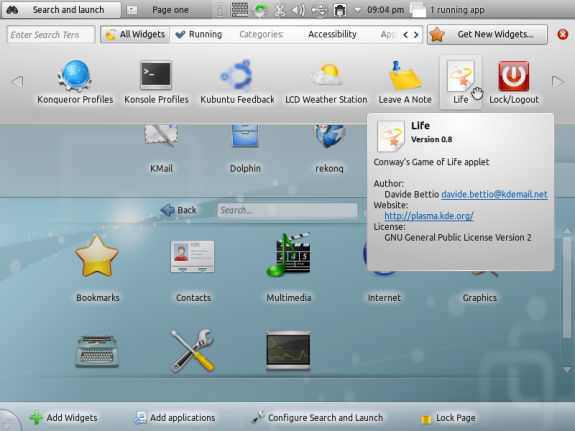
Adding widgets
Newly added widgets are docked on the lower part of the main widget area.
Docked widgets
To remove a widget from the Bookmarks area, just mouseover it and click on the “minus” icon.
Removing an application from the Favorites
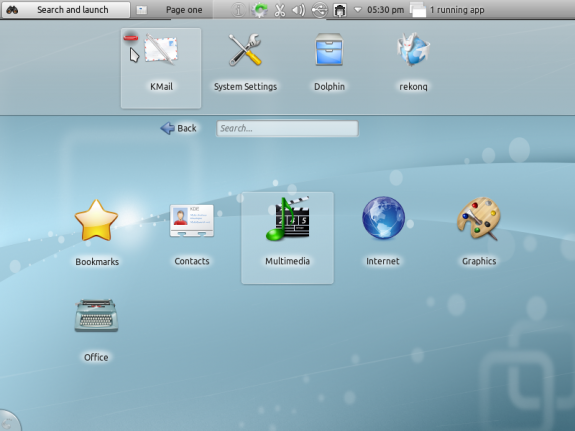
To bookmark an application, mouseover it and click on the bookmark button.
Adding an application to the Favorites


Very nice informative review of a cool netbook interface. I don’t have a netbook myself but I tried on my laptop and desktop. I think KDE really Rocks.
I tried it from USB on my wife’s netbook, Unfortunately, she can’t install it because it is her work netbook.