So swap and /boot have been created. Select the free space to create the last partition.
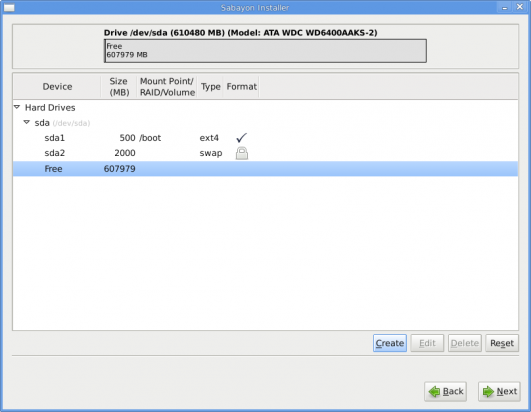
Select free space to create / partition
Again, the default option here is the right one. Create.
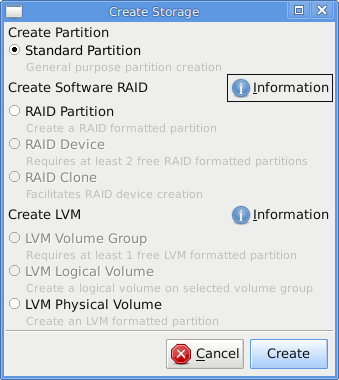
Create partition type
Since we are trying to create a btrfs system, the only option to select for File System Type is btrfs. Mount Point must be /, and click on the Fill to maximum allowable size radio button. Because encryption of a btrfs filesystem is not yet supported, ignore the encrypt option. OK
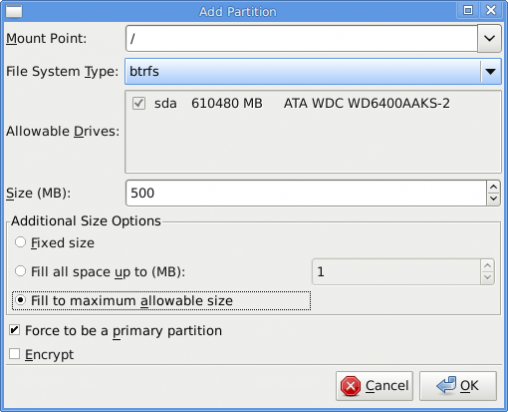
Create the btrfs root
All the partition have been created. Click Next to continue with the rest of the installation, which should be completed in less than 10 minutes.
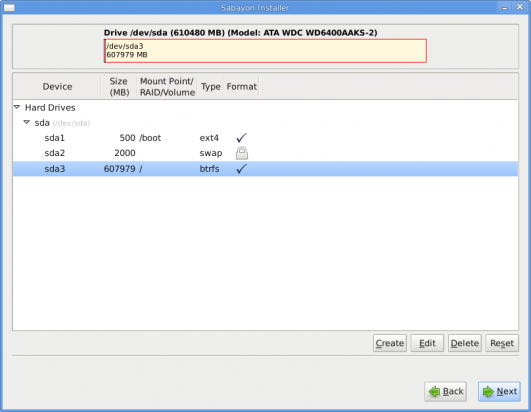
Review all partition created
After installation, reboot into your newly installed Sabayon-powered machine and start exploring the features of btrfs. For basic administrative tasks, the Disk Utility is available. The image below shows what management options this graphical disk management utility makes available. Not very much, but to get a general view of your disk partitions, it’s good enough.
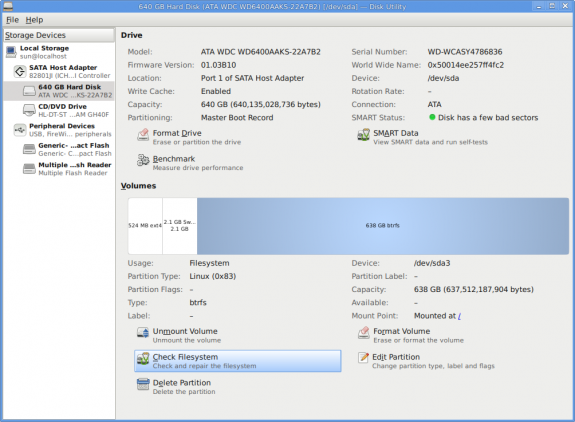
Disk Utility showing the btrfs formated root partition (/dev/sda3)
A future article will delve into how to manage btrfs using several command line tools. To be notified when the article is published, subscribe to this site via RSS or email. Thanks for reading.



Thanks for the article
I miss the /home partition.
It is in the default partition table by good
Because all your docs and settings are there
And you do not need to format it of you need to reinstall, or want to change your distro.
And of course a grub update to boot from BTR FS.