One of the most important points you need to remember when creating LVs is that you only need to allocate just enough disk space needed to install and get the system up and running: It is not necessary to allocate all the available disk space to the LVs. One of the advantages of LVM over traditional disk management is that you can always grow an LV if the need arises. In creating an LV, you must specify the following:
- the mount point (not applicable for swap)
- the file system type. Sabayon Linux 4 supports the following journaling file systems:
- ext3, the default
- ext4, first appearance on Sabayon Linux 4
- XFS
- JFS
- Reiserfs
- the name (of the LV)
- the size
Alright, let start by first creating an LV for swap. The suggested size for swap is 1000 MB, which is the default on most Linux and BSD distros. On a PC low on RAM, 2000 MB is recommended.
Now that we have create the first LV, repeat the step above by clicking on the Add button to create the other LVs for the following mount points (names and suggested sizes in parentheses):
- / (root, 2000 MB)
- /usr (usr, 5000MB)
- /var (var, 1000 MB or 2000 MB)
- /tmp (tmp, 500 MB)
- /home (home, 3000 MB)
- /opt (opt, 200 MB)
- /usr/local (local, 50 MB)
The default file system type is ext3, but you can choose from any one of the other four journaling file systems supported by the Sabayon installer – ext4, XFS, JFS, and Reiserfs.
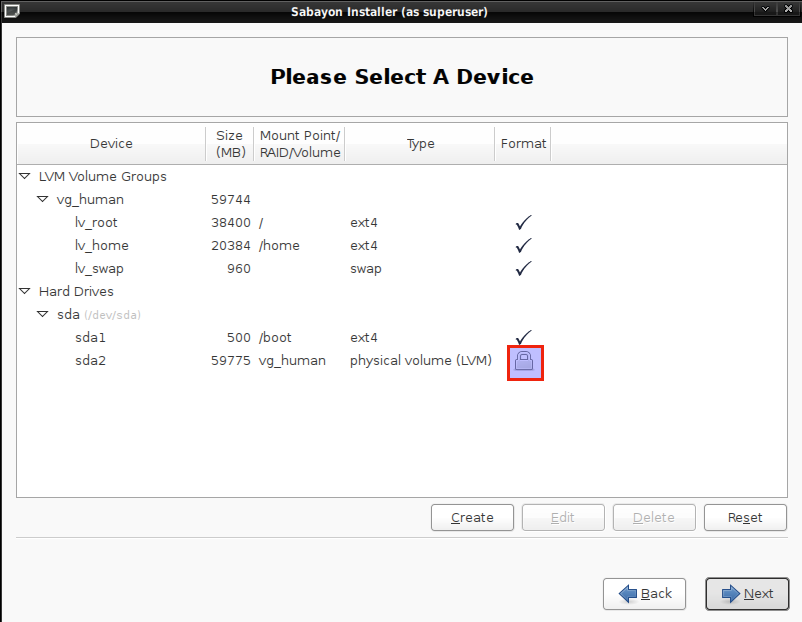
When all the LVs have been created, your window should look like the one shown below. Notice that we have only used up about 31% of the available disk space. The unallocated space will be used to grow any LV that needs it. Satisfied with your work? Then click OK.
If all went well, you should end up with something similar to the screenshot below. That’s the end of the disk partitioning segment of installing Sabayon Linux 4. Click Forward to continue with the rest of the installation.


“However short of a server farm, you do not ever need to use LVM, it is a much over used feature”. Unless you want to add a new hard drive, replace an existing one, or make a backup. if you do any of these or may someday need to do this you will greatly appreciate LVM.
So what about encrypted LVM volumes? You mention they are NOT supported? Do you know if there is any chance this will change in the near future?
Only the Sabayon devs can answer that question. If you are looking for a distro with support for encrypted LVM, try Debian, Mandriva, or Fedora. In general, Fedora makes it a lot easier to configure disk encryption than any other distro.
@Azerthoth
And the reason why the “default size right off the DVD is 12 Gig” is because all three desktop environemnts – KDE, Gnome, and Xfce – are installed by default. Question is, “why do you need to install all three desktop environments?”
If you follow the directions in this installation guide, the default will do just fine.
And if you think that LVM is useful only in a server farm then you do not really know much about LVM.
One thing is clear, you havent spent much time with sabayon. Your defaults are not just wrong, they are so small that it wont install. Sabayons default size right off the DVD is 12 Gig.
Sabayon has an automatic set up for LVM, point it at a 30 Gig partition and let it go. If you need to adjust mount points you can do so later. However short of a server farm, you do not ever need to use LVM, it is a much over used feature. Any one halfway competent individual can set the fstab up properly.