
The Android-x86 project provides ISO installation images of Android that can be installed on personal computers, which is cool, because that makes it possible to use the most popular operating system on the planet without buying an Android tablet or smartphone.
The latest stable release is Android-x86 4.4-r2. This tutorial shows how to install it on a USB stick, so you can have an Android device that you can boot and use from any modern computer.
What You’ll Need:
If you want to follow along, you’ll need two USB sticks, one to use as the installation media, the other as the installation target. The ISO installation image is less than 400 MB in size, so a 1 GB USB stick will do as the installation media. You may download the latest ISO installation image from android-x86.org/download.
The target USB stick should also be at least 1 GB, because a fresh installation of Android-x86 takes up about 1 GB of disk space. For this tutorial, I used an 8 GB USB stick.
How To Do What To Do:
1. Transfer the installation image to a USB stick: Assuming that you downloaded the ISO image to a Linux computer, you may transfer it to a USB stick using the dd command like this:
# Using the dd command
# /dev/sdc is the USB stick

dd if=android-x86-4.4-r2.iso of=/dev/sdc bs=1M
2. Format the target USB stick: To make the installation easier, be sure to format the target USB stick, or just wipe it, if it contains data. Then Insert both USB sticks to free USB ports on the computer and reboot. If you did not set the computer to boot from external media, press the F key that will bring up the computer’s boot menu and select the right one to boot into.
Figure 1 shows the entries in the boot menu of the computer used for this tutorial. The USB: PNY USB 2.0 FD 1100 entry is the USB stick that holds the installation image, while the USB: SanDisk Cruzer Glide 1.26 entry is the target USB stick. The computer has an internal 250 GB hard disk with Linux Mint 17.1, Ubuntu 14.10 and Windows 8 installed in triple-boot fashion.
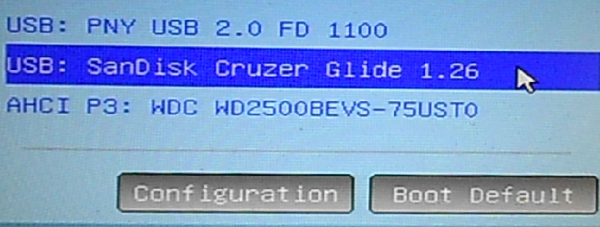
Figure 1: Boot menu of computer showing detected storage media
This is the Android-x86 boot menu. You have the option to boot into a live desktop or straight to the installer. The latter option seems to be the most appropriate thing to do here.
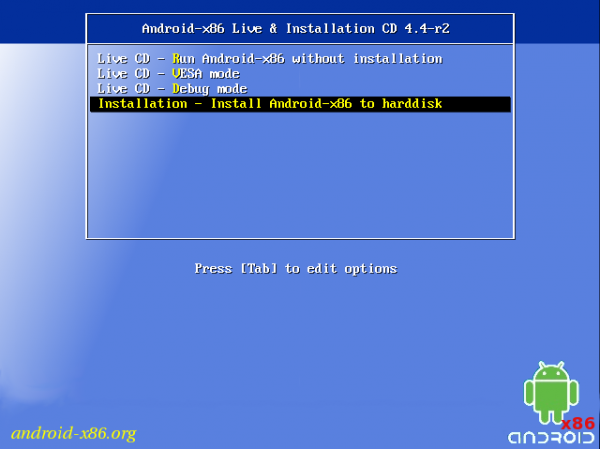
Figure 2: Entries on the boot menu of Android-x86 4.4-r2 installation image
You’ll then be shown a window that shows the disks and disk partitions detected by the installer. In this case, sdb1 belongs to the target USB stick. The sdc entries belong to the installation media.
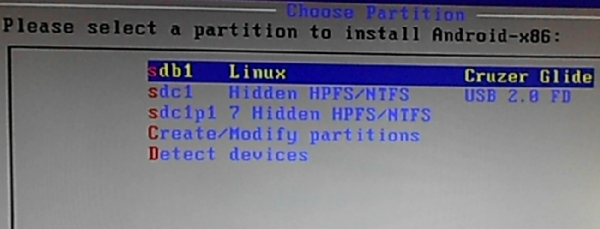
Figure 3: Disks detected by the Android-x86 installer
After selecting the target disk, you’ll be given the option to format it. You definitely want to format it. I chose to format mine using the Ext3 file system.
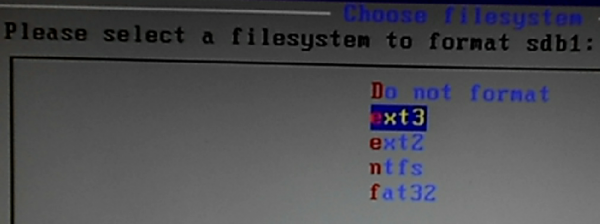
Figure 4: File systems supported by the Android-x86 installer
Yes, we are sure.
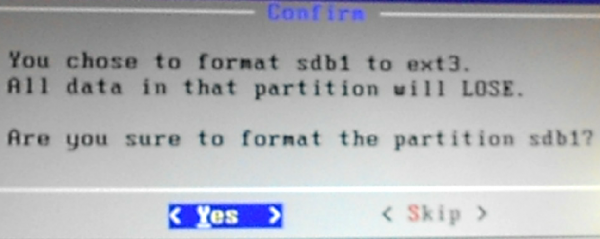
Figure 5: Options to format the target USB stick.
Yes, install the GRUB boot loader to the USB stick. A plus for the installer is that it does not mess with the contents of the internal hard disk, which is good to know, because in a future tutorial, I’ll show how to dual-boot Android-x86 4.4r2 and another popular Linux distribution.
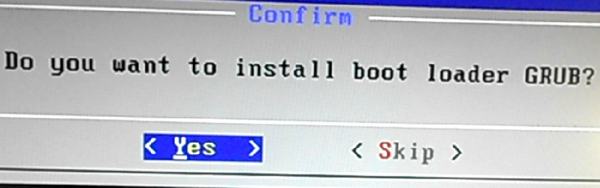
Figure 6: Install GRUB boot loader to the USB stick
Yes, I think it’s better to install the /system directory read-write.
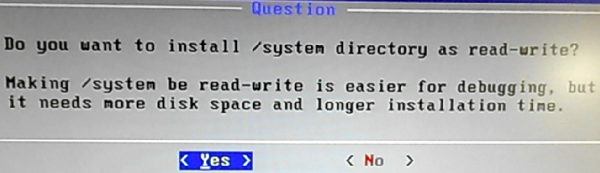
Figure 7: Make the /system directory read-write
This image just shows the writing process. Less than 750 MB of data is written to the USB stick.
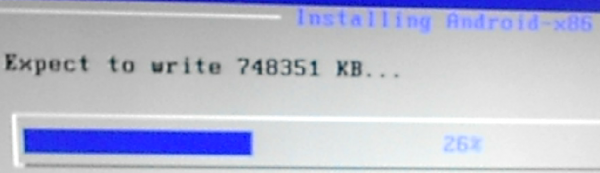
Figure 8: Writing to the /system directory.
Installation should take less than two minutes. I did not encounter any problem, so next thing I had to do was reboot.
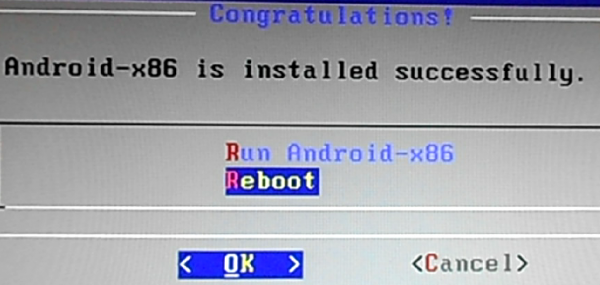
Figure 9: Reboot newly installed Android-x86 from a USB stick
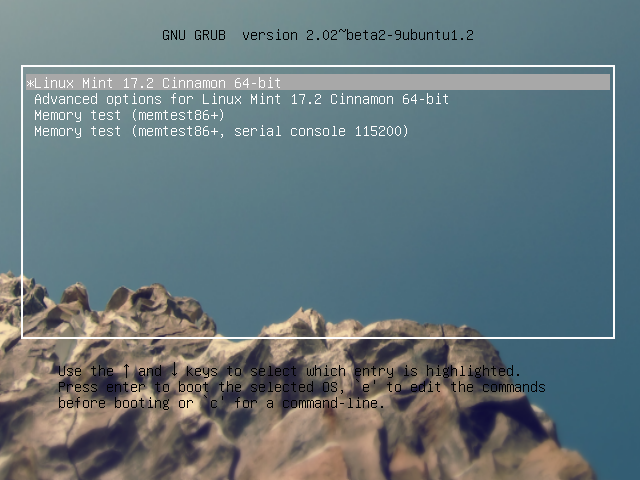
On rebooting, you’ll be presented with the GRUB menu. Selecting the default option, I was able to boot into the Android-x86 desktop. My test computer does not have a wireless card, but the system was able to auto-configure the Ethernet card.
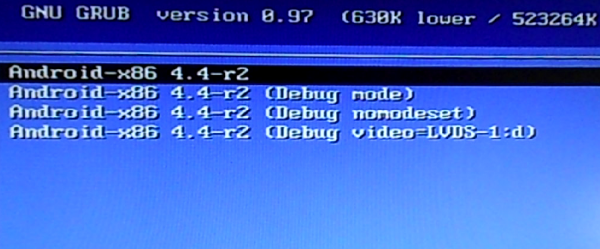
Figure 10: GRUB boot menu of Android-x86 4.4-r2
So I now have Android 4.4 installed on a USB stick, which I can use from any personal computer. And that’s awesome, because I don’t have any Android device.


Pretty interesting. Not exactly what I was looking for. But, now i know you can triple boot a computer. Thank you for the article.
You’re welcome. If you need hand-holding with any of this, just ask.