After Ubuntu has installed successfully, test the system to make sure that you can boot from the external disk. If everything worked, connect the external disk to a system running Windows. For this tutorial, I connected mine to a system running Windows 7. The goal here, is to create an NTFS partition using the free space left at the end of the external hard drive.
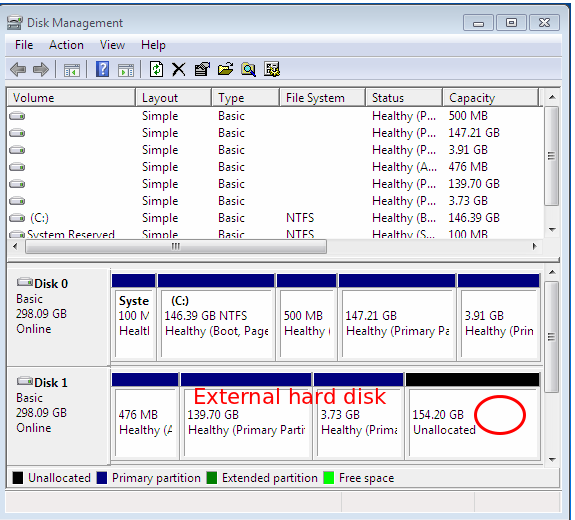
To start, launch the partition manager . If you do not know how to click to it from the menu, type “partitions” into the menu’s search field. Click on the result. That should open Disk Management tool. If there is only one internal hard drive in the computer, which should be listed as Disk 0, you should see the external disk listed as Disk 1. And the free space at the end of its partitions labeled “Unallocated.” To create an NTFS partition from “Unallocated,” right-click on it and select “New Simple Volume.”
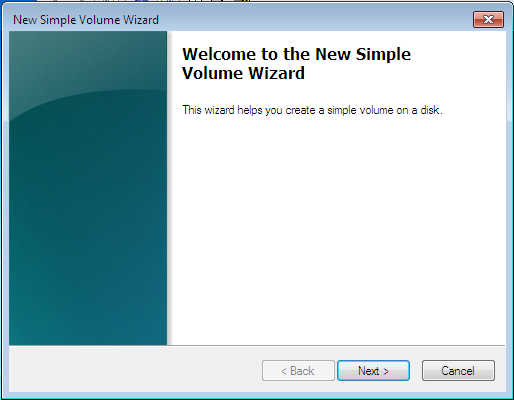
Click Next.
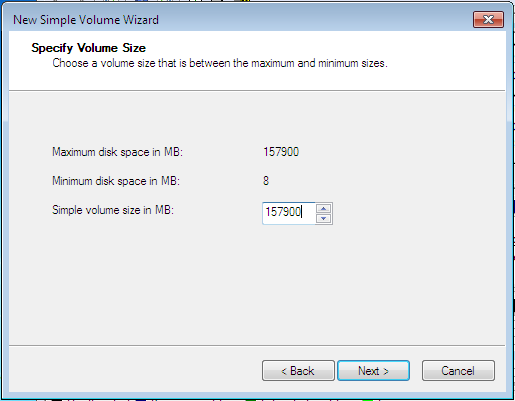
If you want to use all the available space, click Next.
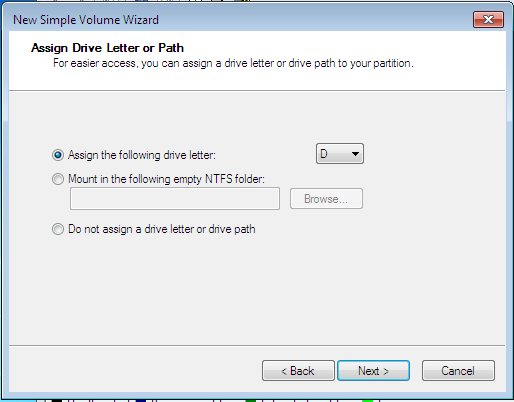
Assign a drive letter. Next.
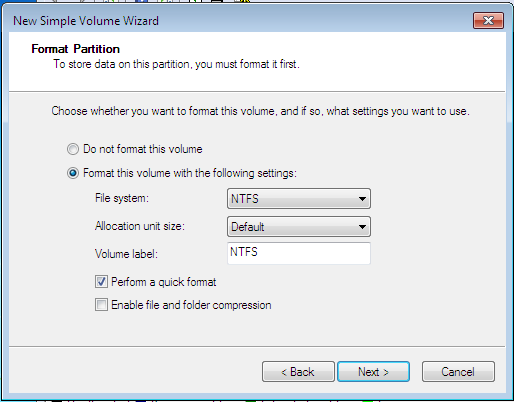
The default file system should be NTFS. Change the “Volume label” to suit. Next.
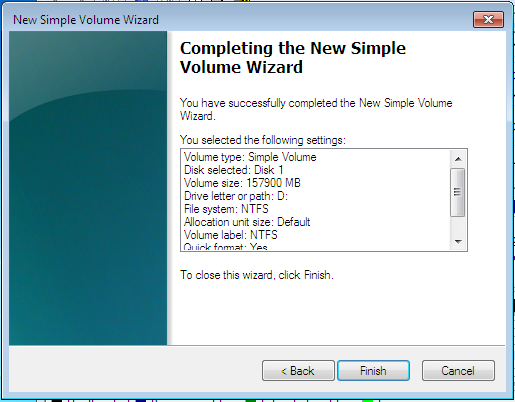
Click Finish.
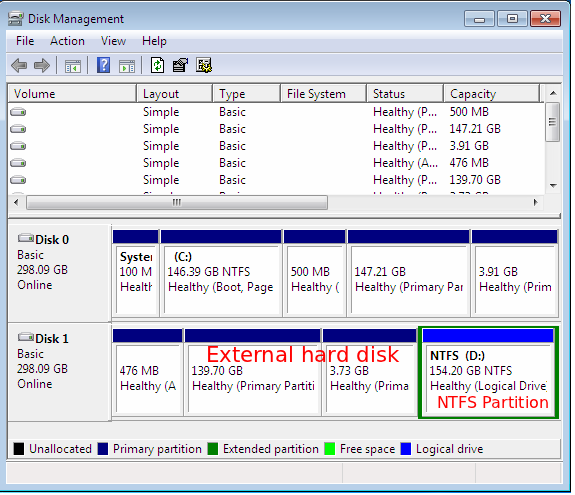
The new partition should appear as you labeled it. Close the window.
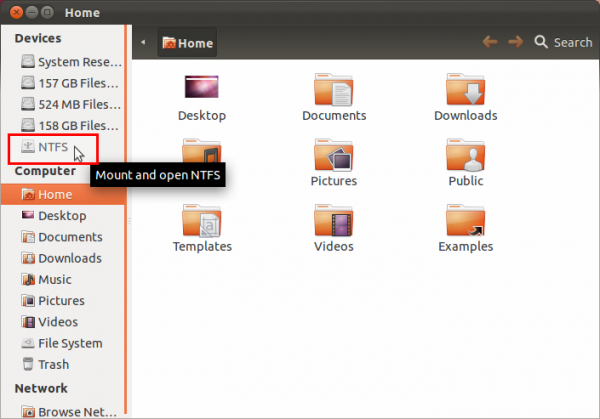
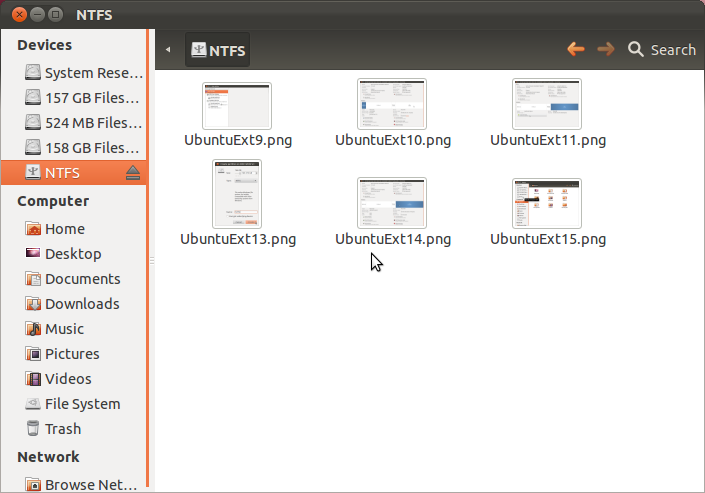
When you reboot into the external drive and open Nautilus, the file manager, you should see the NTFS partition listed on the side panel.
And you can then transfer file to it.
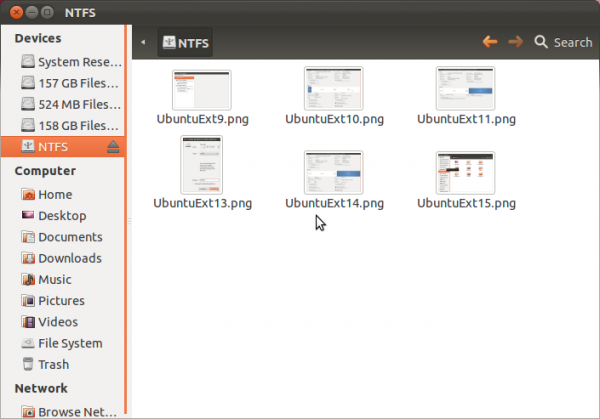
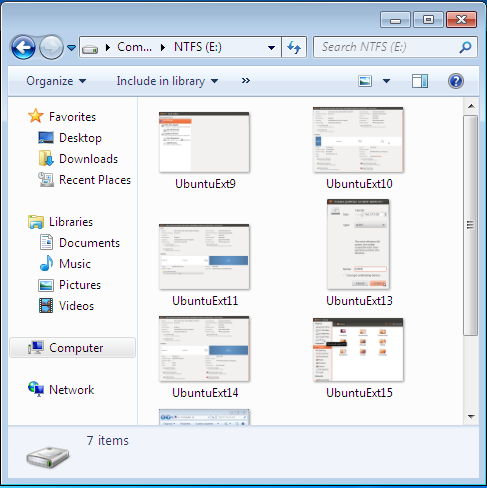
And be able to see those file from Windows when the external drive is connected to a computer running Windows. You can also transfer files to it from Windows, and still be able to see those files from Ubuntu.



Can the additional Free space after completion of partition for Ubuntu be used as external storage to store files?
Not external storage, since it’s still part of the internal drive, but you can create a partition from it to store files in.
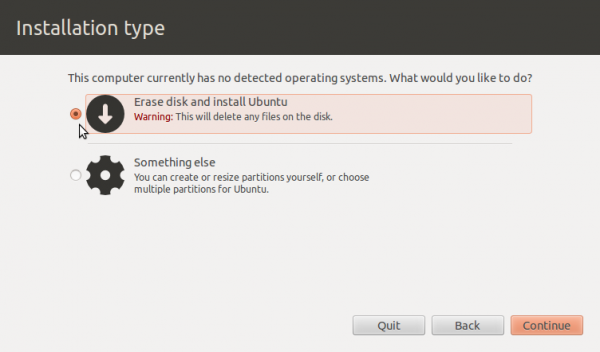
I followed these instructions using Ubuntu 12.04 LTS on a Windows 8 (upgraded from 7) system to my external HDD. The install goes fine, but when it tries to reboot after it, it just goes to a black screen and never makes it to a menu at all, like it isn’t actually booting. I tried reformatting the external and installing Ubuntu again, but it was to no avail. I’m using the x64 version since that’s the version of windows 8 my system runs, I figured the safest bet was to stick to that, and on the download page for Ubuntu it says to use 64 for any windows 8 systems.
If you can help in any way, it would be appreciated
it’s most probably this bug: https://bugs.launchpad.net/ubuntu/+source/grub-installer/+bug/384633