 ALT Linux is an rpm based distro that was just reviewed and listed on this site. It is a GNOME-based distro with decent graphical management utilities. Like most distros, the default installation leaves room for some tweaking and customization. This post presents detailed step by step guides on how to customize or enable several aspects of the installation that should have been enabled out of the box. A post like this is meant for new users, but if you are an experienced user and you find it useful, that’s great too.
The tasks covered in this tutorial are:
- Enable Network Time Protocol (this page)
- Enable the firewall (this page)
- Install a printer
- Add a user account
- Install Java JRE plugin
1. Enable Network Time Protocol: Network Time Protocol (NTP) is the protocol that enables a networked device to sync its clock to national standard time. That is another way of saying that NTP allows your computer to sync its clock to that of a remote NTP server. A remote NTP server could be Primary (Stratum 1) or Secondary (Stratum 2). Stratum 1 servers sync their clock to national time standards via radio, satellite and modem while Stratum 2 servers sync to Stratum 1 server(s).
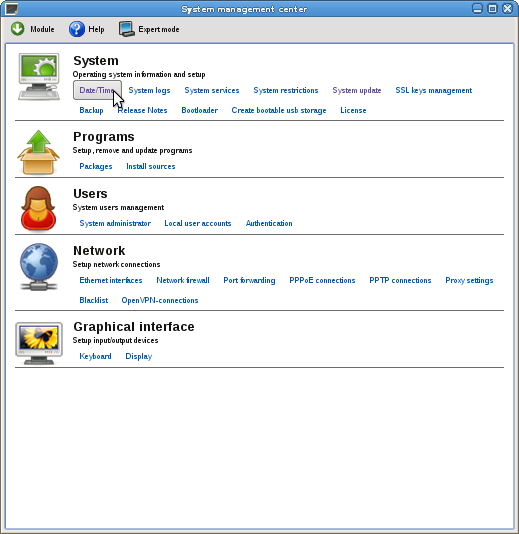
If enabled, NTP will allow your PC to sync with a Stratum 2 server. To enable NTP on ALT Linux, launch the System Management Center (ACC), and click on the Date/Time link.
ACC NTP module
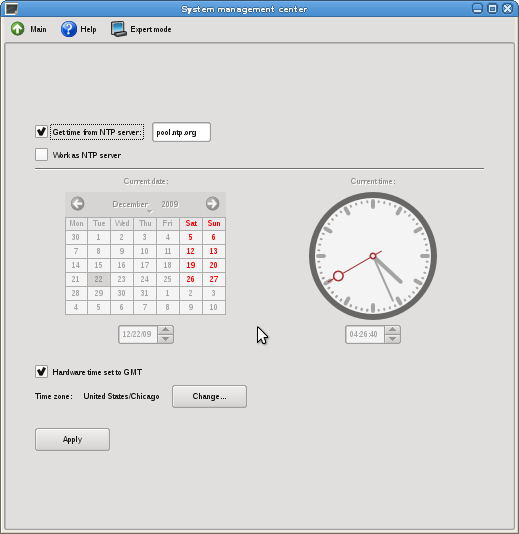
On the NTP management utility, click the check box next to ‘Get time from NTP server’ and make sure that you time zone is correct.
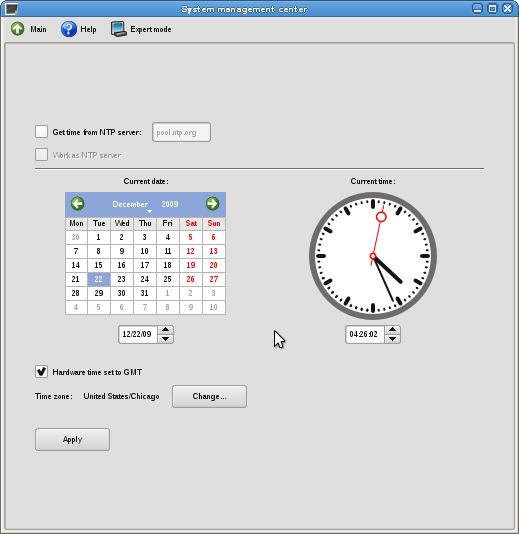
With NTP enabled, the window should look just like this one. click ‘Apply.’ That’s all it takes to enable NTP on ALT Linux.
2. Enable the firewall: Enabling the firewall is just as easy. Still on the ACC window, click on the ‘Network Firewall’ link.

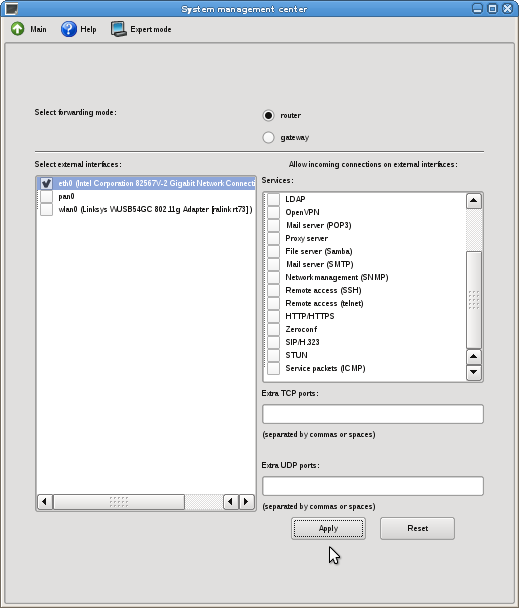
By default, the system is set up to function as a router. The first thing you need to do is select the interface you need to pass traffic through. On my test system, that interface is eth0. Make sure that all the services under the ‘Services’ section are unchecked. The last thing you want to happen is allow incoming connection to system services from everybody on the Internet.
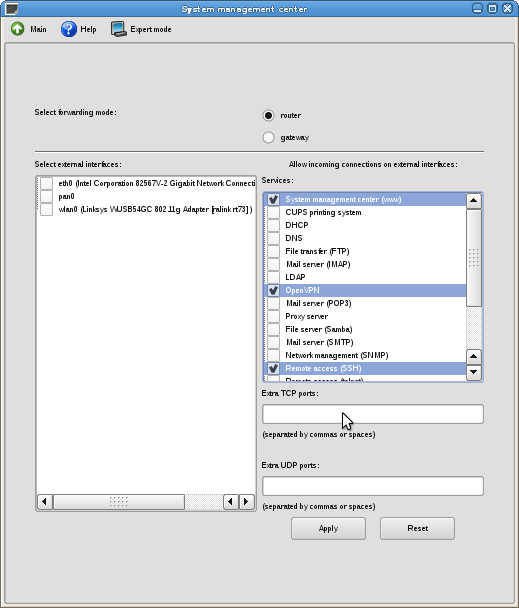
With the interface selected and all the services unchecked, the firewall’s graphical management window should look just like the one below. Click ‘Apply.’ Now the firewall is enabled.
