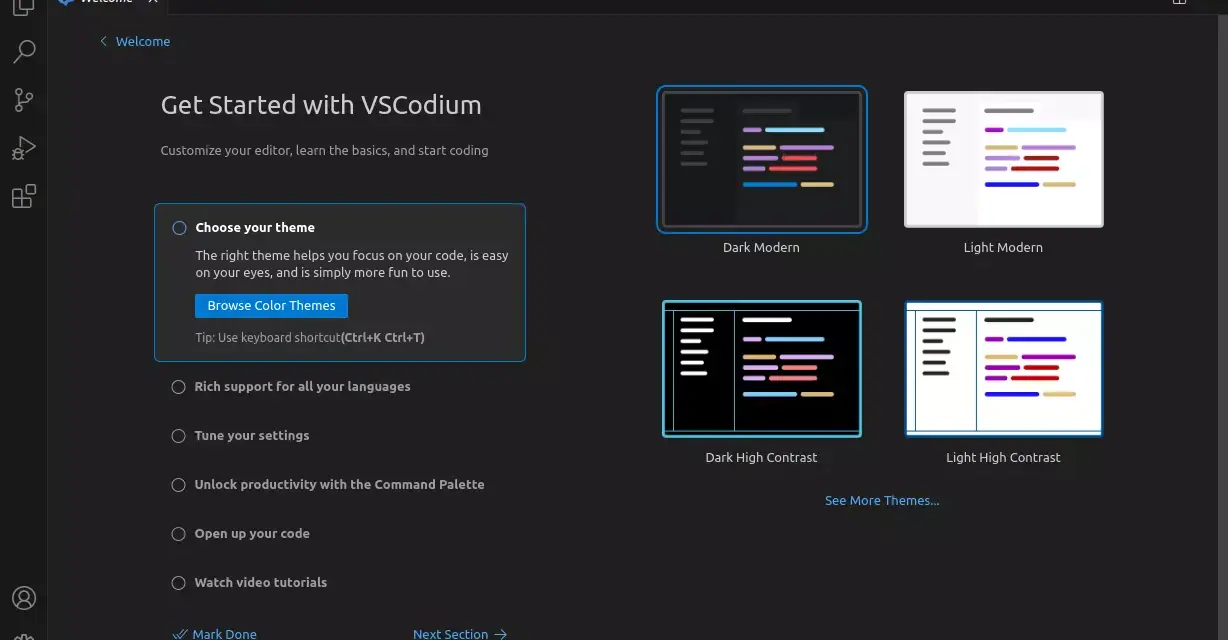
VSCodium is a free and open source Integrated Development Environment (IDE). It is derived from the same code base as the core of what is used to build Visual Studio Code. The most important difference, which is the reason I chose to uninstalled Visual Studio Code from my Linux computer and installed VSCodium in its place, is that the latter does not collect any telemetry. In other words, it does not spy on you.
If that is important to you, follow this guide to learn how to install VSCodium on Debian, Linux Mint, or Ubuntu desktops.
How to install VSCodium on Debian, Linux Mint, or Ubuntu
The first step on the road to install VSCodium on Debian, Linux Mint, or Ubuntu is to add the GPG key for its repository to your system using the following command. This is a very long command made made up of 3 commands and made possible by the pipe ( | ) and backslash ( \ ) characters. The wget command downloads the public key of the repository’s GPG key to standard output (/dev/stdout), which is represented by the dash ( – ) character.
Then the output (of the wget command) is piped to the gpg command, which unpacks it (courtesy of the dearmor option). Finally, the output of the gpg command is piped to the dd command, which writes the GPG key to the specified file location. When typing a command that is too long in the terminal, the backslash is used to continue the command on the next line. This will cause the interpreter to see the command as one command. So that’s what the 2 backslash characters in this command do:
# Add VSCodium's GPG public key
 wget -qO - https://gitlab.com/paulcarroty/vscodium-deb-rpm-repo/raw/master/pub.gpg \
    | gpg --dearmor \
    | sudo dd of=/usr/share/keyrings/vscodium-archive-keyring.gpg
With the repo’s GPG key added, now add the repo itself to your system using the following command. Similar to the previous command, this is one long command made up of 2 separate commands. The echo command outputs the string inside the single quotes ( ‘ ‘ ) to standard output, which is then piped as input to the tee command. The tee command then writes it to the specified file, after you have authenticated by typing in your password. Again, the backslash is used because the command is too long to fit on one line:
# Adding the repo
echo 'deb [ signed-by=/usr/share/keyrings/vscodium-archive-keyring.gpg ] https://download.vscodium.com/debs vscodium main' \
    | sudo tee /etc/apt/sources.list.d/vscodium.list
With both the repo and its public key now in the system, update the package database so your package manager knows where to find VSCodium:
# Update the package database
sudo apt update
Finally, install VSCodium using the following command.
# Install VSCodium
sudo apt install codium
After installation, you will find it in the desktop menu (under the Programming directory) as VSCodium. The name of the binary is codium, so that is the command you type if you ever choose to start VSCodium from the command line. It’s located in the /usr/bin system folder.
You will find more info on all the commands used in this article by reading their respective man (manual) pages. For the tee command, for example, type man tee on the command line.


