Linux Mint 17.3 was released two days ago. If you upgraded from an existing installation of Linux Mint 17.2, you likely have configured it to your liking and have all the security applications you need in place.
If so, you may stop reading and click here to read other articles on Linux Mint.
If, however, you installed a fresh copy of Linux Mint 17.3 (Cinnamon or MATE) on our computer, this article shows you the very first thing to do after logging in. That “very first thing” is no secret, but it’s a simple task that many users ignore.
That simple task is: Enable and configure a firewall application.
The default firewall application on Linux Mint 17.3 is UFW, the Uncomplicated FireWall. UFW is easy to use, however, it lacks support for network zones. If you need that feature, the best firewall application to install is called FirewallD, which is the default firewall application on recent editions of Fedora.
This article shows how to enable UFW via its graphical interface and install FirewallD as a replacement for UFW. Keep in mind, however, that you only need to run one firewall application. So it’s either UFW or FirewallD, not both.
1. Enable UFW from Gufw on Linux Mint 17.3
The easiest method of enabling UFW is via a graphical interface called Gufw. But Gufw is not installed by default, so you first have to install it, which you can do from the command line or by using a graphical package manager. From the command line, install it using the following command:
# This is a command
# Copy and paste the following command

sudo apt-get install gufw

#
You may also install it using one of two graphical package managers installed on Linux Mint 17.3 (Software Manager and Synaptic Package Manager). To use Synaptic Package Manager, launch it from the menu, then search for “gufw”. Mark it for installation, then install it.
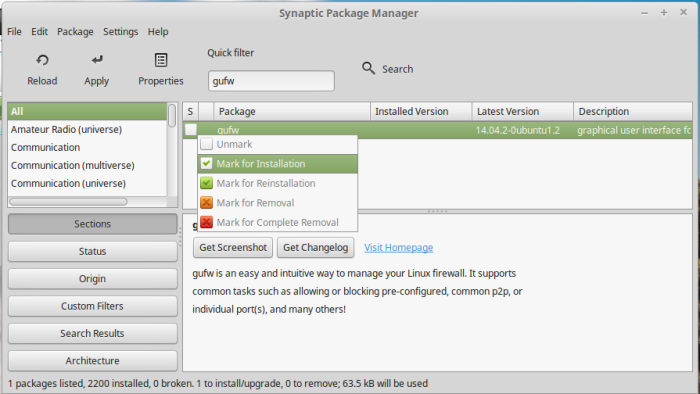
Figure 1: Installing Gufw from Synaptic Package Manager
After installation, search for and launch it from the applications menu.
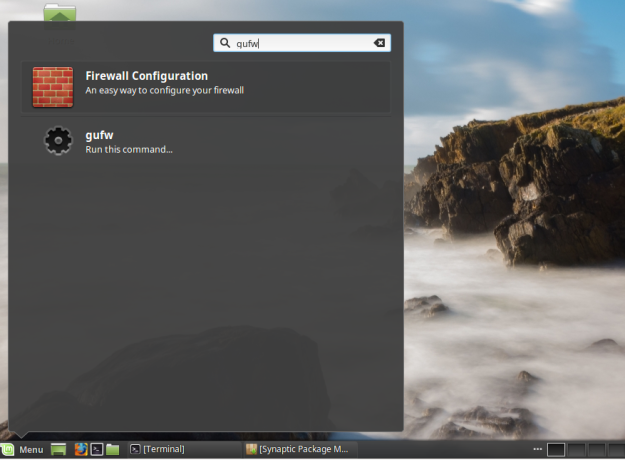
Figure 2: Launch Gufw from the menu
Bu default, it’s not enabled, so click on the Status switch to enable it.
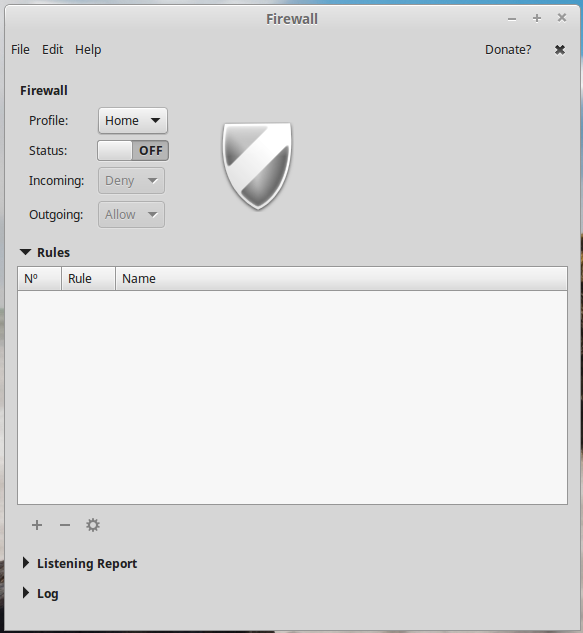
Figure 3: Gufw in disabled mode
When enabled, the default configuration allows all outgoing traffic, but denies all incoming unless those related to an established connection. In that state, the firewall is said to be in stateful inspection. Unless you need to create new rules for specific traffic, that’s all you need to have your Linux Mint 17.3 installation protected by the UFW firewall application.
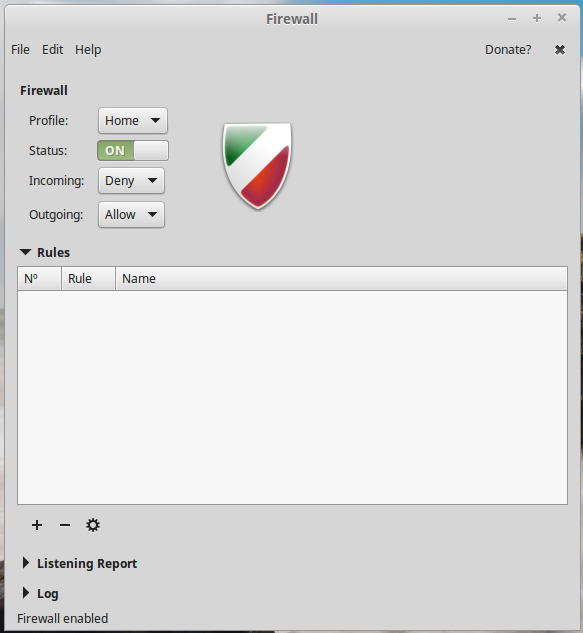
Figure 4: Gufw in enabled mode
But there’s a problem with UFW: It lacks support for network zones. So from the NetworkManager settings, the Firewall zone combo box is not clickable. That shouldn’t be an issue if you have no need for network zones, but if you do, then you need to uninstall or disable UFW, and install FirewallD in its place.
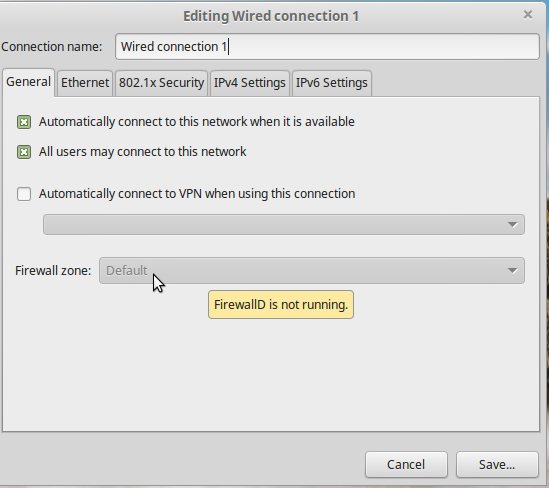
Figure 5: UFW lacks support for network zone
2. Installing FirewallD on Linux Mint 17.3
Complete this section only if you need to replace UFW with FirewallD, which would entail uninstalling UFW afterwards.
Like Gufw, you may install FirewallD and its components from the command line or by using one of the installed graphical package managers. From the command line, use the following command to install it:
# This is a command
# Copy and paste the following command

sudo apt-get install firewall-applet

#
Or from the Synaptic Package Manager, search for “firewalld”, then mark and install it.
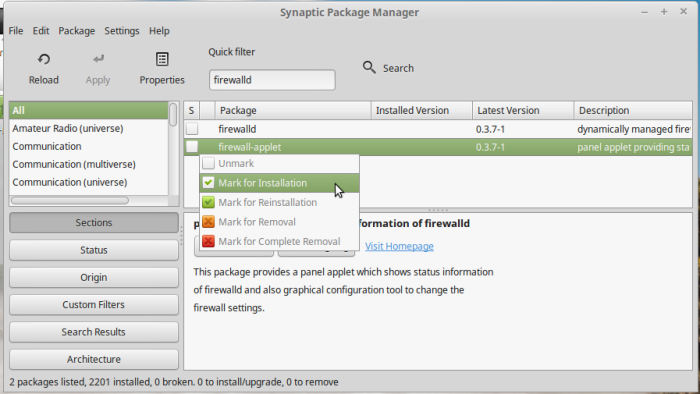
Figure 6: Installing FirewallD on Linux Mint 17.3
As with all daemons on Debian-based distributions, the FirewallD daemon is automatically started after installation. In addition, the applet is auto-included in the list of startup applications, so if you view that list from the Startup Applications module of the distribution’s System Settings, you should see it listed. To start using the applet, log out, then log back in.
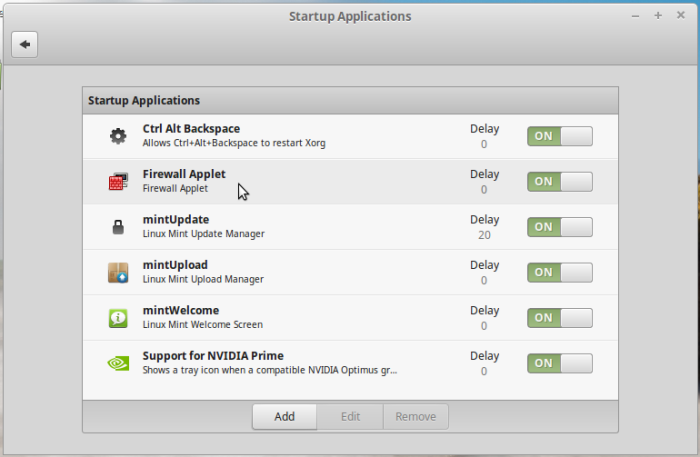
Figure 7: Verify firewall-applet as a startup application on FirewallD on Linux Mint 17.3
An icon for the applet should then appear in the systray. The entries in the applet’s context menu are shown in Figure 8.
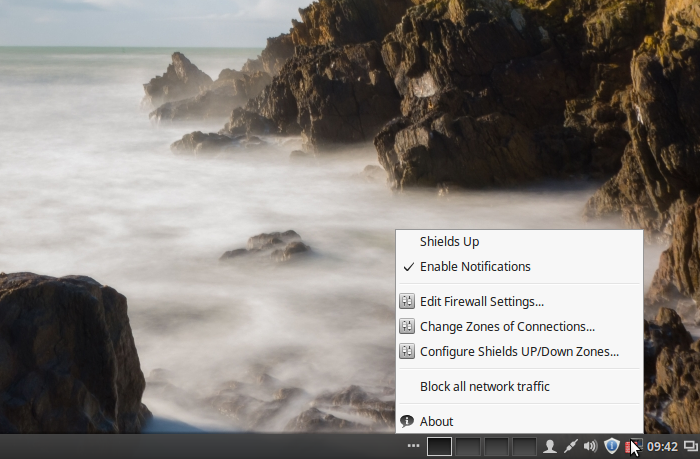
Figure 8: FirewallD firewall-applet on Linux Mint 17.3
From the NetworkManager settings, there should be several options in the Firewall zone combo box. The default firewall zone is public.
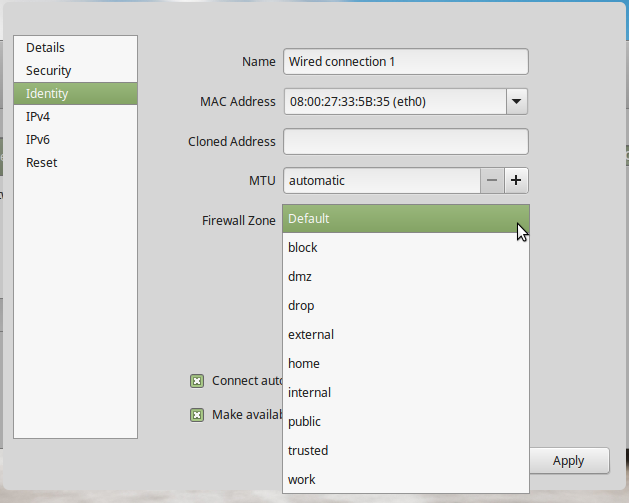
Figure 8: FirewallD network zones on Linux Mint 17.3
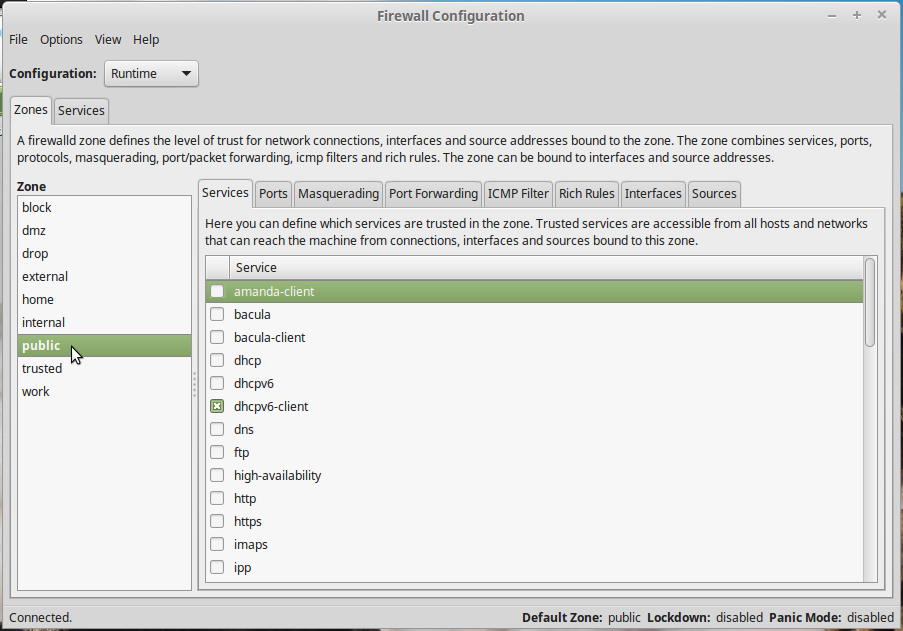
And if you need to make changes to the firewall rules and configuration without using the command line interface, FirewallD comes with a feature-rich graphical interface which you can launch from the applet (click on the Edit Firewall Settings entry) or from the applications menu (search for “firewall configuration”). Figure 9 shows the main interface of the graphical interface. As with UFW/Gufw, the default configuration of FirewallD is good enough for most users. If you need to create extra rules, the Rich Rules tab offers a user-friendly interface to do just that.
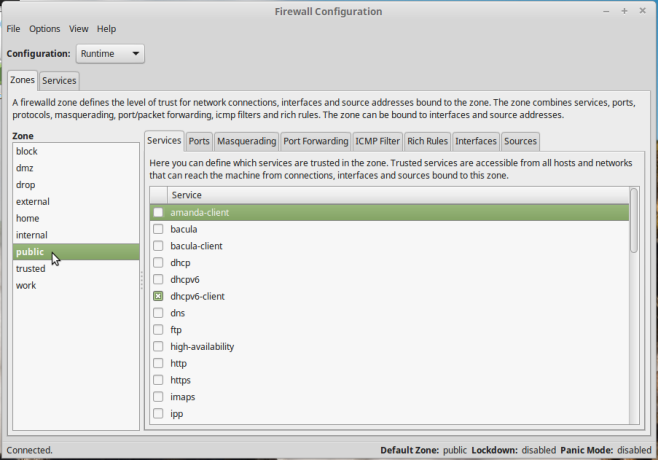
Figure 9: Firewall Configuration, the graphical interface for FirewallD
If you installed FirewallD, you may now uninstall UFW by using the following command:
# This is a command
# Copy and paste the following command

sudo apt-get remove ufw

#
And that the end!




Interesting article, but it would have been more useful to the less sophisticated if “network zones” and their usefulness had been given two or three sentences.