This short tutorial shows how to upgrade the kernel in Linux Mint 17.1 from version 3.13 to version 3.16.
If you upgraded your copy of Linux Mint 17 to Linux Mint 17.1 or you installed a fresh copy of Linux Mint 17.1, your awesome Linux Mint 17.1 desktop will have Linux kernel 3.13 inside.
If you’re happy with that, great, but if you’ll like to run a more recent kernel version, you can do that by typing a few commands and rebooting.
Before starting, you’ll probably want to see what version of the Linux kernel your system is using. You can do that by typing:
uname -r

3.13.0-24-generic
You’ll get that exact output (3.13.0-24) if you’re running Linux Mint 17 or a system upgraded to Linux Mint 17.1 that did not also upgrade the kernel. If you upgraded the kernel after upgrading to Linux Mint 17.1, the system should be using kernel 3.13.0-37.
Now, how do you upgrade the kernel to version 3.16 or whatever is the more recent that has been packaged for Ubuntu and its derivative distributions?
These steps will get you from here to there:
1. Step 1 – Find a recent kernel version that’s available. You do that by typing:
apt-cache search linux-image | grep 3.16

linux-image-3.16.0-25-generic
linux-image-3.16.0-25-lowlatency
linux-image-extra-3.16.0-25-generic
The point of grep-ping is because most of the entries in the output you’ll normally get will be of version 3.13. But you don’t want those, so you filter them out. You can grep for a higher kernel version, but at the time of this writing, the more recent version available is 3.16.
In the output above, you have a choice between a generic or low-latency kernel. If your system does not require real-time or near-real-time features, or if it’s not a very low-end computer, then you can do with the generic kernel. The linux-image-extra-3.16.0-25-generic image should be installed in addition to the generic or low-latency kernel. It contains drivers and other features not included in the main kernel.
When I upgraded to 3.16, but failed to install the extra kernel image on my MSI laptop that’s powered by an AMD processor and ATI Radeon graphics, my USB mouse, wired and wireless connections did not work. Installing the extra kernel image restored things back to normal.
1. Step 2 – Upgrade the kernel to version 3.16 by type:
sudo apt-get install linux-image-3.16.0-25-generic linux-image-extra-3.16.0-25-generic

Reading package lists... Done
Building dependency tree
Reading state information... Done
...
The following NEW packages will be installed:
  linux-image-3.16.0-25-generic
0 upgraded, 1 newly installed, 0 to remove and 0 not upgraded.
Need to get 16.0 MB of archives.
After this operation, 44.7 MB of additional disk space will be used.
After that has completed successfully, reboot into your new kernel. From GRUB’s boot screen, you should see that the system will boot into the newest installed kernel. And once logged in, you can confirm that the system is using the kernel you just installed by typing uname -r. The output should match what you just installed.
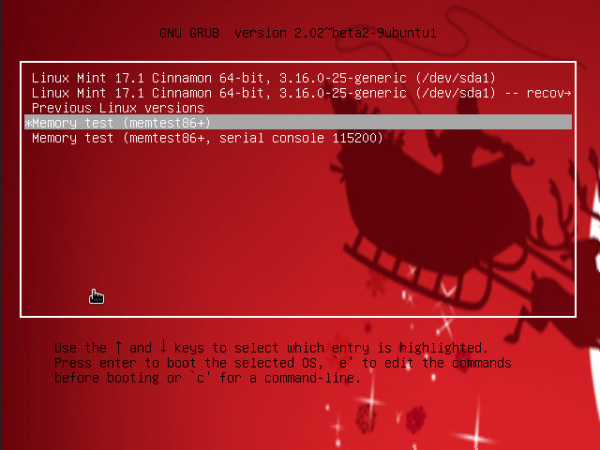
Figure 1: GRUB boot screen of Linux Mint 17.1 showing kernel 3.16 entries.
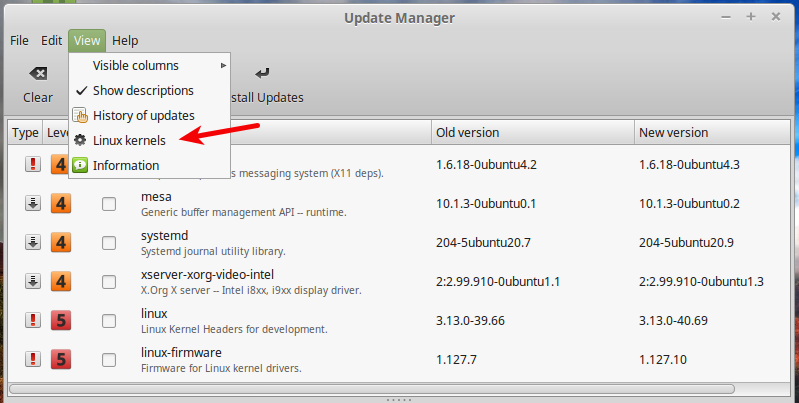
By the way, you can accomplish what you’ve just done from the command line by using the distribution’s Update Manager, which is accessible from the menu. Figure 2 shows the main interface of the Update Manager. To see the list of available kernel’s, click on View > Linux kernels.
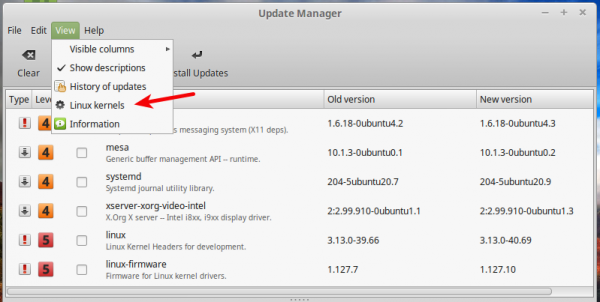
Figure 2: The main interface of the Update Manager of Linux Mint 17.1.
That should open a new window that shows installed and available kernels. From there, you can remove/install any kernel that you want.
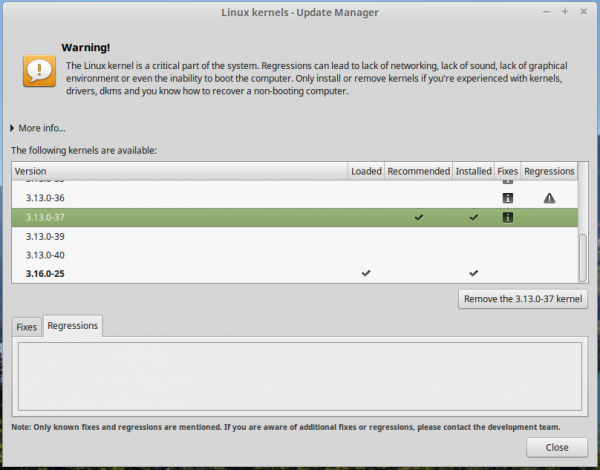
Figure 3: The kernel manager window of the Update Manager of Linux Mint 17.1.





Jealous or complaining? Mint provides for both methods. If you don’t like the command line, don’t use it but don’t troll it…you just demonstrate your ignorance.
I am very new to linux,Mint 17.1 Mate but I learned to read the whole post, article, page before I randomly just cut/paste.
It was a very helpful tip i read in Linux forum or one of the manyLinux question forums. Being totally new to all Unix/Linux types of operating systems and desktops , I had typical anxiety over the terminal /command line process but also excited about being able to make so many changes there; I did not even look for the existing GUI in the Menu for a few months or with the package or software Manager gui.
I am glad I did. Still do not know how to spontaneously generate folder moves or create directories- much of anything really, but I have gotten over my fear or resistance to this terminal method and learning more every time I use one of the few computers i own which i took off windows7 and made total linux, no more dual boot on them now.
I find it funny that you gave directions on how to do everything from the terminal before you gave the super easy super quick directions through the update manager. Still super helpful though. Thanks!
It is funny & I have noticed that the vast majority of long term Linux users tend to think that it is somehow more clever to type stupid unecessary commands just like back in the late 1970’s early 80’s
You do realize that not all Linux distributions use Cinnamon or even a graphical interface at all. So learning to do it through the command line is usable on all Debian based Linux distros.