Out of the box, Linux Mint 12, the latest edition of Linux Mint, a desktop Linux distribution based on Ubuntu Desktop, comes with a choice of two desktop environments – GNOME 3 with Mint GNOME Shell Extension (MGSE), and MATE, a fork of GNOME 2.
While the combination of GNOME 3 and MGSE is an attempted to improve on the user-experience of a stock GNOME 3 installation, it still leaves the user fighting the desktop just to get things done, and MATE is not yet ready for prime time.
While I am not exactly a fan of Ubuntu’s Unity Desktop, I think it presents a better user-experience than GNOME 3 with MGSE. So, this tutorial shows the steps necessary to install and run Unity Desktop on Linux Mint 12.
Before we get into it, here is the default login screen on Linux Mint 12. If you are not logged it yet, please do.

Then start the Software Manager, and search for “unity.” Install it. It will pull in other necessary packages. After installation, logout.

And here is the new login screen. Login again. Be sure to select “Ubuntu” from the login menu.

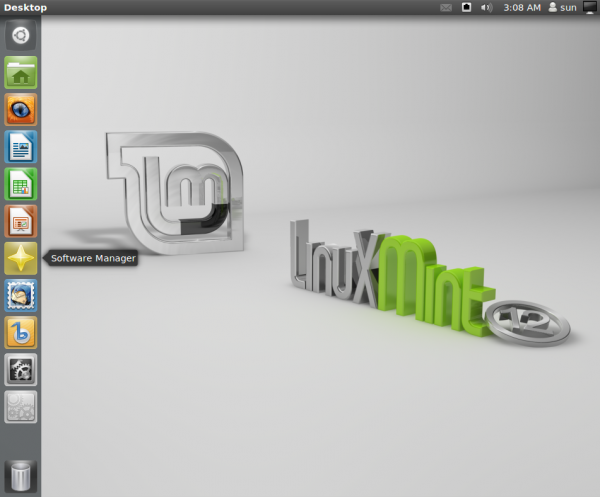
What the default Launcher looks like on Linux Mint 12. Not exactly like it is on Ubuntu,

But you can always populate it with your favorite applications.

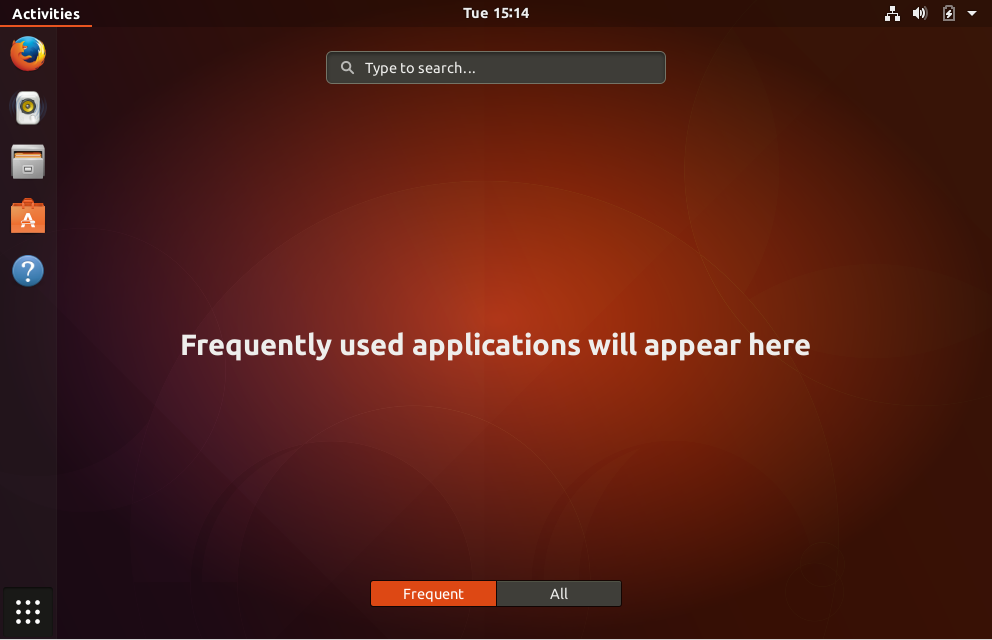
Hey, and the Dash looks just the same. So now, enjoy your Unity Desktop experience on Linux Mint 12.


how can you get it to autohide?
Afaik, it does not have a configurable auto-hide feature.
You can get the launcher on the left to autohide by right-clicking the desktop, select “change desktop background,” then select the “behavior” tab. The autohide toggle is at the top. (Selecting “appearance” in the settings panel takes you to the same place.) This is in Ubuntu 12.04 LTS — other versions may vary slightly.
You can’t autohide the panel at the top, but there’s really no need to, as Unity maximizes usable vertical screen space better than any other mainstream desktop.
FB. I need the Unity, because it’s look nice, confortable for beginners and I need the Linux Mint, because it is the perfect Ubuntu.