With the Physical Volume configured, the next step is to create the logical volumes. On a default installation of Fedora 15 and on a hard drive with more than about 75 GB of available space, the installer will create three Logical Volumes – lv_root, lv_swap, and lv_home. The same logical volumes that will be configured here. To start, select the Physical Volume and click Create.

Select “LVM Volume Group.” Create.

A Physical Volume must belong to a Volume Group, which is a virtual container for physical volumes, before logical volumes can be created. So, give the Volume Group a suitable name. To start setting up the logical volumes, click Add. This step will have to be repeated for all logical volumes that will be created.

The first Logical Volume that will be configured here will be for /, the root file system directory. The default system is ext4, and the mount point should, of course, be /. On a new installation of Fedora 15, less than 3 GB of the assigned disk space is used, so 5 GB should be more than enough to install the system. With LVM, you can always increase or grow a Logical Volume. OK.
Note: If encryption was enabled for the Physical Volume, it is not necessary to encrypt the logical volumes.

For the logical volume for Swap, about 2 GB is the default on Fedora 15, and that should be enough. Select “swap” from the “File System Type” dropdown menu, then change the “Logical Volume Name” to swap. OK.

For the logical volume for /home, assign a disk space you think is appropriate, and change the name to “home.” The default file system is ext4. OK.

With the Volume Group and logical voulmes configured, click OK to return to the main installation window.

Click Next to continue with the rest of the installation. Note that the non-LVM Free space will be used to install Ubuntu 11.04 after the installation has completed.

At the boot loader configuration step, the default location for GRUB Legacy is the Master Boot Record (MBR) of the disk. And that is where you want it installed. Next.

After the first stage of the installation has completed, rebooting the computer will start the second phase. When that too is completed, insert the Ubuntu installation CD in the optical drive and reboot the computer. On the image shown here are the boot menu options. The default is “Install Ubuntu.” Press the Enter key to launch the installation program.

After the installer starts, click Forward once, then accept the defaults on the next five steps. To accept the defaults, just press the Enter key. After those five steps, configure the hostname on the next step, then accept another default to get to the disk partitioning options step shown here.
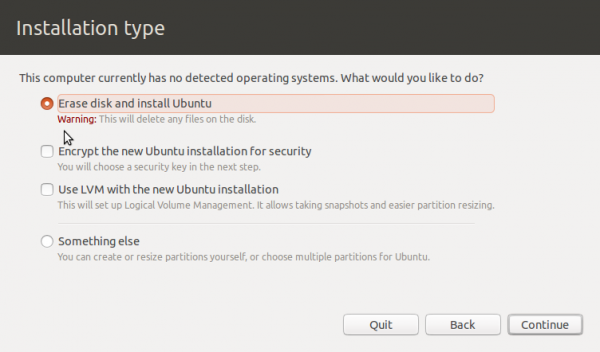
The reason I chose Ubuntu with the Alternate Installer image is to use LVM. That requirement eliminates the first two options. Because the LVM options will format the whole disks, which you do not want because Fedora 15 is installed on it, you are left with the last option – “Manual.” Press Enter on the keyboard to move to the next step.

You will see the Fedora 15 partitions and the free space that will be used for Ubuntu’s installation. Select the free space, then press Enter.

You want to create a new partition. Enter. Like the Fedora 15 installation, Ubuntu will have a non-LVM boot partition and three LVM logical volumes.

The default size for a boot partition on Ubuntu 11.04 is about 250 MB, so 300 MB should be just about right. Enter.


Hat mir total geholfen, danke für den Beitrag bin auch ein großer Wasserfan!