 This is the latest article in the series on dual-booting Windows 7 and Linux distributions. It is intended for those new to Linux, and who might need some assistance installing Linux Mint 10 KDE side by side with Windows 7 on a computer with a single hard disk. Dual-booting is easy, but you must do it right or run the risk of messing up your Windows installation.
This article, like all the others, provides a step-by-step guide on how to do it right. To begin, you need to download a suitable installation image of Linux Mint 10 KDE for your platform. Then boot the computer from the DVD. The objective here is to install Linux Mint alongside Windows 7 in such a way that the Windows boot manager will be responsible for dual-booting both operating system, so that whenever the computer is (re)booted, you will be presented with the Windows boot menu, with the option to boot into Windows 7 or Linux Mint 10 KDE.

To reduce the number of images used in this tutorial, we begin at the step where disk partitioning starts.
These are the installer’s partitioning methods. The default method is to resize the Windows partition, freeing up enough space to install Linux Mint 10 KDE. The problem with choosing the default is that the installer will install GRUB, the boot loader, in the Master Boot Record (MBR) of the disk, overwriting the Windows boot file. That works, but it also means that when you upgrade Windows, it will return the favor, overwriting GRUB.
The recommended approach, one that will keep both operating systems and their boot programs properly segregated, is to install GRUB in the boot partition of the Linux Mint KDE installation. This approach ensures that whatever happens on the Windows side will not have any impact on the Linux Mint side and vice versa.
Because the default installation (of Linux Mint 10) does not create a separate boot partition, you will need to create one yourself. That means the best partitioning method to chose is “Specify partitions manually (advanced).” Select it and click on the Forward button.

Here the installer presents all the partitions on the system. Because Windows is installed, the partitions will be NTFS partitions. The trick now is to free up some space for installing Linux Mint 10, and the only way to do that is to resize the partition. So, select the second NTFS partition, and click Change.
Note that is you have unpartitioned space already, you can just select it here. Also, if you have a second hard disk on the computer, and you wish to use it for installing Linux Mint 10 KDE, this would be the place to select it.

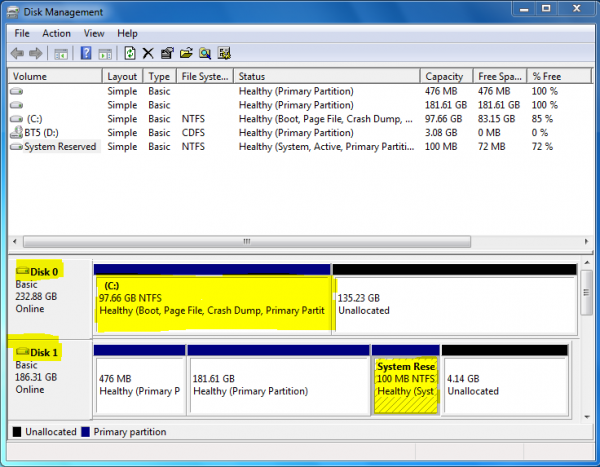
This is the original space of the Windows partition. What needs to be determined here is how much space do you want to “steal” from Windows.

This will be the new size for the Windows partition. Yours will, of course, be different. You know best how much space you can allocate. The size is the only thing you need to change here. Changing any other thing will likely mess up your Windows installation. OK.

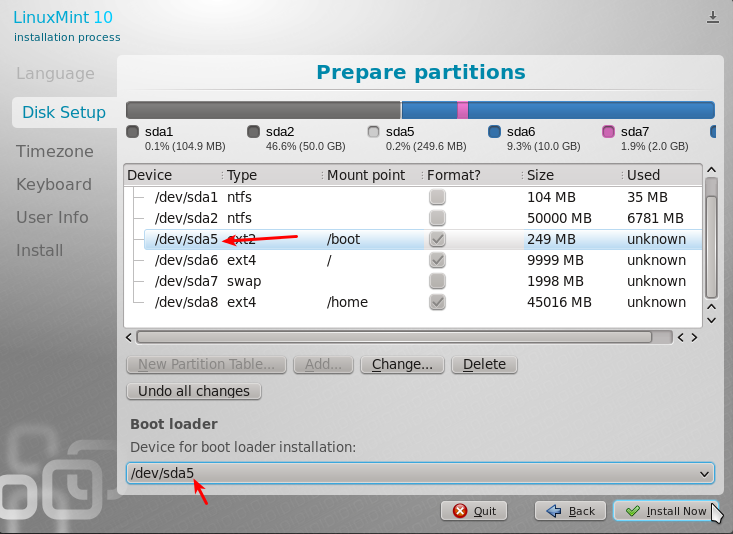
Now that some space has been freed up, select it and then click Add to start creating partitions for Linux Mint 10 KDE. This step will have to be repeated for all the partitions you will need to create. A default installation creates just two partitions. One for /, where every other file system is located, and the second for swap space. However, it is recommended, even for a desktop system, to create a separate partition for /home, where all user home directories will be located. Because this is for dual-booting, it is also necessary to create a separate partition for /boot, where all the boot loader-related files will be located. OK.

The first partition will be the boot partition. The installer will attempt to create it as a logical partition, which is just fine. 250 MB should be more than enough, and I have chosen to use ext2 for file system. This is my choice. The default is ext4, a journaling file system. OK.


Recently stumbled across Mint KDE, looked pretty cool so desided to try loading it with windows. Couldn’t find the settings for the 4 partitions anywhere. Didn’t know you had to create 1 partition let alone 4 partitions to setup Linux. Thanks for this posting, your a life saver!
very good site for a long time looking for a site like this just add frequently used sites. In addition, the site design of the landing speed is very good, but if the page is no longer such a little slow on this site you will see me very much thanks to everyone who contributed …
Thanks for this, been wanting to try KDE for a while now 🙂
Dual booting Mint 10 and Win 7? Well your halfway there…open up that Windows boot manager again, goto the command prompt and type format C:….congrats, your free of corporate chains
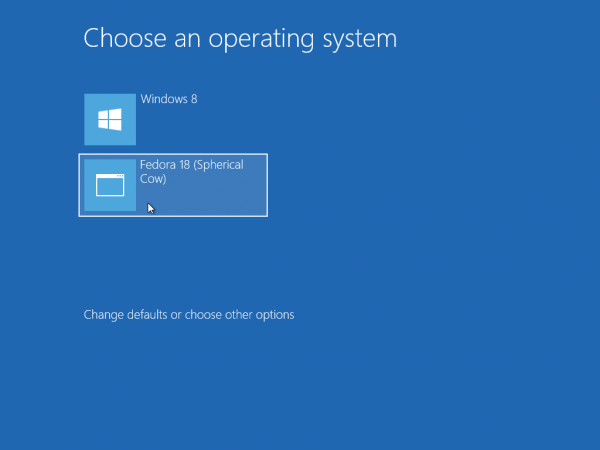
Tyler D… that boot manager screen in the first and second last screenshot is the Windows boot manager, not GRUB. It looks like DOS because it dates from that era. Notice the last screenshot (on page two) is somewhat better looking… that is GRUB.
Slow down a bit and do some research before parading your ignorance.
Is there a reason why dual boot screens still looks like DOS circa 1988?
I remember when I installed Kubuntu about 3 years ago for a friend (Gnome is usually a loser to KDE 8 to 1 when people are given the choice at our LUG) and I set up a dual boot for him.
He had seen my PCLinuxOS2007 setup and wanted one too but he was interested in Ubuntu-Shuttleworth but couldnt deal with the ugly OS which reminded him of Win98.
So I setup the dual boot, and restart the computer and he sees the DOS like white on black text and he goes “Oh Sh**!!! What happened?”
Which is EXACTLY how a normal person will react.
Yet somehow all these UI geniuses who fart among themselves about their 4pt fonts cant get it in their heads that showing someone a BW terminal look is going to be scary.
PCLinuxOS and Mandriva figured it out and added a bit of colour just so its not jarring but 4 years later, the dual boot look of Kubuntu 11 and other distros still shows that many dont understand what user friendly means.
The first thing a newbie sees in a dual boot is the prehistoric look of GRUB which even for a non newbie is just depressing.