The first LV will be for /. Like the VG’s name, the names for the LVs can be anything you feel comfortable with. For ease of management, it is better to use a name that reminds you of the mount point 9of the LV). I like to name the LV that will be used for / as root, swap for that which will be used for swap, and home for the LV for /home. Continue.

How much disk space should be allocated to this LV? For guidance, a new installation of Debian 6 takes up about 3.1 GB of disk space, and by default, the installer allocates 10 GB to it. So, 5 GB should be enough. Since we are dealing with LVM, we can always grow the partition after installation. Continue.

Repeat the previous four steps for the other LVs. When all LVs have been created, the screen should be similar to what you see in the image below. Scroll to “Finish.” Continue.

The last task in creating LVs is to specify a file system and mount points. So, select any LV, and click Continue.

Scroll to “Use as” to specify a file system. The default on Debian 6 is ext3. You can stick with that or choose any other available journaling file system. Continue.

Scroll to “Mount point” and choose the mount point for the LV. Then scroll to “Done setting up the partition.” Continue.

Repeat the previous three steps for other LVs. When finished, scroll to “Finish partitioning and write changes to disk.” Continue.

Debian 6 uses GRUB 2 as the bootloader, and will attempt to install it on the Master Boot Record (MBR) of the hard disk. If this is okay by you, then click Continue to move to the next step. Note, however, that installing GRUB in the MBR when you are attempting to dual-boot with Windows will overwrite Windows boot files. This is not the recommended approach. It is better to install it in the boot partition of the Debian installation. So, select No and click Continue.

All the steps involved in this tutorial are important, but this one is especially so. Remember the partition number of the boot partition? For this tutorial, the boot partition is /dev/sda5. The partition number is, therefore, 5. The device to specify for installing GRUB, in GRUB’s syntax, is (hd0,5). The 0 is the first hard disk and the 5, the partition number. Continue.

Continue with the rest of the installation. When completed, the system will reboot into Windows. This is expected. The final task is to add an entry for Debian 6 in Windows’ boot menu. The easiest tool I know of to do that is EasyBCD, a free application from NeoSmart Technologies. You may download the latest version here. Install and launch it.
This is the main tab of EasyBCD. It shows the only entry in the boot menu. Click on Add New Entry.

On the Add New Entry tab, click on the Linux/BSD tab in the upper part of the window. Debian 6 uses GRUB 2, so select “GRUB 2” from the Type menu. Edit the Name filed to Debian, then click on the Add Entry button. Click on Edit boot Menu.

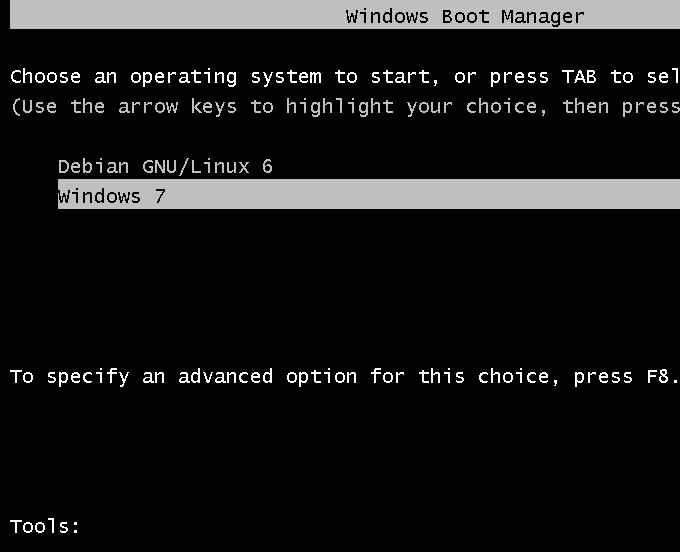
Here are the two entries. Windows is the default. You can change the order if you want to. Exit EasyBCD and reboot.

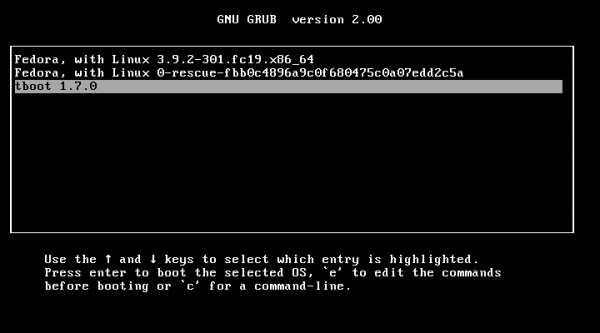
To be sure that it works, boot into Debian. It should if you followed all the steps as suggested. Note that if you attempt to boot into Debian, you will next encounter the GRUB menu.

I hope this guide has been helpful. If you need further assistance, feel free to ask for help at the forum. It is a better environment for discussing and resolving issues than the commenting system. Gratias.


Very, very useful tut. Thanks!
Hi, thanks for this simple and practic explanation. Last night I did this step by step and when I was asked to reboot, the message “grub rescue unknown files” appeared. Now, I’m not really sure what this means.
As I said, I followed step by step this tutorial and installed grub on /boot. Can you help me out?
Thanks!