![]() If you are reading this article on a Ubuntu-powered computer, odds are that it is your computer. Whether it is a notebook, netbook, or a standard desktop, it is your computer. Ok, it could be owned by another entity, but for simplicity’s sake, let us just say it is your computer. You log in with a username and password, and all the data belongs to you. Occasionally, you might want to give a friend or family member access to your computer, but do not trust them enough with your login information. What do you do?
If you are reading this article on a Ubuntu-powered computer, odds are that it is your computer. Whether it is a notebook, netbook, or a standard desktop, it is your computer. Ok, it could be owned by another entity, but for simplicity’s sake, let us just say it is your computer. You log in with a username and password, and all the data belongs to you. Occasionally, you might want to give a friend or family member access to your computer, but do not trust them enough with your login information. What do you do?
You have two options:
- Use Ubuntu’s Guest Session feature
- Create a guest account for the friend or family member
We will explore these two choices in detail. First with the Guest Session Feature. Note: This tutorial was written for Ubuntu 10.10, but every step involved is still valid for managing guest session and guest user accounts in Ubuntu 11.04.
Guest Session: This feature enables a logged in user to launch a guest session. It is not a real account that can be used to log in to the system, but must be started from an active session. The privileges of the Guest Session is very limited. The official description of the Guest Session package states:
This package adds support for starting a guest session through gdm’s flexiserver, which any already logged in user can launch. It creates a temporary guest account with a temporary home directory and some restricted privileges (such as not being able to read any home directory or do any permanent change to the system). Just call /usr/share/gdm/guest-session/guest-session-launch to start the session.
Aside from being able to start the Guest Session from the command line, you may also start it from the top panel as shown below.
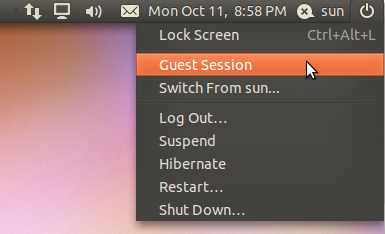
Accessing the Guest Session
Once the Guest Session is active, an entry is created for it in the Users and Groups graphical management utility (System > Administration > Users and Groups). All footprints generated during a Guest Session are stored under the /tmp directory, so no Guest Session activity is saved permanently in the system.
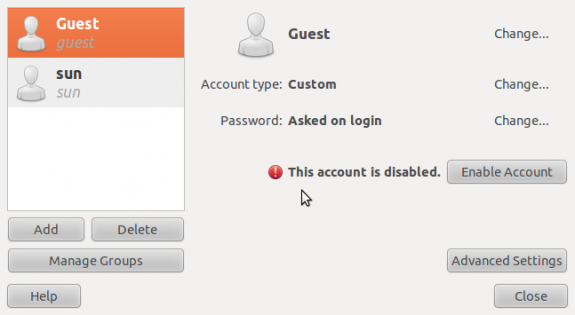
The user management tool showing the guest session account
Because the Guest Session can only be started from an active session, it places a limitation on when it can be used. So the best thing to do, if you need to give another person access to your computer, is to create another account for them. Let us just call it a guest account.
Which brings us to the second task – how to create a guest account on Ubuntu. Note that while this was written on Ubuntu, the same step may be used to create a guest account on any distribution based on Ubuntu and that uses the GNOME desktop.
Guest Account: To create a guest account, launch the Users and Groups utility (System > Administration > Users and Groups) and click on the Add button.
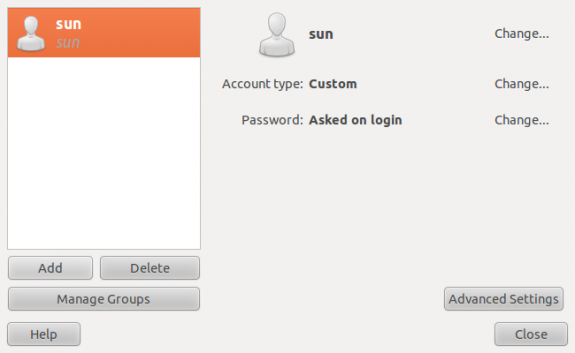
Users and Groups tool
On the user creation window, the first task is to specify a name for the account. Notice that as you type, the system will suggest usernames based on the name you have just typed. Select the one that suits you, or just make one up.
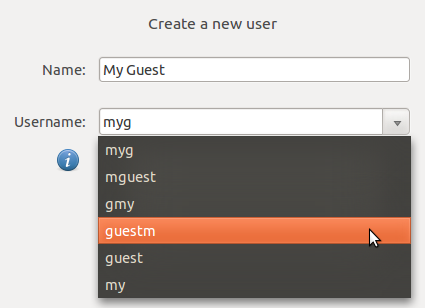
Creating a user
When you have decided on the username, click OK.
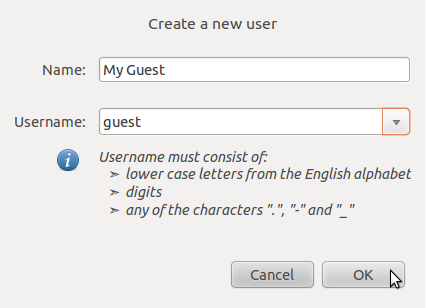
New user account
Next task is to specify a password for the guest account. Best option here is to set the password manually, rather than have the system generate one for you. System-generated passwords can be difficult to remember. Always leave the “Don’t ask for password on login” box unchecked. While passwordless logins are convenient, they do nothing to enhance the security of the system, even for a guest account.
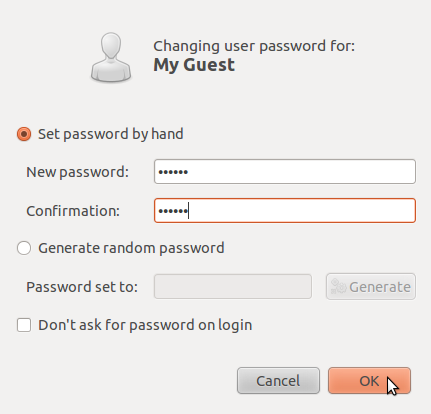
Set user password

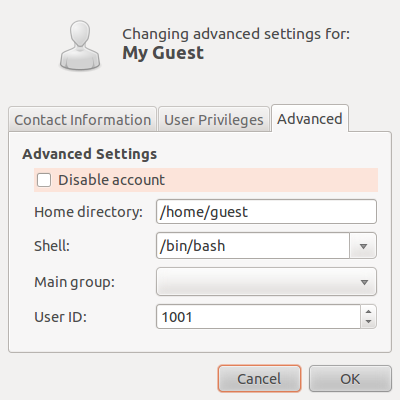



Thanks for the article. Why don’t you explain the main issue that is user privileges? Creating the new account is simple and can be done for any user. The difference is that guest needs to be limited more than normal user and for this reason one should be aware of setting up the limitations. Can you explain what privileges to turn on and what to turn off? How to block panel and system settings? How to avoid damage that can be done by the guest at his own desktop and panel settings?