 Pardus 2009.1 is the latest release of the desktop-oriented, Linux distribution from Onur Küçük and his crew in Turkey. It is one of those distros that does not automatically configure your Internet connection. You are expected to configure it from Kaptan, the Pardus system modifier, or from the network manager applet.. This tutorial gives a step by step guide of how to configure a wired network interface on an installation of Pardus 2009.1.
The steps would be just about the same if you were setting up a wireless connection profile. To begin, right-click on the network manager applet on the panel and select “Open Network Manager.”
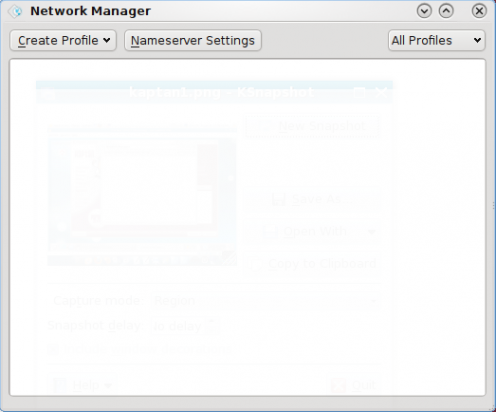
The default Network Manager setting on Pardus. No profiles are active, that is, no network interface, wired or wireless, is active. Click on the “Create Profile” dropdown and select the network interface you want to configure.
Once interface is selected, give the profile a name. For this example, my profile’s name is “Wired.” Under the “Network Settings” section, leave the selection at “Use DHCP.” Under Name Servers, select “Automatic.” Click “Apply.”
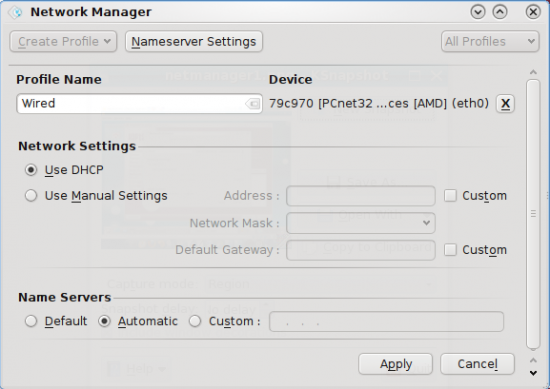
Ethernet Profile selected for configuration
Before the system creates the profile, you will be required to authenticate. Authentication as the default user.
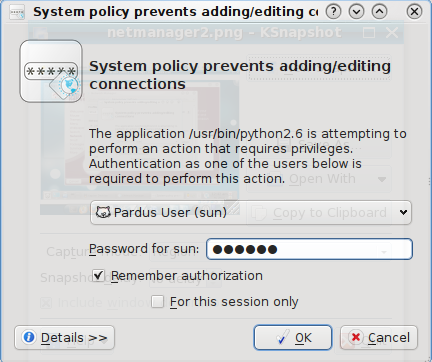
Creating a profile requires authentication
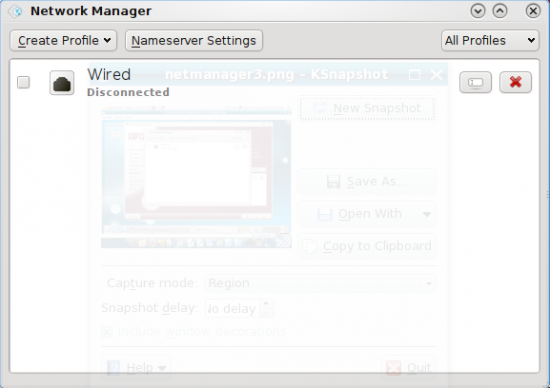
Now the profile is created, but the interface is not connected yet. Click on the check box next to the newly created profile to connect to the network
Default name server settings
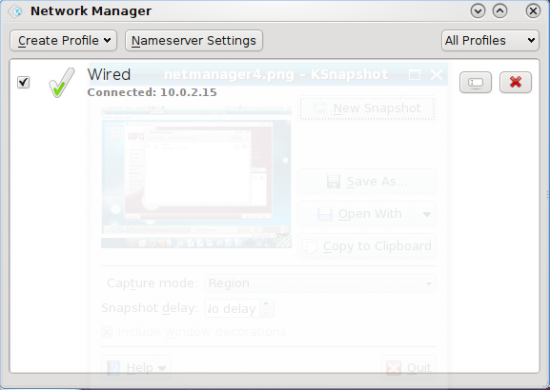
What you see when your profile is connected. Now you can surf the Web.
[warning]Out of the box, the firewall is not enabled. Better to enable the firewall before you start surfing the Web.[/warning]
edit caption here




Yes, I like the graphical management tools also, so much easier to control the system. On Hymera, I thought that the default Firefox would run faster than Altariva, but I didn’t want to take the time to figure out why Altariva was so slow. Keep up the good work, I’ll be reading as I do agree with you as to what the perfect desktop should be.
Will there be a review of this update (2009.1), I’m always interested in what you have to say about the different distros, thanks.
Actually, I’m working on it right now. Just writing one more tutorial (firewall configuration) before finalizing the review. Btw, what distro do you use on your computer(s)?
Great! I’m using Mandriva Free 2010, as I saw in one of your posts that you’d recommend it to someone new to linux. So following your advise, although I’m not new to linux, I installed it and I like it so far, that is after the codecs are installed. Are you at liberty to say which distro you prefer? I tried the Hymera distro, but the resolution is bad and the browser is sloooooow and Firefox is not in the repo.
I’m using Mandriva 2010 on my laptop and one of my test machines. Mandriva is not perfect, but I like it for it’s graphical management tools. I have not come across a distro that I can consider perfect, but I’m still searching.
On Hymera, you do not really need the original Firefox, because Altariva is a rebranded Firefox. I like Hymera. but I’ll not recommend it because the security posture is not good enough.