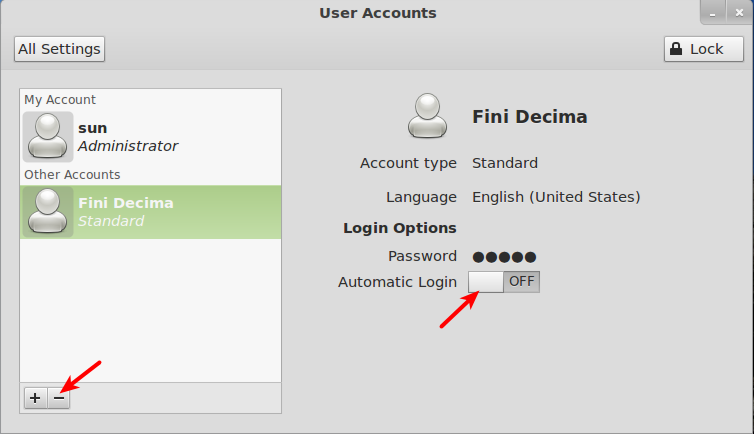
At this step, you have to create a user account. Linux Mint, like Ubuntu and other Ubuntu-based distros, does not use the root user account for access to admin rights. Rather, the account you create here is an “admin” account, and can perform any admin tasks on the system.
We recommend that you do not enable the “Log in automatically” option. It is best to manually type in your username and password than be logged in automatically. This way, you ensure that no one will physically gain access to your your PC just by rebooting it.
Here you review your settings before they are committed to the system. But before you click the Install button, let’s review a few more options under Advanced. Click on the Advanced button.
From this screen, you can choose where you want the boot loader to be installed. By default, the system installs the boot loader in hd0, or in the Master Boot Record (MBR). Unless you know what you are doing, stick with the default. I always choose to participate in the package survey. By default, this is off. Be a sport and participate. Click OK.
Now when you click the Install button, you can sit back, reach for that cup of latte and watch as your system is installed.



Thank you mate, used this excellent easy to follow guide for Mint 7 and have now just used this to install Linux Mint 9 on my daughters pc.
i just want to thank you,……