
For about two months now I’ve been learning how to code in Ruby using Learn Ruby the Hard Way. Never mind the title, but it’s actually a very good resource for learning how to program in Ruby. The last few exercises that I’ve gone through could have been written better, but overall, it’s a good book for those just getting into the world of software coding.
Exercise 46 of the book, which deals with how to set up a skeleton directory for a Ruby project, shows how to go about it manually. With the right tools installed, however, the same task can be completed automatically, which is what you’re going to learn how to do in this article.
It will help if you have Git installed already. If not, use this article to install it on your favorite Linux distribution, then come back here to continue with this tutorial.
Welcome back!
To begin, you’ll need to install a couple of applications – ruby-bundler and ruby-rspec-core. The former helps you manage Ruby application dependencies and gives you access to the bundle and bundler commands, while the latter gives you access to rspec, a standalone test runner for Ruby RSpec test suites. RSpec is a testing tool for Ruby. Use the command shown below to install both applications.
# Install the following

sudo apt install ruby-bundler ruby-rspec-core

#
With those two installed, you are now ready to create your project’s skeleton structure, which you do with the following command:
# To create a Ruby project skeleton type
# Replace projectA with the name of your project
# This command will fail if Git is not installed

bundle gem projectA

#
After running that command, you’ll be asked the following question. My comments come before each question. Note that your answer to the questions will be applied automatically to future projects you create using the bundle gem command above.
# The name of the project is ProjectA. Yours, of course, will be different
# My answer to this question was "rspec". I've never used "minitest", but nothing stops you from using it

 Creating gem 'projectA'...
Do you want to generate tests with your gem?
Type 'rspec' or 'minitest' to generate those test files now and in the future. rspec/minitest/(none):

# If you answer "y" here, a license file called LICENSE.txt will be populated with the MIT license. Otherwise,
# a license file will not be created

Do you want to license your code permissively under the MIT license?
This means that any other developer or company will be legally allowed to use your code for free as long as
they admit you created it. You can read more about the MIT license at
http://choosealicense.com/licenses/mit. y/(n):

# With a "y" answer to this question, a code of conduct file called CODE_OF_CONDUCT.md will be created. Otherwise,
# it will not be created

Do you want to include a code of conduct in gems you generate?
Codes of conduct can increase contributions to your project by contributors who prefer collaborative, safe spaces.
You can read more about the code of conduct at contributor-covenant.org. Having a code of conduct means agreeing
to the responsibility of enforcing it, so be sure that you are prepared to do that. Be sure that your email
address is specified as a contact in the generated code of conduct so that people know who to contact in case
of a violation. For suggestions about how to enforce codes of conduct, see http://bit.ly/coc-enforcement. y/(n):

#
Once you’ve answered that last question, your project’s files will be generated. The final output will look like this:
# This is the final output of the bundle gem command

Code of conduct enabled in config
      create  projectA/Gemfile
      create  projectA/.gitignore
      create  projectA/lib/projectA.rb
      create  projectA/lib/projectA/version.rb
      create  projectA/projectA.gemspec
      create  projectA/Rakefile
      create  projectA/README.md
      create  projectA/bin/console
      create  projectA/bin/setup
      create  projectA/.travis.yml
      create  projectA/.rspec
      create  projectA/spec/spec_helper.rb
      create  projectA/spec/projectA_spec.rb
      create  projectA/CODE_OF_CONDUCT.md
Initializing git repo in /home/kamit/projectA

#
Now you can start editing those files and fill in items specific to your project. If Git was properly set up with your credentials using this article, your gemspec file should be populated with the global username and email address you configured for Git. Edit that file to fill in the rest of the information specific to your project.
So there you have it – a skeleton structure for your Ruby project.
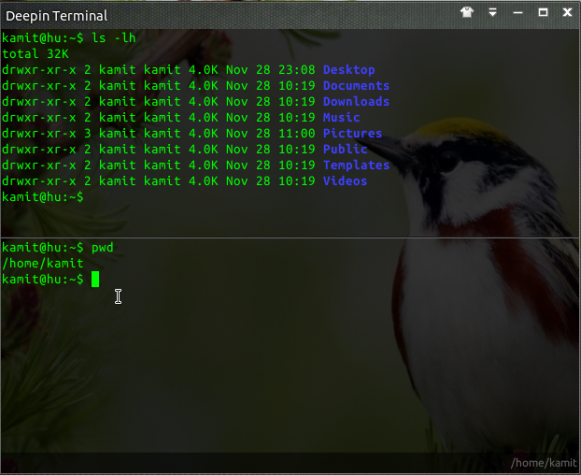
How do you run a basic test using RSpec? Change into the project’s directory and type the following command:
# To run a test, you must be in the project's directory, so change into it
# Replace "projectA" with the name of your project

cd projectA

# Then run your first test
# It might fail if your gemspec file is missing vital information

rspec

# The output should be of this sort
# > indicates output

> No examples found.


> Finished in 0.00033 seconds (files took 0.0627 seconds to load)
> 0 examples, 0 failures

#


