This tutorial shows how to add a larger hard drive to provide extra storage for your files when dual-booting between your favorite Linux distro and Windows 11. The dual-boot setup may have Windows 11 and Linux installed on separate hard drives or with the Linux installed on an external drive.
When completed, you’ll be able to read and write to the drive from inside Windows 11 or the distro.
This tutorial assumes that you already have:
- A PC with your favorite distro and Windows 11 installed in one of the dual-boot fashions described above.
- That 3rd hard drive already connected to the PC.
The extra hard drive will be formatted from inside Windows 11, so to start, log in and launch the partition manager by first typing partition into the menu’s search field and clicking to launch it. You should see three disks listed.
For the system used in this tutorial and referencing Figure 1, Disk 1 is where Windows 11 is installed. Disk 2 has Linux on it, while Disk 0 is the drive that needs to be formatted as an extra storage drive to be shared between both operating systems.
Disk 0 is a 1 TB drive with existing partitions from a previous installation of Windows 10. Since I intend to use all of it for this tutorial, I had to first delete those existing partitions. If yours is a brand new drive, it won’t have existing partitions, so you may scroll down to Figure 4.
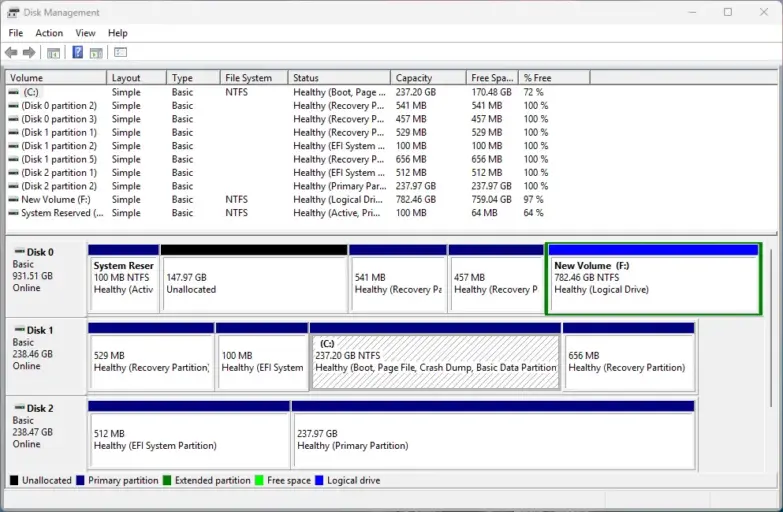
Figure 1: Windows 11 partition manager showing all the 3 hard drives installed in the target PC.
Otherwise, right-click on any partition of the disk and select Delete Volume. . . from the context menu that appears. Do this for all the existing partitions until all have been deleted.
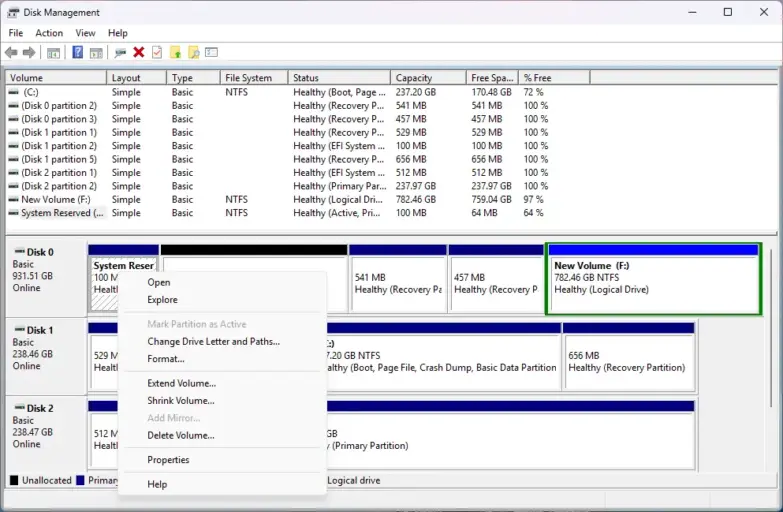
Figure 2: Deleting existing partitions from the target drive (Disk 0).
For each Delete Volume operation, you’ll be prompted to confirm. Click Yes each time.
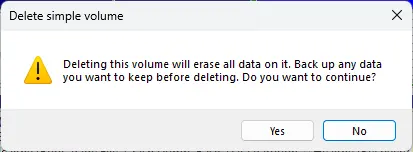
Figure 3: Confirming that you want the partition deleted.
When all existing partitions have been deleted, your Disk 0 should look like the one in the image below. Now you can begin the process of formatting it.
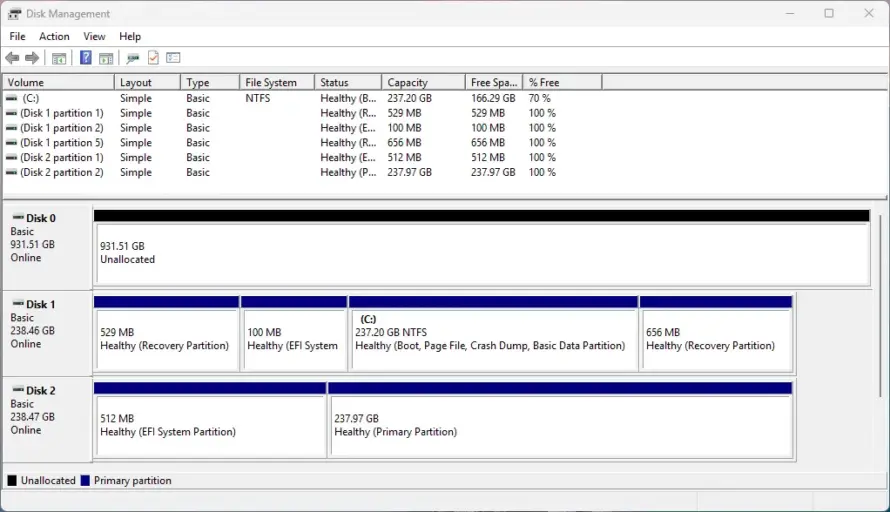
Figure 4: The target drive (Disk 0) is ready for formatting.
To begin, right-click on any part of the disk and select New Simple Volume. . .
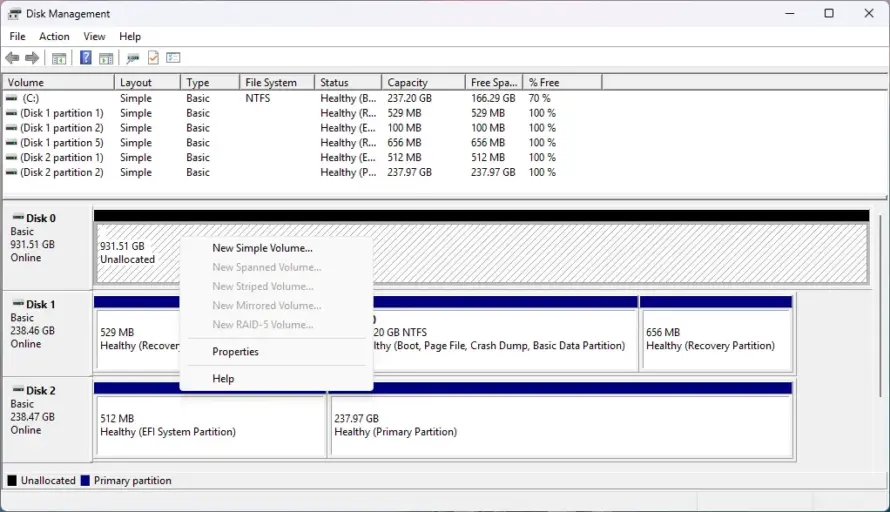
Figure 5: The first step in the disk formatting process.
This step is just informational, so click Next.
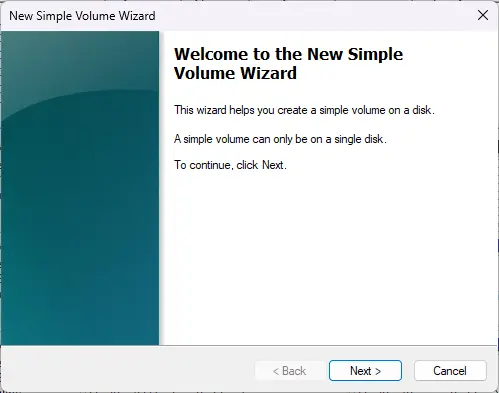
Figure 6: The second step in the disk formatting process.
If you intend to use all of Disk 0, click Next. Otherwise, specify how much space you’ll like to use in the Simple volume size in MB field before clicking Next.
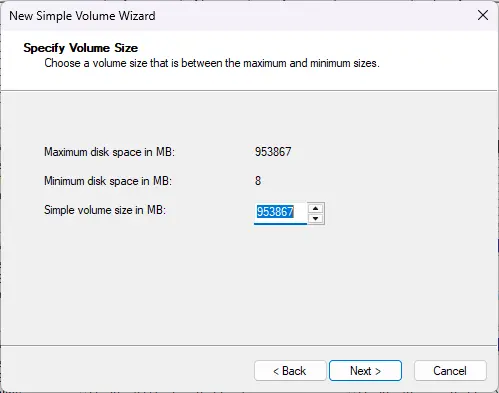
Figure 7: Specifying how much space in the target drive to format.
You have to assign a drive letter, so accept the default or change it before clicking Next.
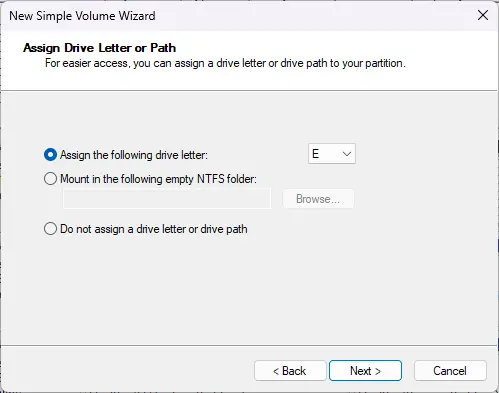
Figure 8: Assigning a drive letter to the target drive.
Now the space has to be formatted. The only thing you need to change here is the Volume label. You may also accept the default. Next.
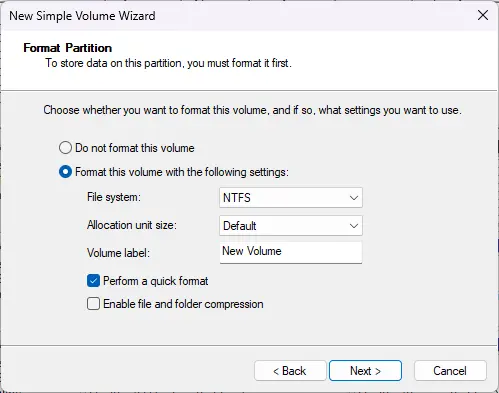
Figure 9: Formatting options for the target drive.
This step is just informational, so click Finish.
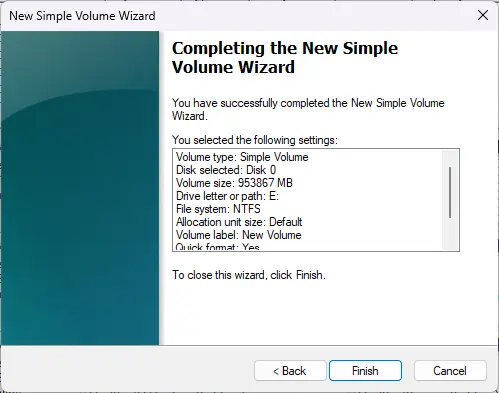
Figure 10: Informational message during the disk formatting process.
Now your extra storage drive is formatted and ready to use.
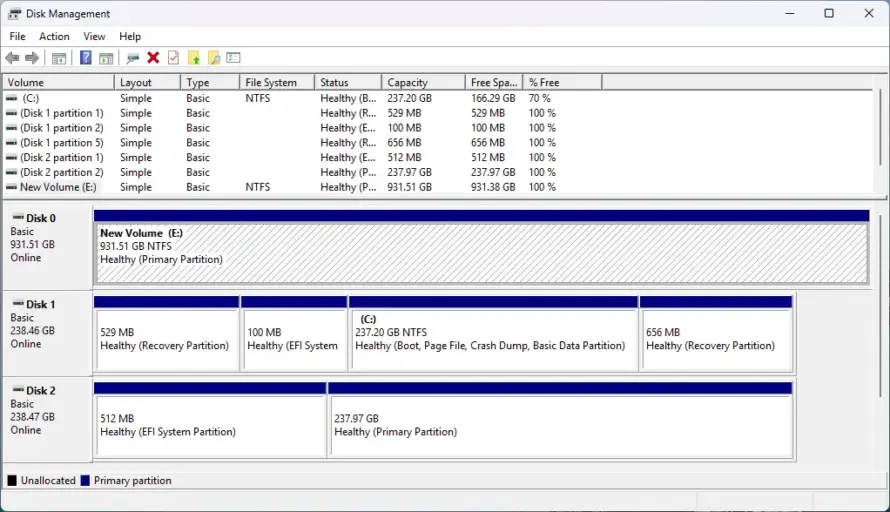
Figure 11: A new formatted drive (Disk 0) as seem from the partition manager.
If you open File Explorer, you should see an entry for it in the side panel. And if you click on it, you’ll see it’s empty.

Figure 12: Newly created storage volume as seen from File Explorer.
Now go ahead and create the folders you want in there.
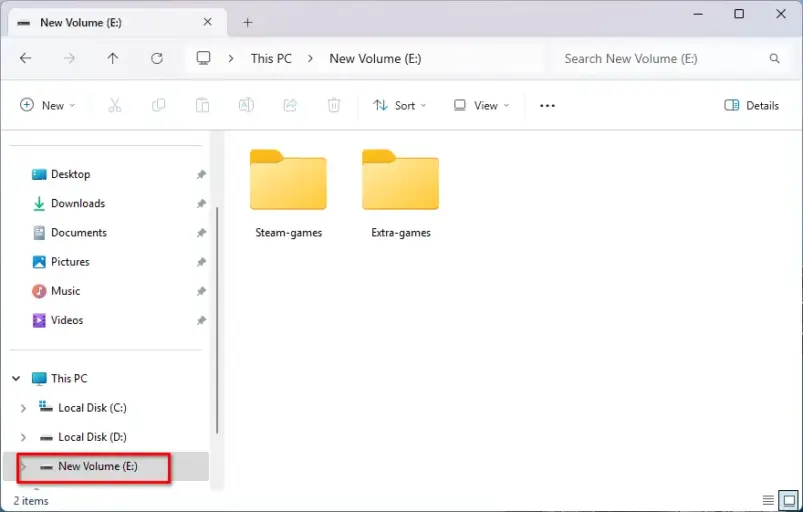
Figure 13: Add content to the new shared storage volume.
When you reboot and log into the Linux side, you’ll see the same thing when you open the distro’s file manager. Any content you add from the Linux side can also be read and written to when you log into Windows 11.
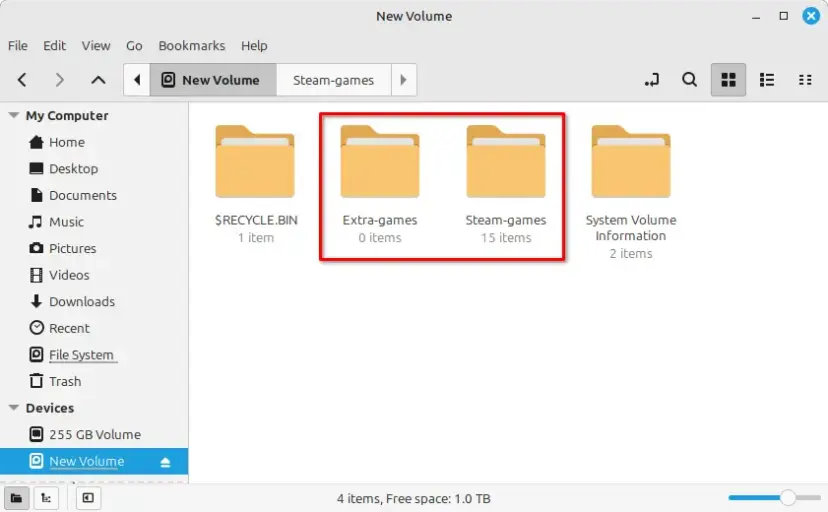
Figure 14: Files created in Windows 11 can be read and written to from Linux.
To avoid file or data corruption when sharing content across a Windows 11 and Linux dual-boot setup, be sure to disable Fast Startup in Windows 11.


