This short tutorial shows how to install Kali Linux 2.0 on a computer that does not have a working Internet, or network, connection.
One of the tasks that the Kali Linux installer performs during the installation process is to check for a working network connection, and, if possible, obtain an IP address for the system it is running on via DHCP (Dynamic Host Configuration Protocol)
If a working network connection is not detected, installation can still be carried out to completion. You just have to select the appropriate options. Selecting those appropriate options is what this tutorial will show you how to do.
If you’ve not done so already, download an installation image of the latest edition of Kali Linux from here. Burn it to a DVD or transfer it to a USB stick. With the installation media in the optical drive or a USB port, reboot the computer.
Figure 1 shows the distribution’s boot menu. Because the installer does not display correctly when launched from the Live desktop, I recommend that you launch it right from the boot menu. That means selecting either the Install or Graphical Install option.
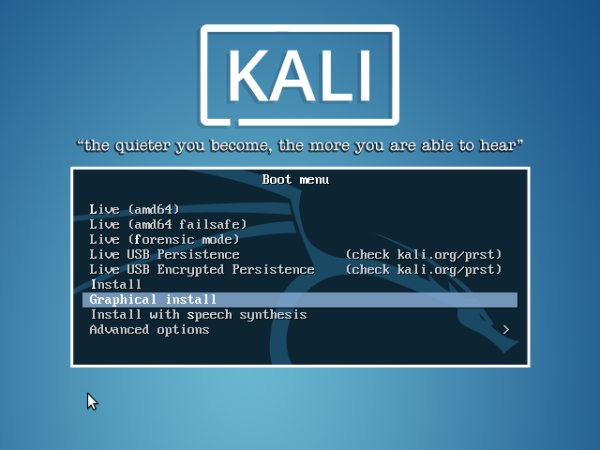
Figure 1: Entries on the boot menu of Kali Linux 2.0
At a step of the installation process, the installer will make an attempt to detect a network connection and get an IP address from a DHCP server, if one is available.
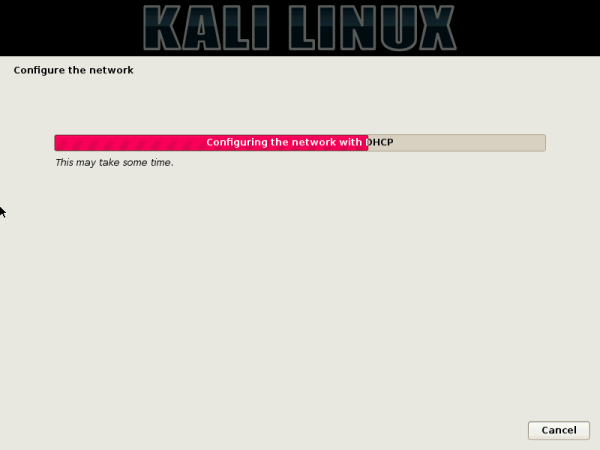
Figure 2: Configuring network via DHCP on Kali Linux 2.0
If it fails, you’ll see this window. Click Continue to go to the next step.
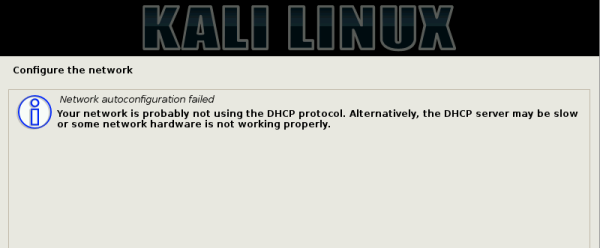
Figure 3: Network configuration failure on Kali Linux 2.0
Then select Do not configure the network at this time. Continue.

Figure 4: Network configuration options on Kali Linux 2.0
The installation will continue until it gets to the package manager configuration step, where you’ll be given the option to configure a network mirror. Network mirror configuration requires a working Internet connection, so the option to select here is No. Even without a configured network mirror, installation will still complete successfully.
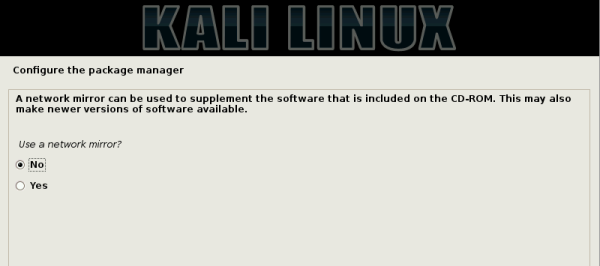
Figure 5: Network mirror setup options on Kali Linux 2.0
That’s all there’s to it. After installation and reboot, you should see the default Kali Linux 2.0 desktop.
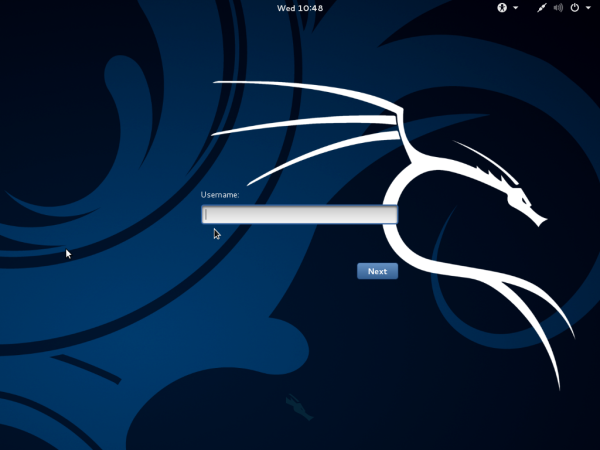
Figure 6: Kali Linux 2 login window




I installed Kali Linux 2016.1 without using network mirror but audio and internet connection don’t work. I tried to get update and upgrade using apt-get update , apt-get upgrade , apt-get distupgrade but it doesn’t work because it can’t connect WiFi. any advise? should I install it again using network mirror?
i got grub install failed error,but install continued and finished,now can`t boot into Kali,as am sure many others,so what do we do now?how to fix this?
If you got a GRUB installed failed error, you should have aborted installation at that point. Without GUB, the system will not boot, so redo the installation.
Is yours a dual-boot attempt or a standalone installation?
not helpful, because grub package won’t download and install, so you’ll have additional troubles starting up Kali – have to manually boot, configure network, and download and install grub.