Advanced or manual disk partitioning is available for those that want to create a custom set of partitions for installing Ubuntu 11.04. For whatever reason or reasons you choose to use the advanced disk partitioning tool, this article gives a step by step guide, with detailed explanations, on how to do it.
This tutorial assumes that you are going to create partitions for a standalone installation of Ubuntu 11.04. If you are going to create partitions for dual-booting with Windows or another Linux distribution, a future article, to be published soon, will provide instructions on how to create partitions manually, when dual-booting.
On a default installation of Ubuntu 11.04, the installer creates just two partitions; the first for /, the root directory, and the second for Swap. When creating partitions for installing any desktop Linux distribution, my recommendation is to create the following four partitions:
- /boot, the boot partition. This is where programs critical for booting the system will reside.
- /, the root directory. The bulk of the programs used for running the system will be installed here.
- Swap, unformatted disk space for use as virtual memory.
- /home, the partition where your home directory will be located. In the course of using the system, files and folders you create will reside in various folders here.
Note that this guide is for creating partitions when using the graphical installer available with the CD and DVD ISO images. The Alternate Installer CD ISO image uses an ncurses-based installer. To reduce the number of images used, this tutorial begins at the step where disk detection starts.
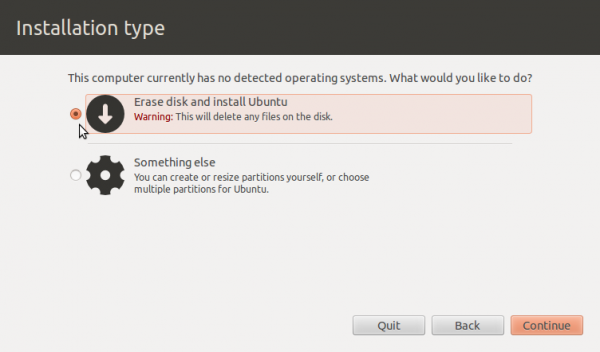
Depending on the state of the disk you are installing on, the disk partitioning methods step will look like the one below. To get to the advanced partitioning tool, select the Something Else option and click Forward.

This is the main window of the advanced disk partitioning tool. This is a standalone installation, so the first task is to delete all existing partitions. If the target disk is a new one and it has not been initialized, select it and click the New Partition Table button.

When you are done deleting existing partitions, or initializing the disk, if it needed to be initialized, the main window will look just like this. Now, you can start creating partitions. Note that the first partition should be mounted at /boot.
Select the free space and click the Add button.

This is the partition creation window of the advanced disk partitioning tool. There is nothing very complicated about it, but if you are new to disk partitioning on Linux, the following explanation is for you: There are three types of partitions that we can create with this tool, and they are, primary, extended, and logical. The disk partitioning scheme used by this tool allows for a maximum of four primary partitions. I am not going to go into the reasons, but just understand that you can only create four primary partitions. There is no way around that unless you want to use a different partitioning scheme, which this tool does not support
But what if you want to create more than four partitions in this scheme? That is where an extended partition comes in. When you create one partition as an extended partition, the system makes it possible to create an unlimited number of partitions under it. Those partitions are called logical partitions.
Except for the partition that will be used as swap, any other partition has to be formatted, a file system stamped on it and then it is mounted at a particular directory – the Mount point.
That is a summary explanation of disk partitioning. Now, let us actually create those partitions.

If you are attempting to install Ubuntu alone on the disk, the installer will create the first partition as a primary partition. And that first partition, following the recommendation made earlier, should be mounted at /boot. The default file system for /boot on Ubuntu is ext2. You can use that, or ext4, the default journaling file system on Ubuntu 11.04. The partition number of this boot partition, if it is the first partition on the disk, will be /dev/sda1. While many Linux distributions assign about 500 MB of disk space to /boot, only about 30 MB is used on a new installation of Ubuntu 11.04. If you are tight on disk space, you can go as low as 50 BM, but keep in mind that disk usage on /boot will grow with each upgrade. Click OK to create it.

Now that /boot has been created, select the free space and click on Add to create other partitions. Note that this step will have to be repeated for all other partitions.

The second partition will be for Swap. The installer will attempt to create it as a logical partition, but you do not have to. Like /boot, it could also be a primary partition. The first logical partition of an extended partition is /dev/sda5. If you create this partition as a primary partition, it will be /dev/sda2.
Select “Swap area” from the “Use as” dropdown menu. The “Mount point” menu will be disabled because Swap does not need a mount point. A disk size of 2000 MB or 2 GB is usually good enough for Swap. Add.

The third partition will be for /. The installer recommends a minimum of 4.4 GB of disk space for installing Ubuntu 11.04, but on a new installation, just 2.3 GB of disk space is used. As more applications are installed on a running system, disk usage will grow, so you want to be very generous here – if you have disk space to spare. The default file system on a non-boot partition is ext4. Other options available are ext3, xfs, jfs and reiserfs. Btrfs is also a file system option, but the disk partitioning scheme for installing Linux on a btrfs file system is slightly different from this one. That will be covered in another article.
OK to create this partition.

The final partition will be for /home. The file system is ext4, and you may use the available disk space here. OK

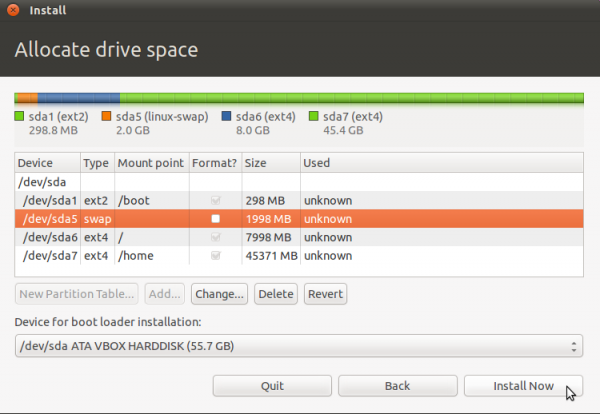
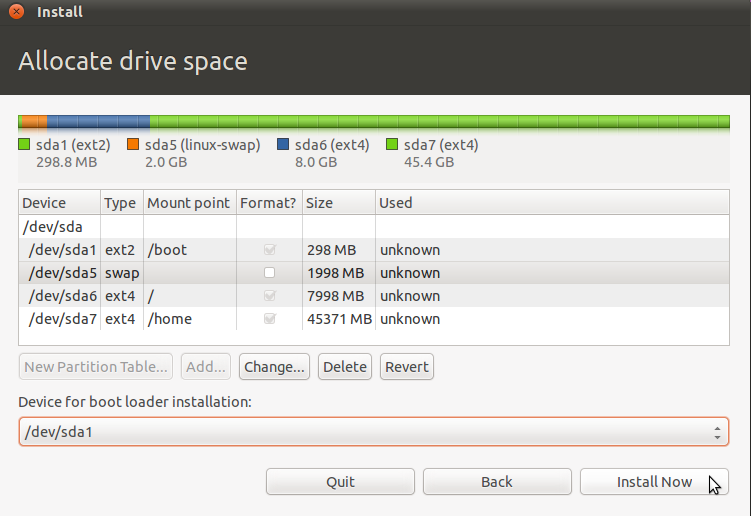
Back to the main manual partitioning window, you can see all the partitions just created. Before you click Install Now, you have to determine where GRUB, the boot loader, will be installed. On a standalone installation, the best location is the default – in the Master Boot Record of the disk. It is also possible to install it in the /boot partition, but that is not recommended for this installation.
That is how to partition a disk using Ubuntu’s advanced disk partitioning tool. You can have quality articles like this delivered automatically to your feed reader or inbox by subscribing via RSS or email.
This website now has a Question and Answer section. Use the commenting system for simple comments, but for more involved assistance, please use the Q & A section.

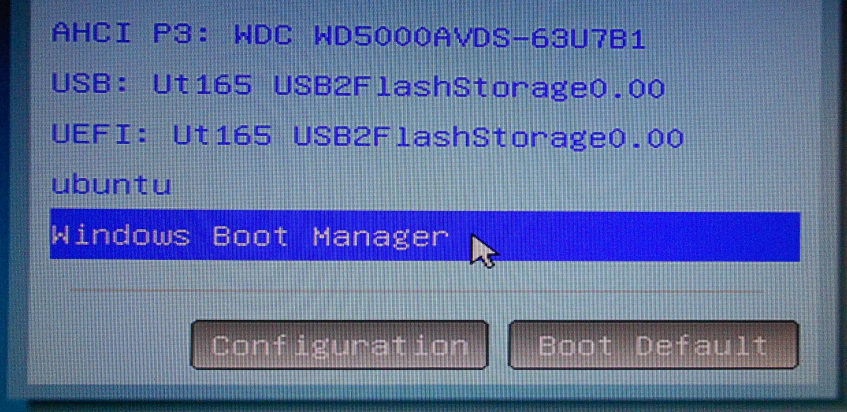
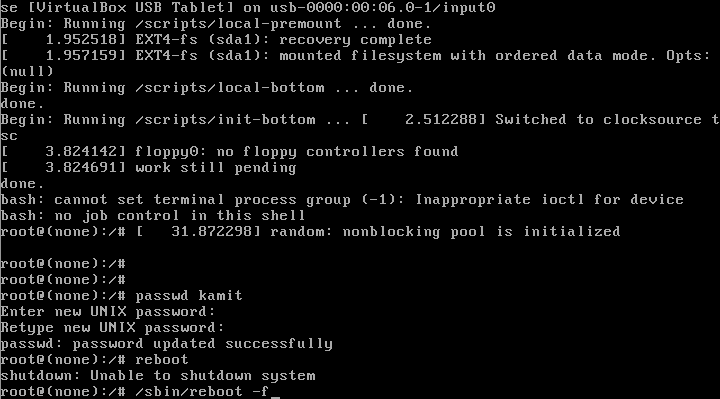


I have done all those steps. Ended up with an error about some EFI boot thing which requires at least 35 MB. I did what it told me, and I clicked install once again. Here’s where I’m confused. All it does it show a loading bar at the bottom and it finishes quickly and then it closes down. All is left is my cursor continuously loading. How long does it take or is it messed up
If it’s taking that long, then it’s messed up.
Btw, what version of Ubuntu are you installing and on what kind of hardware?
I was trying to use Ubunto 12.10. I think I just had to connect my ethernet cable because everything popped up fine. I think my computer hardware is messed up tho. At some moments, the tv would lose signal. I guess it’s my gpu, because it was a little bit before i tried installing ubunto.
Thanks for the easy to understand and follow guide!
Thank you so much for this guide. I was totally blank when I oprnedup the partition table and saw so many different mounts. Very helpful. 🙂
thanks for the well structured explanation of partition schemes…extremely helpful!! i finally feel like i can correctly partition a HD with a linux distro
hey
i would really want advice on what to do..
i have ubuntu 12.04 on my hp pavilion dv6… the ubuntu is only in one partition, i want to create other partitions…. is it possible for me to do that without the system crashing????
Without knowing what partitions you have and how much free space you can recover, it’s hard to say. More info about your system will help.
No… it can’t be done but if u want to install another unbuntu than it’ll b done.
Yes this was a good explanation. I have used the manual partitoning before but was mixed up on which ones did what and what sizes they needed. This also helped with the order they should be in. Doing a reinstall now on a second drive in a two drive system. The comment about using /home and not having to do a full reinstall to fix a bad / or /boot will be helpful too. I would like to see included at least a brief explanation of the other partition options like /var /usr /tmp and the others that are given. Also what might be good uses of the different types of file systems that are not covered here, the journalling verses ext2, ext3, ext4 and others. If it is covered elsewhere on this site I will have to look it up. I found this page by search engine.
Thanks a zillion. Really helped me setting up the partition table smoothly.
Well, I am close to installing xubuntu 11.04 on a friends old compaq – i have been working tirelessly to try and get ubuntu and versions of xubuntu to work.
It seems like I needed to set up a partition scheme. I have followed your instructions on here and, even if I encounter problems with the install, I just want to say thanks a lot for a brilliant set of instructions.
One thing I would add though, for each step of the partition maybe just a brief description of what each partition represents.
absolutely great work, all the same – I really appreciate it! thanks 🙂
Thank you. Your suggestion will factor into the next tutorial.
tnx a lot for this guid 🙂
Thanks – helped me get all set up when I hit the “no root file system is defined” error – likely I needed to add a “/” system and format the boot as Ext2.
Thanks! Best guide and explanation without talking over people’s heads. Told me just what I needed to know. Thanks again!
Wow! Very informative, just what a newbie like me needed to install Ubuntu correctly on an external drive and NOT over Mac OSX by mistake. It all makes sense, so thanks for explaining the jargon, too.
Superb, a little long winded maybe on the preamble, but once you get into the actual bones of it this is a quick and concise explanation that helped me do exactly as i wanted to do.
Thank you
Thank you for this guide. I have one question though. Is it necessary to have the root partition be separate from /home?
No, it is not. You can just create /boot and /, or even just a single root partition.
It is not required to have a separate partition for /home however doing so can save you some work down the line, if you are tweaking the system a lot and want to reinstall in case of an unrecoverable problem for instance. A separate home partition will save you losing your personal data and make the recovery much less of an ordeal.
Nice article, I was able to install Ubuntu successfully. However I noticed that my previously installed win7 on the system is gone. I am only worried about my data, is it possible to get them back? I know I should have taken a back up before doing any experiment, but the damage is already done. Any kind of help will be greatly appreciated please let me know if you need any more details.
Which option did you choose at the disk partitioning option step? Was it “Something else,” “Replace Windows” or “Install alongside Windows”?
If you do not remember, try and see if you can access the Windows partition when you are in Ubuntu. If you do not know how, read http://www.linuxbsdos.com/2012/01/02/how-to-access-microsoft-windows-files-and-folders-from-linux/
Thanks for the reply! I remember I had selected the option “something else”. Still it looks like windows is gone, something might have been messed up during partitioning. Also I read the other article you had mentioned, I do not see any of the windows hard drives in Ubuntu, does that mean all the windows data is lost? Is there any way to recover them?
if you installed over Windows, rather than alongside it, then you hosed Windows. If you can, send me a screen shot of Nautilus, the file manager. Send it to the email here.