 After a review of Linux Mint 10, the next logical step is to write a few tutorials and tips for those that might need it. The first of these tutorials is a very basic one: It will present several steps you can take to customize a new installation of Linux Mint 10.
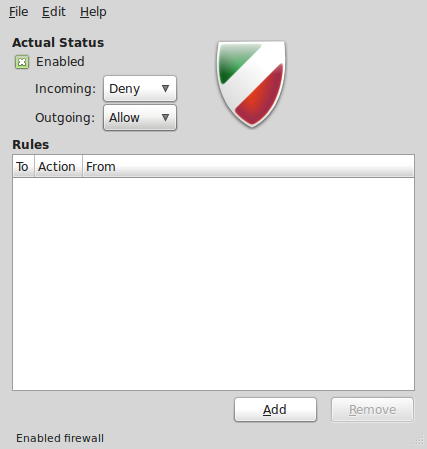
The list of tips that will be presented covers basic desktop customizations, enabling and configuring Gufw, the graphical firewall client, and installing standard GNOME games.
Let us start with basic desktop customization tips.
Workspace Switcher: Want to have more desktop workspaces than the single one Mint 10 makes available? No problem. Just right-click on any part of the panel and select “Add to Panel.” In the window that opens, scroll all the way down until you see the Workspace Switcher. Select it and click on Add. Now, you have four virtual desktop or workspaces to use.

Install Games: Out of the box, Mint 10, as with previous releases, does not have games installed. All work and no play, as they say, makes Jack/Jane a dull dude/gurl. Yes, work is good, but occasionally, you want to play your favorite card game or two. There are about 116 applications available in the repository. However, rather than going through the Software Manager looking for one you might like, it is easier to install the gnome-games package, which contains 16 games. That should be enough to get you started. To install, launch a terminal and type sudo apt-get install gnome-games, or use the Software Manager and search for gnome-games.
3D desktop: If your computer has the required hardware, all you need to enable 3D desktop, is launch the CompizConfig Settings Manager from the Control Center, and enable the features you need. The Wobbly Windows effect is my favorite. It makes using a desktop computer a lot more fun.

Single-click: Why double-click to open or launch an application or file when you can do the same with a single-click? It makes more sense to single-click, right? So why is double-click the default? To change this behavior, launch Nautilus, the file manager. Click on Edit > Preferences. On the window that opens, click on the Behavior tab. Enable the option as shown below.

Shade Windows: By default a window is configured to go fullscreen when you double-click on its titlebar, and to revert to original size if the action is repeated. But what good is that. There is already a maximize button to the left of the titlebar. The coolest thing to do is to have a window rollup or shade on double-click. To change the behavior, click on Menu > Preferences > Windows. Under “Titlebar Action” in the window that opens, you will notice that the action is to maximize on double-click. That is the default.

Click on the dropdown menu and select Shade. Click Close. Now, anytime you double-click on a windows titlebar, it will rollup, or shade.


