At the default boot menu option, press the Tab key to edit the Anaconda options.
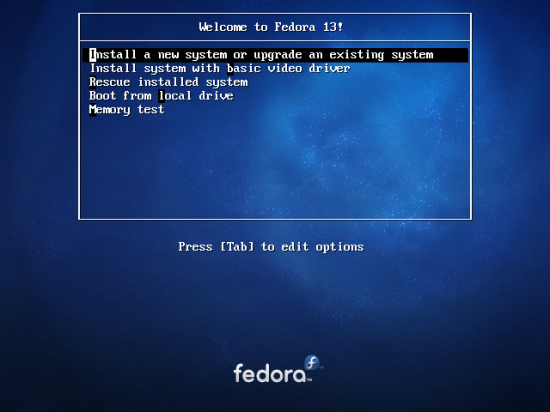
Boot options for the DVD installation method
The default Anaconda options are shown below. Press the Space bar and type btrfs.
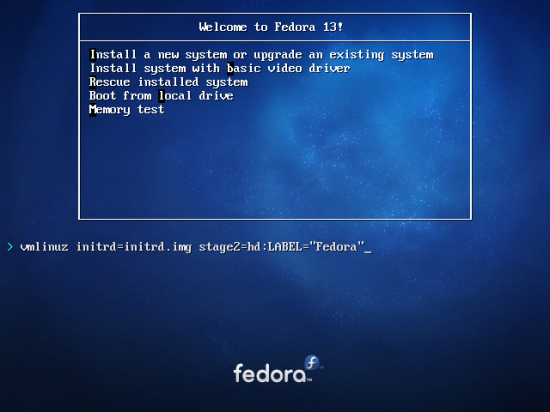
Default Anaconda options for the DVD installation method
This shows the btrfs option appended to Anaconda’s options. Enter to continue.
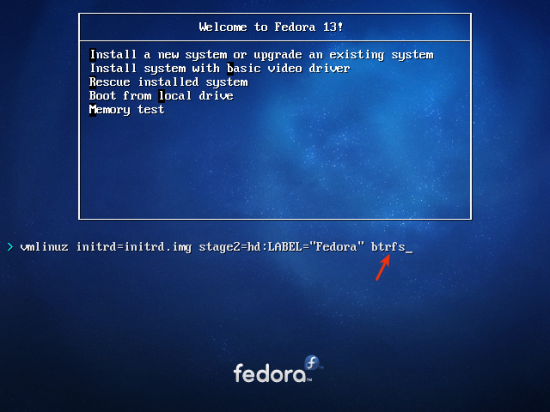
Btrfs appended to Anaconda boot options for the DVD installation method
Your choice here. Do you wnat to check the installation media for errors or do you want to skip checking? Whatever option you choose, Enter to continue with the installation.
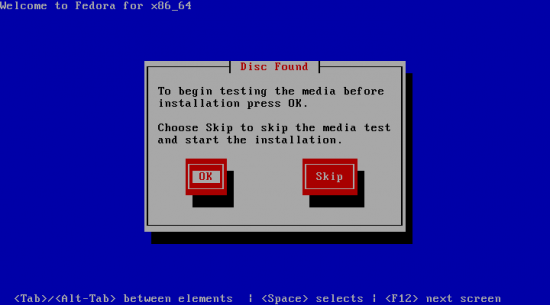
Accept or skip checking the DVD installation media for errors
There you have it. Very simple. With btrfs passed to Anaconda, btrfs will be available as an option in the File System Type menu. An upcoming article will provide a step by step guide on how to perform the complete installation of Fedora 13 on a btrfs root filesystem. To receive the article automatically in your Feed Reader or inbox, subscribe to this site via RSS or email.
Update: Promised article has been published – Fedora 13 btrfs installation guide.




Yes, finid, to explain, when I say “has to be ext3” my brain understands that to mean “can be ext2, ext3 or ext4” but my digits refused to transcribe such verbosity in a casual comment.
Luckily you were not fooled by my lazy fingers into following a personal preference. “;0)
Cheers!
Nice article for the adventurous!
I have been running F13x64 (w/ kern 2.6.34.1-15) for a month with BTRFS for /root and /home and have to say that it is brilliant, very fast and stable for daily desktop use.
However, a strict backup strategy is still recommended and the /boot partition has to be ext3.
BTW: You may wish to let readers know (future article?) that F13 with patched GRUB 0.97 also supports BIOS booting into GPT partitioned disks. This has many advantages over MBR and can be done using gdisk for HDD pre-partitioning and SystemRescueCD to patch the bootloader during installation.
Could you explain why “the /boot partition has to be ext3?” Runs without a hitch on ext4 here.