 Linux Mint 6, the latest stable version of Linux Mint, a (Linux) desktop distro based on Ubuntu 8.10, was released on December 15, 2008. As with Ubuntu and other Ubuntu-based distros, installing Linux Mint (6) involves a simple, seven-step process. On a default installation, the installer creates two partitions: A primary partition for the / (root) file system, which holds everything, and a logical partition for swap.
While most Linux and BSD distros now follow this approach, it has never been the standard disk partitioning scheme under UNIX and UNIX-like operating systems. By tradition, installation follows a scheme whereby each major file system directory – /, /usr, /var, /tmp, /home, and in some cases, /opt, and /usr/local, are stored on separate disk (data) partitions.
And what is the rationale for creating these multiple partitions?
One of the goals of having different partitions is to achieve higher data security in case of disaster. By dividing the hard disk in partitions, data can be grouped and separated. When an accident occurs, only the data in the partition that got the hit will be damaged, while the data on the other partitions will most likely survive.
This principle dates from the days when Linux didn’t have journaled file systems and power failures might have lead to disaster. The use of partitions remains for security and robustness reasons, so a breach on one part of the system doesn’t automatically mean that the whole computer is in danger. This is currently the most important reason for partitioning.
A simple example: a user creates a script, a program or a web application that starts filling up the disk. If the disk contains only one big partition, the entire system will stop functioning if the disk is full. If the user stores the data on a separate partition, then only that (data) partition will be affected, while the system partitions and possible other data partitions keep functioning.
Mind that having a journaled file system only provides data security in case of power failure and sudden disconnection of storage devices. This does not protect your data against bad blocks and logical errors in the file system. In those cases, you should use a RAID (Redundant Array of Inexpensive Disks) solution.
This tutorial provides a step-by-step guide, with screenshots, on how to install Linux Mint 6 using the standard disk partitioning scheme.
There are two editions of Linux Mint 6: The Main Edition, which is a Live CD edition , with support for multimedia codecs and restricted formats, and the Universal Edition, a Live DVD edition, that does not include support for multimedia codecs and restricted formats. This tutorial was prepared using the Live CD or the Main Edition. The steps will not differ, however, if you were using the Universal Edition, that is, the Live DVD Edition.
Note that since Linux Mint 6 is based on Ubuntu 8.10 (the Live CD edition, not the “alternate-text” installer edition), you could also use this tutorial to set up the same disk partitioning scheme on Ubuntu (Live CD edition).
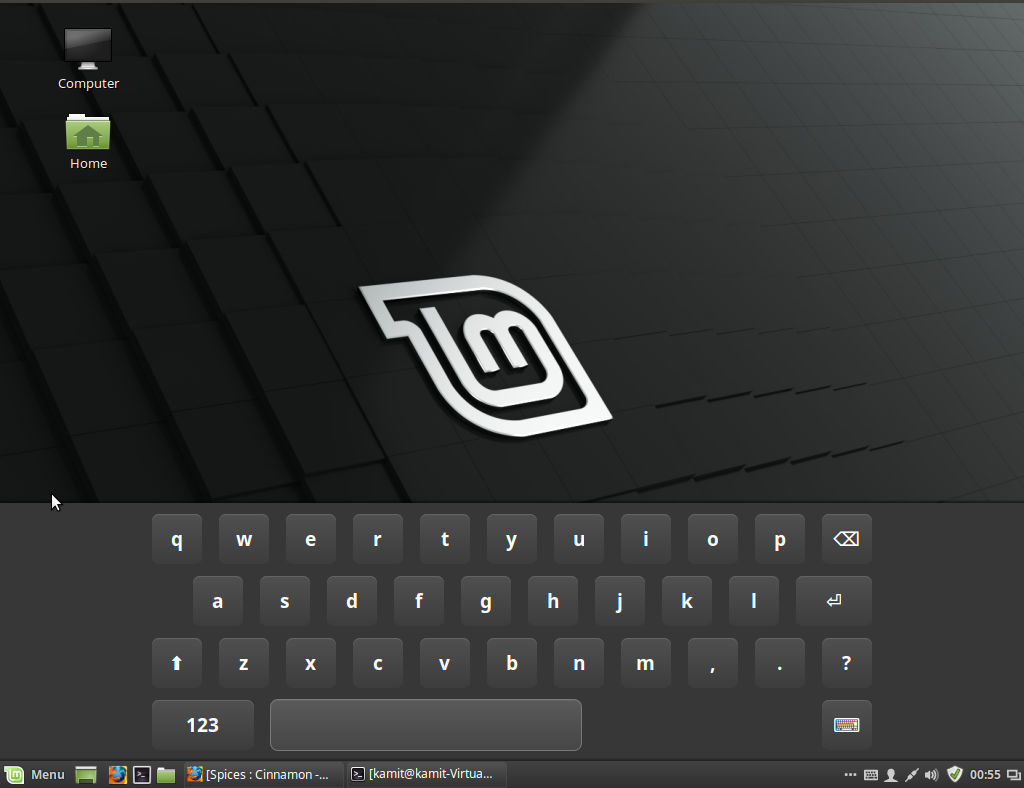
Naturally, of course, the first step is to grab an iso image (only the x68 edition of Linux Mint 6 is currently available), and burn it to a CD (DVD if you downloaded the Universal Edition). When you boot up a PC using the media you created, your desktop should look like the one shown in the screenshot below. Click on the Install icon to begin the installation.
The next three screenshots are pretty basic settings. Here you select the language of your choice. Click Forward when you are done.
Here you select your time zone. The default is American EST, but this will, of course, not apply to all users. Click on the drop down menu to select your timezone, or use the map above it. Forward.
Make your keyboard selection. Forward.
This is where the fun starts, where the installer detects the hard drive(s) and displays the options to partition the drive(s). If you choose the default option, that is to partition the whole disk, the installer will create two partitions: a primary partition for / (/dev/sda1) using the Ext3 filesystem, and an extended partition (/dev/sda2) under which it creates a logical partition of about 1.5 GB for swap (/dev/sda5). As with pointed out earlier, this is the disk partitioning scheme used by most Linux and BSD distros.
If you want to follow the default option, you may skip to the next page of this tutorial. However, if you want to create custom partitions, as intended by this tutorial, read on.
Since want to create custom disk partitions, Select Manual as shown in the screenshot below, and click the Forward button.
If you are starting with a new hard drive, your screen should look like the one below. To make it usable, it is first necessary to create a partition table. Click on New partition table to create one.


Thank you mate, used this excellent easy to follow guide for Mint 7 and have now just used this to install Linux Mint 9 on my daughters pc.
i just want to thank you,……