Back to Advanced Partitioning Tool window, you can see the space that you just recovered from Windows 7 listed as free space. That free space is what will be used for creating Linux Mint 13 partitions. To start creating the partitions, select the free space as shown in this image and click Add. Note: This step will have to be repeated for every partition that you need to create.

You have seen this window before, but this time, you will be doing a little bit more on it, or to it. You already know that for this tutorial, four partitions will be created for Linux Mint 13. Be default, the installer will attempt to create the first and subsequent partitions as Logical partitions. You can stick with the default, or make the first Linux Mint 13 partition a Primary partition. For this tutorial, I chose to create the first partition, which will be the boot partition, as Primary. If the terms being used here are foreign to you, please take a moment to read guide to disks and disk partitions in Linux, if you have not done so already.

For the boot partition, you can specify the values and options shown on this image. If you are tight on disk space, you can go much lower than 500 MB for the size, but be sure to use /boot as the Mount point and leave the Use as value unchanged. OK.

For the root partition, the minimum disk space recommended is 5.2 GB, so any value higher than that should be enough. Since resizing the disk on a running system is not an easy task, be generous here. For this test installation, I gave it 20,000 MB, or 20 GB. OK.

The partition mounted at /home should be allocated most of the available disk space. If you were generous with disk space allocation to the root partition, be very, very, generous here. Depending on how you use the computer, this could fill up quickly. Leave the file system at the default and use /home as the Mount point. OK.

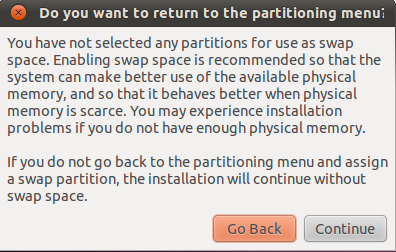
The last partition will be for Swap, disk space that the system may use as virtual memory. Select swap area from the Use as dropdown menu, and assign it a suitable disk space. For most systems, 4 GB should be more than enough. OK.

Back to the main Advanced Partitioning Tool window, you should see the partitions you just created. If you followed the partitioning scheme used for this tutorial to the letter, the partitions should be listed as sda3, sda5, sda6 and sda7. Not visible on this screen shot, are the pre-existing Windows 7 partitions, which are sda1 and sda2.
The final task that must be completed at this step before clicking Install Now, is to select the Device for boot loader installation. By default, it is sda or to be exact, the MBR of sda. You need to change that to sda3, which corresponds to the boot partition that you just created.

This is what the Device for boot loader installation dropdown menu should look like before you click Install Now.

After installation has completed successfully, the computer should reboot into Windows 7. Before Windows reboots, it will start checking the resized C drive for consistency. Let the check complete. After the check has completed, login. Since there is no way to boot into Linux Mint 13 until an entry for it is added to Windows 7’s boot menu, the next task is to download and install EasyBCD from here. After EasyBCD has been installed, start it. The main window is shown below. Click on Add New Entry tab.

While there, click on the Linux/BSD tab, then select GRUB 2 from the Type dropdown menu. GRUB 2, not GRUB Legacy, is the version of GRUB used by Linux Mint 13. Edit the Name field to match the distribution you are adding it for. Apply the changes by clicking the Add Entry button. Click on the Edit Boot Menu tab.

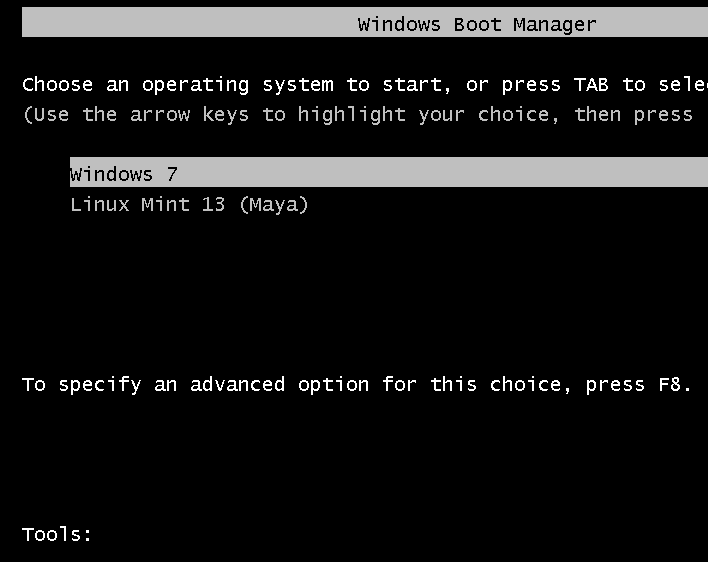
You should see how the entries will appear on the boot menu. Exit EasyBCD and restart the computer. Good or bad, let me know how you fared with this tutorial.


I just installed a dual boot of Linux 13 Maya and Win7 Pro on an IBM R51 laptop (an antique). I followed the tutorial as exactly as I could and it works! I am amazed at how clear and precise the tutorial is. It is excellent!
Thanks much,
Regards,
Jerry Leigh
Thanks for the comment, but an IBM R51? That’s a dinosaur!
the only thing i see after install is the windows boot loader
It works! It works! After several trials and hours in reading and testing finally I do installed it correctly with working bootloader! Thank so so much for the tutorial! However now when I choose the linux distribution in the bootloader it loads the Grub bootloder I have to choose again. How I can remove one of the loaders and have only one?
Thank you very very much again!
From Mint, open a treminal and type sudoedit /etc/default/grub. In the upper part of the file, look for the GRUB_TIMEOUT=10 line. Change it to GRUB_TIMEOUT=0.
Close the file properly, then type update-grub. That should do it.
One of the best tutorials I have even read.
The result was a seamless installation.
Thank you very much
Vittorio Belloni
Milano
Italy
I followed those steps and got an error:
cannot find /NST/Aurogrub.mbr
Using easy BCDEdit 2.2
I even turned off UEFI in BIOS too.
Linux lists but the computer will not find it nor boot.
Also, easy BCDEdit lists up to ext3. The version of linux Mint 13, 64 bit, KDE uses ext4.
Trying a workaround.
Using WUBI.exe and going to install Kbuntu.
If it works I should be able to overwrite Kubuntu and replace it with Mint 13.
Theoretically all I should have to do is edit the bootloader in Windows and everything should work fine.
If not, I am screwed. Getting a new SSD drive for christmas and wanted to dual boot win7 and Mint 13.
So, the only other ways to do it is to install linux on an external drive and switch at startup, thereby defeating the purpose of dual booting.
On another site I read another workaround was to install /boot for linux on a flash drive and the / on the windows drive. Insert the USB with /boot on it and it should boot into linux on startup.
A royal pain that way but might work for people like me.
Still experimenting here.
works great, thanks!!
Thanks for the guide, a great resource for those wanting to dual boot and not mess up the mbr.
I have run into a problem though. I followed all the steps with some changes (no /swap as I have 8GB RAM so thought I wouldn’t need it and no /home as all files are stored on a nas) and everything worked until I try to boot into Linux Mint 15 and get the Grub prompt.
Have I missed something or do I have to do anything to link grub on /boot with the os on / ?
EasyBCD was set up as in your guide with the device set to auto detect. Going back in to edit this shows that it is set to look in c:/ but also gives the option of d:/ or boot. Should I change this to boot?
My pc has a single 256GB SSD, which I partitioned to 200GB for win7, 500MB for /boot and the remainder for / to install linux mint.
Windows still loads fine.